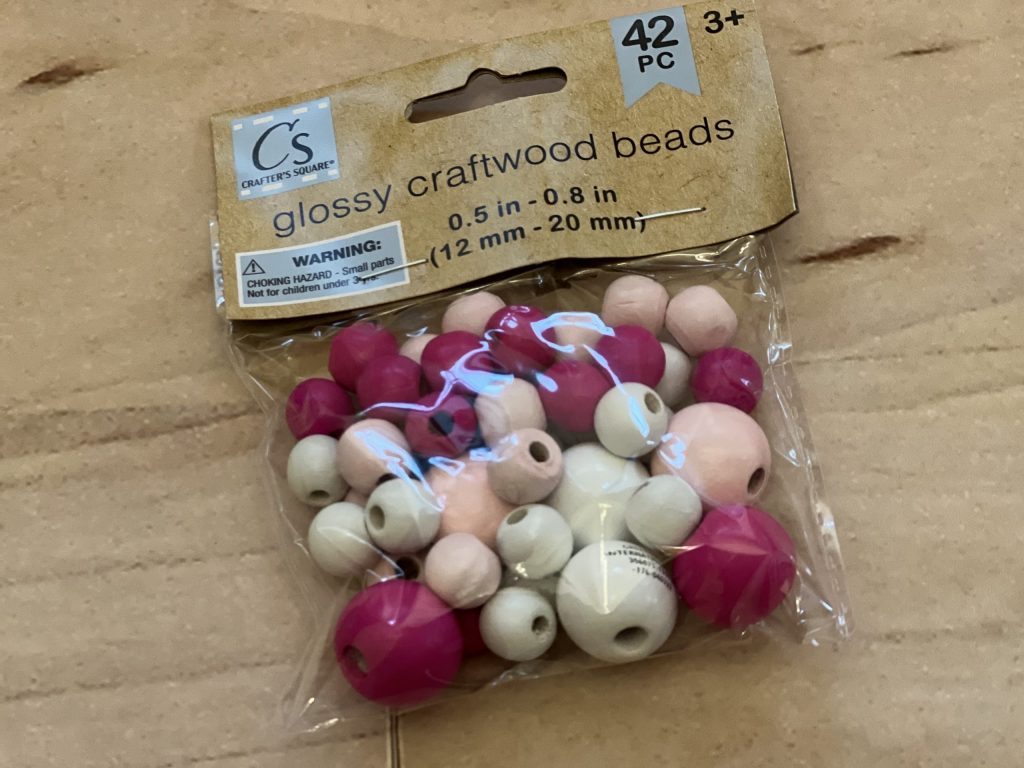
I love a good Dollar Tree craft! Sometimes I browse the store just looking for something to speak to me. While looking around the other day, I spotted these cute little wooden beads, and the pinks really caught my eye! I knew I wanted to create a little Valentine heart with them!!
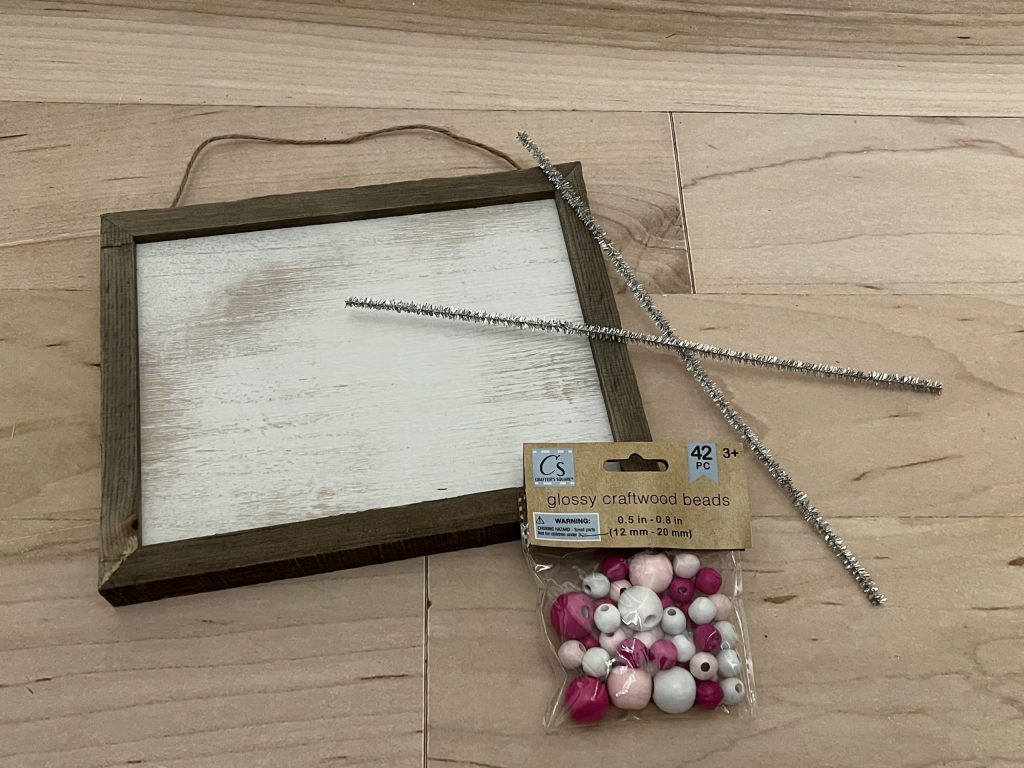
For this project you will need the following supplies:
– Blank sign – I purchased this one on sale at Hobby Lobby for $3
– Wooden beads with holes
– Two pipe cleaners – I used silver, but pink or white would work also
– Ribbon or fabric scraps of your choice
– Hot glue gun
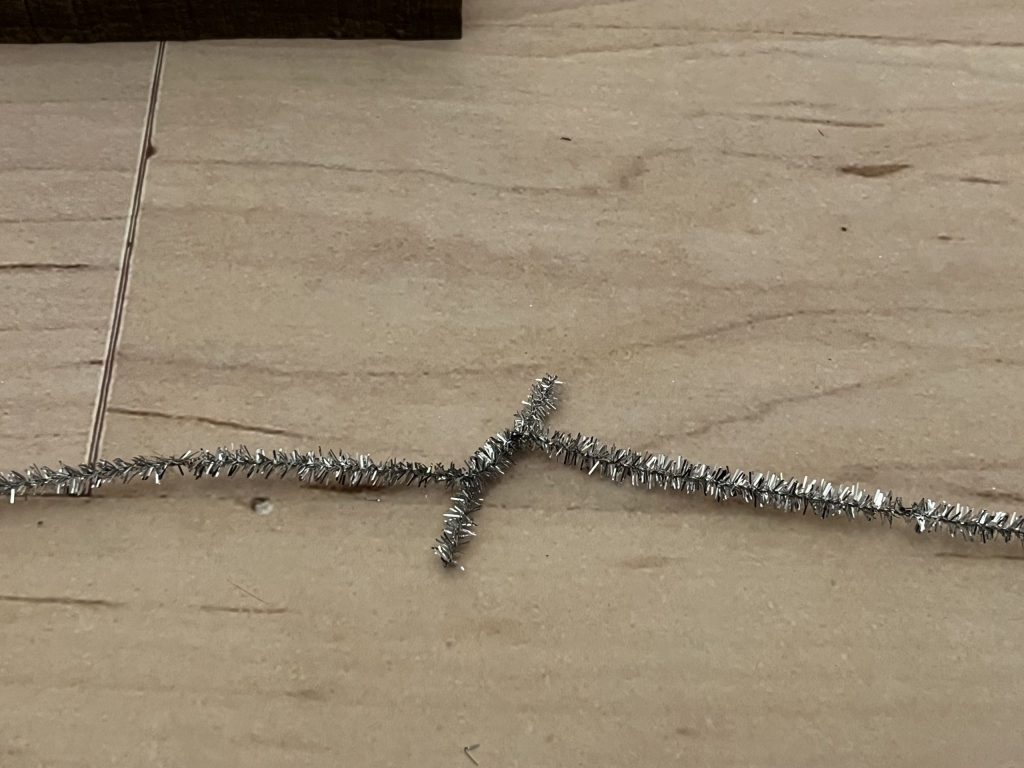
To start, I connected the two pipe cleaners by twisting the ends together to create one long stem. Make sure you wrap them well so the connection is smooth.
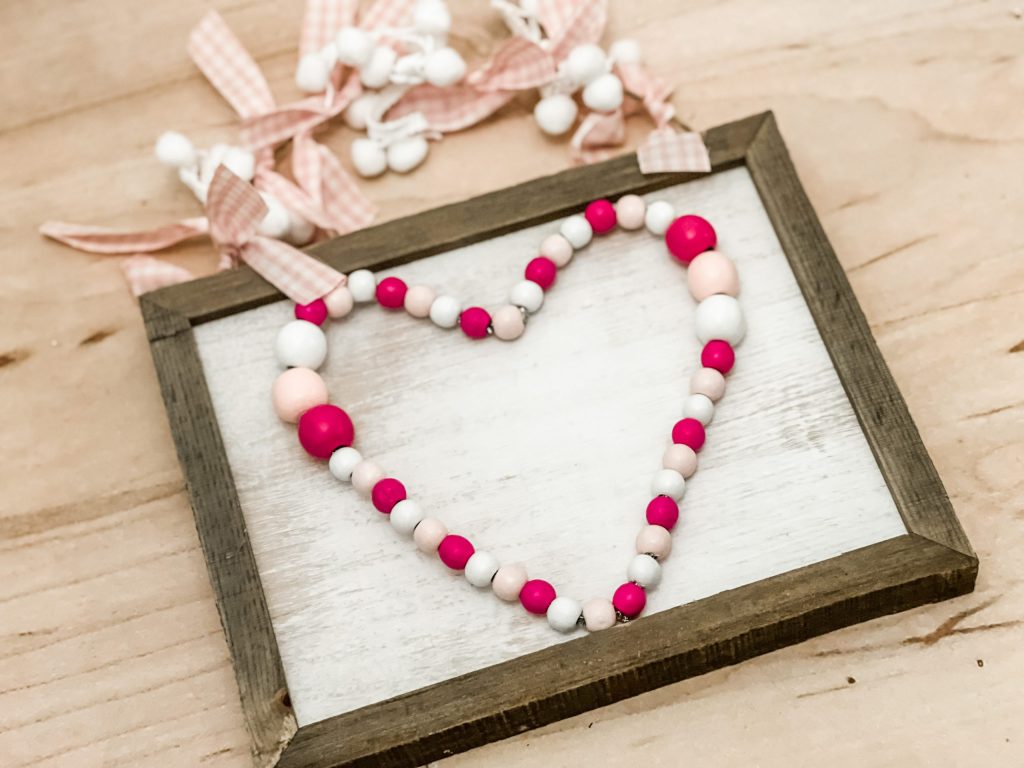
Next, I sorted my beads. You can choose any pattern to string the beads, but I chose to string fifteen small beads in the center first.
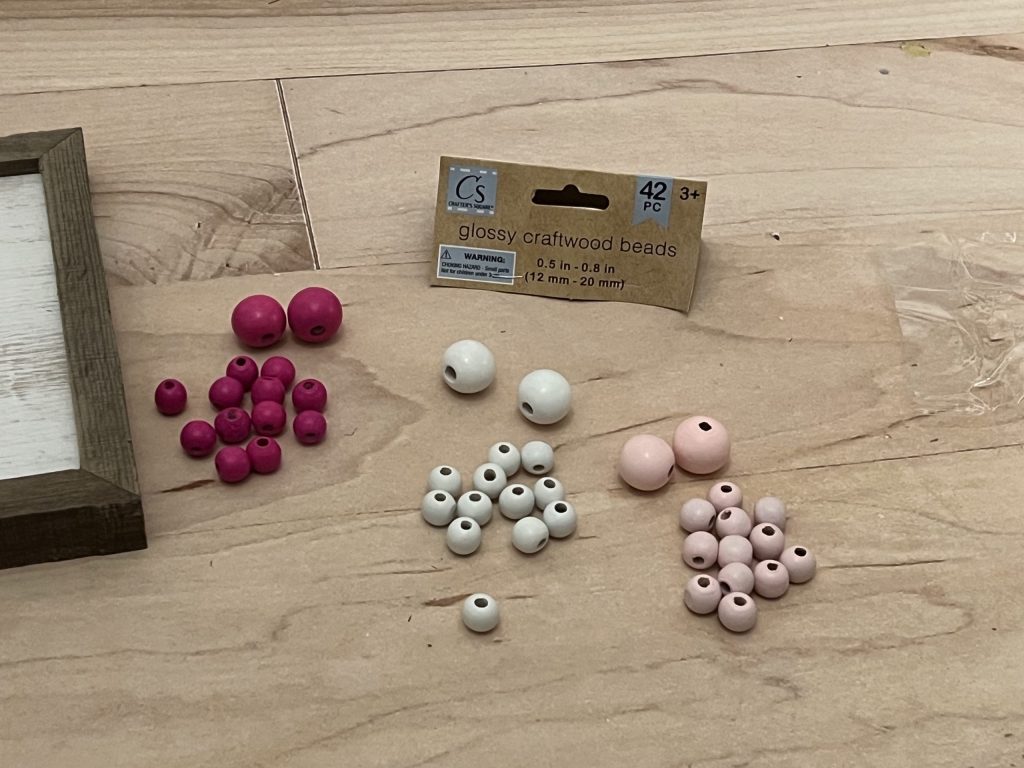
Then, I strung three large beads to each side of the small beads.
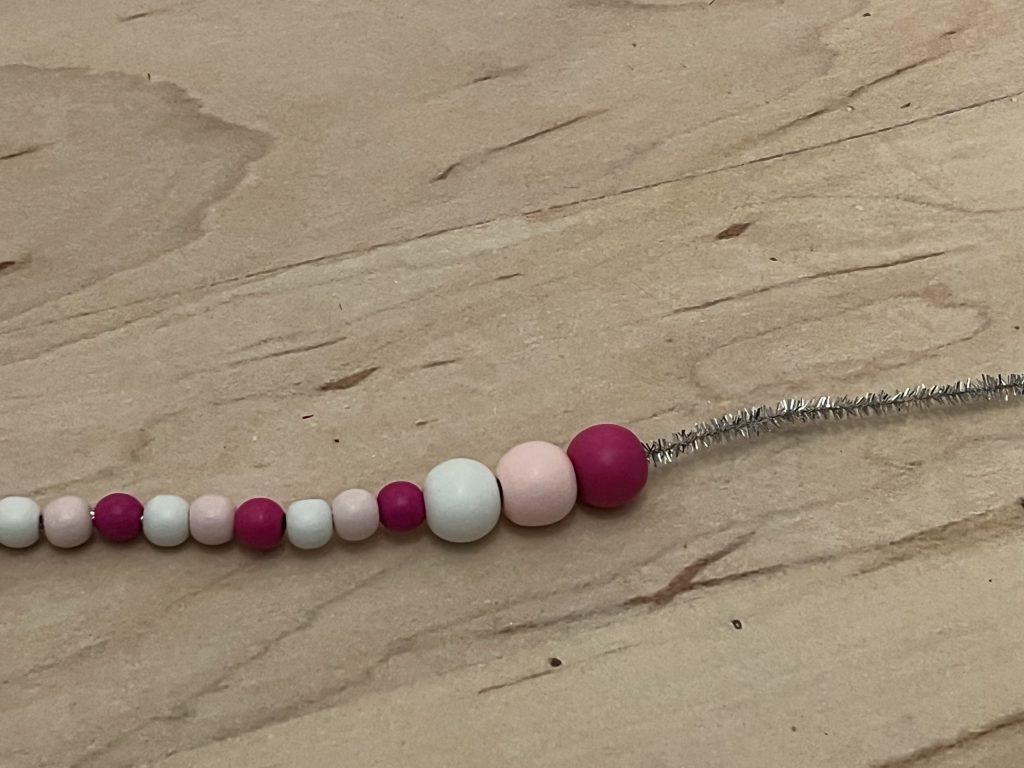
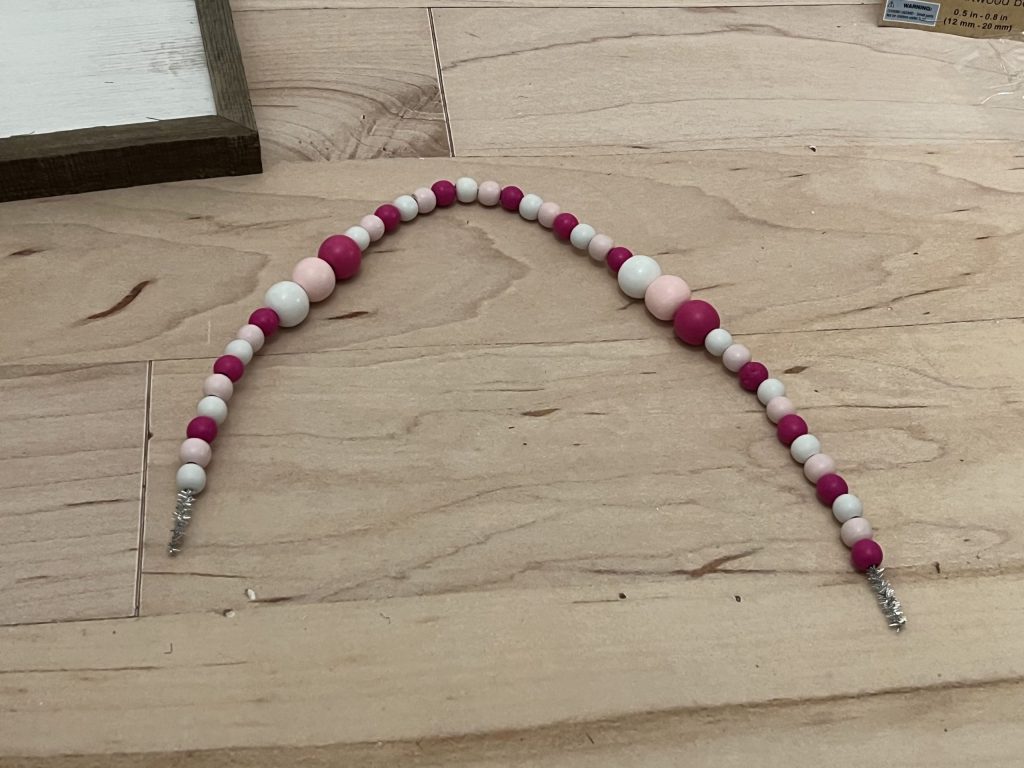
After stringing the large beads, I then strung the remaining small beads to both sides. It does not need to be equal on both sides, because you will be connecting the ends of the pipe cleaners. You will then be able to maneuver the beads and shape into a heart.
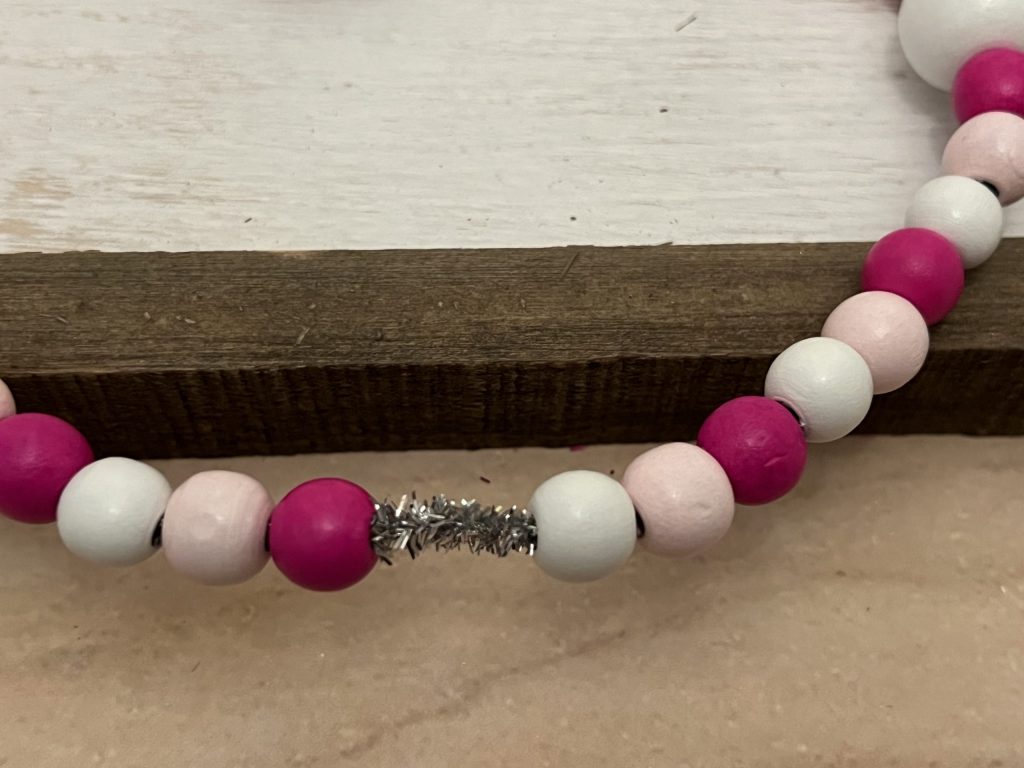
When connecting the ends, you will want to slide each end into the opposite side bead.
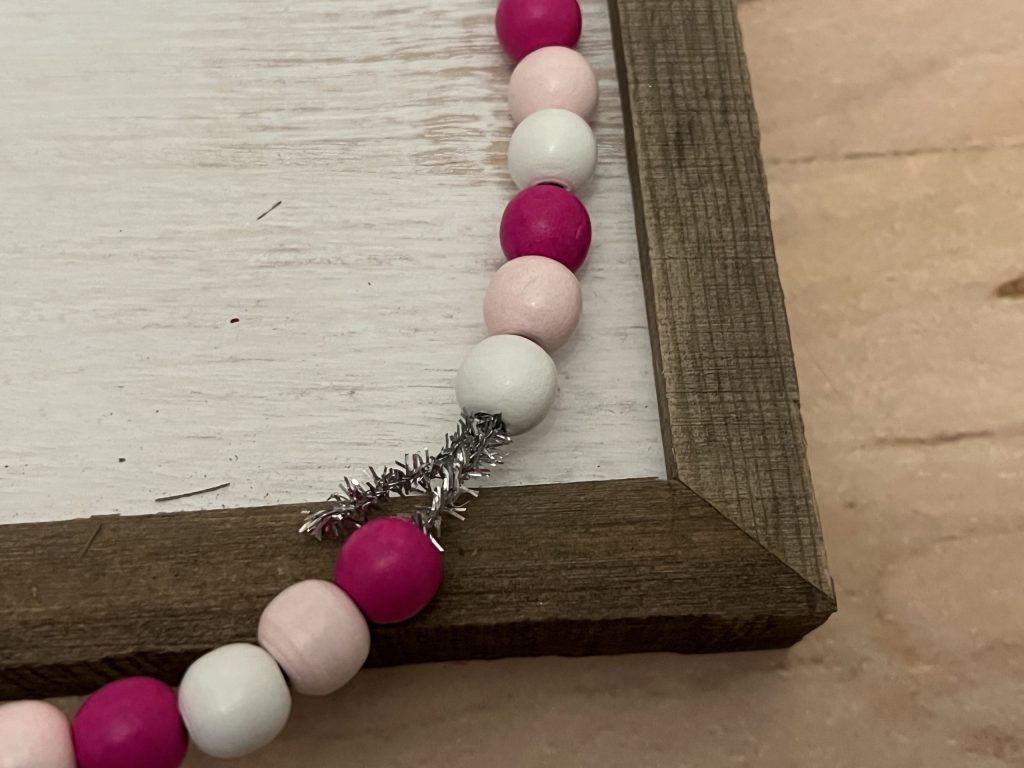
Once both ends are inserted into the beads, you can push the pipe cleaners towards one another to close the gap. You can shimmy the pipe cleaner ends through the other beads until the gap is closed.
Now, you can shape the form into a heart.
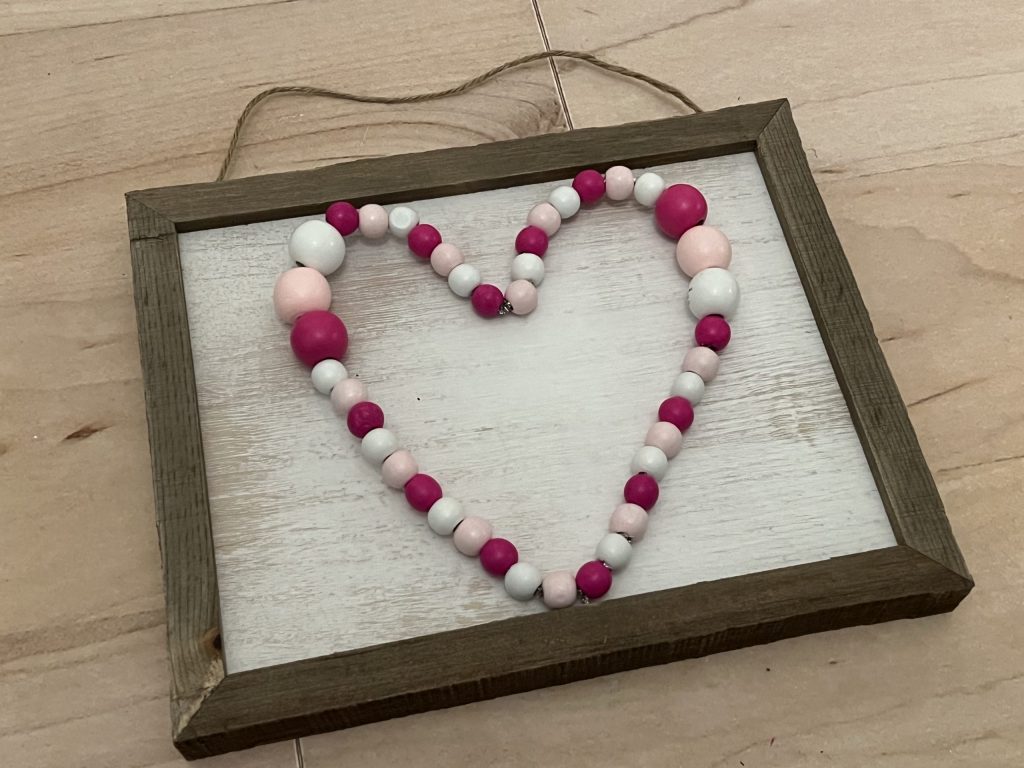
When you have your heart the way you want it, take a dab of hot glue and secure a few of the beads to the sign. It’s not necessary to glue each individual bead.
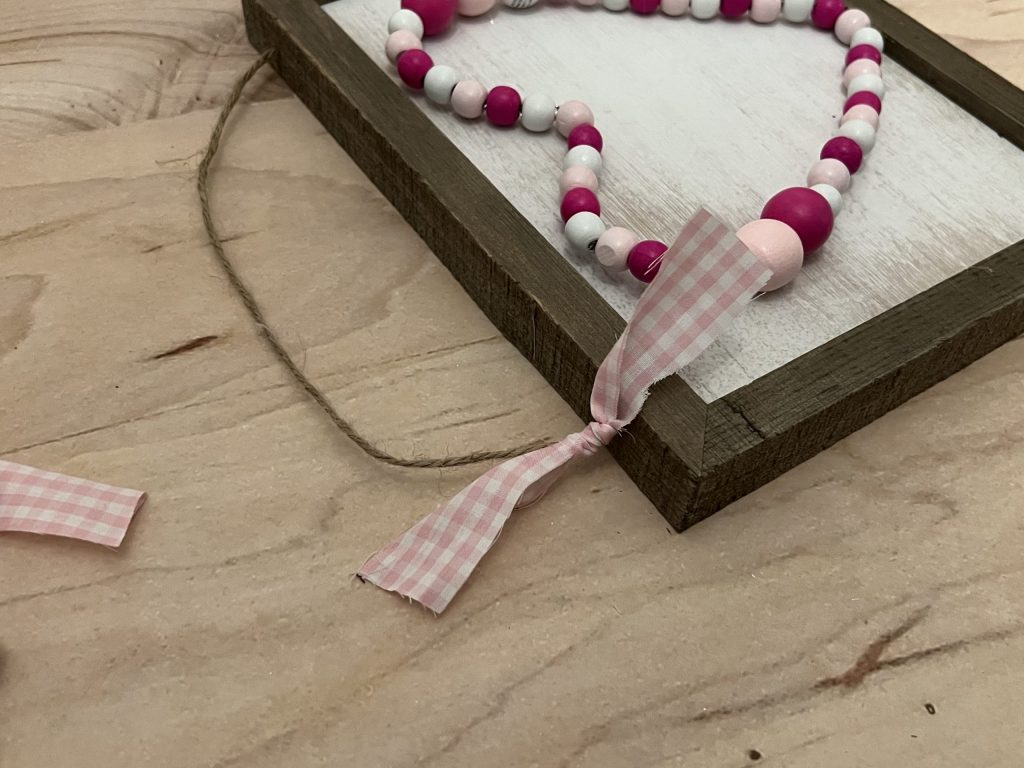
Finally, you will take your ribbon or fabric scraps and tie them to the hanging string.
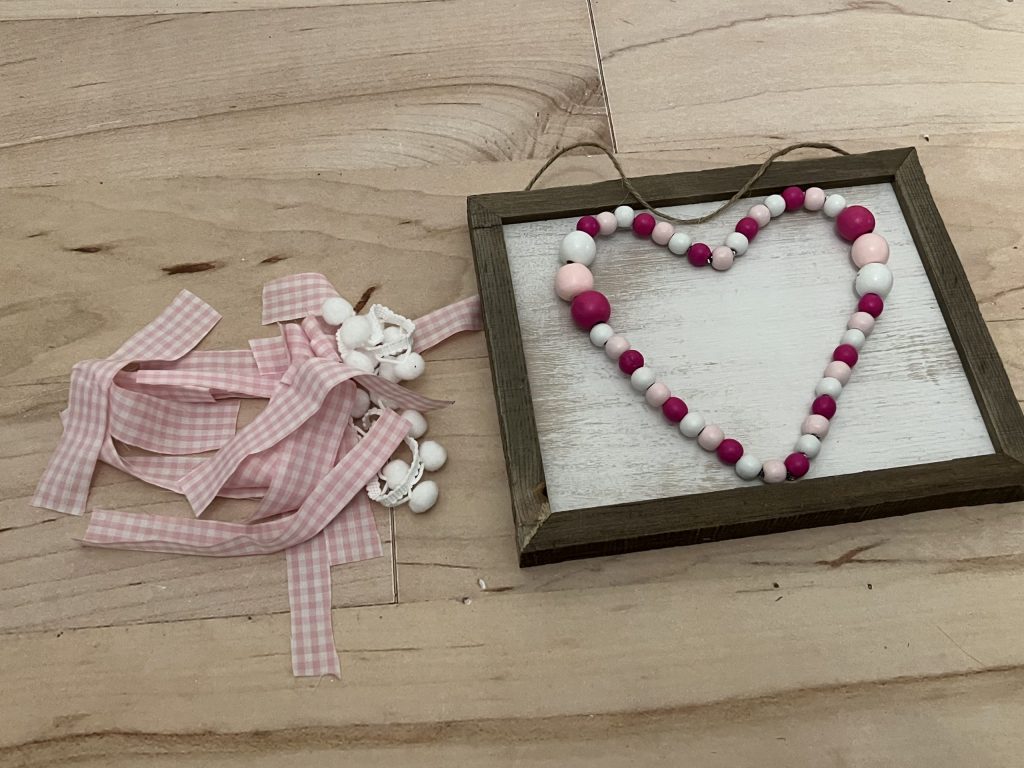
I love how simple and inexpensive this cute little sign was to create! Valentine’s décor can be so fun!
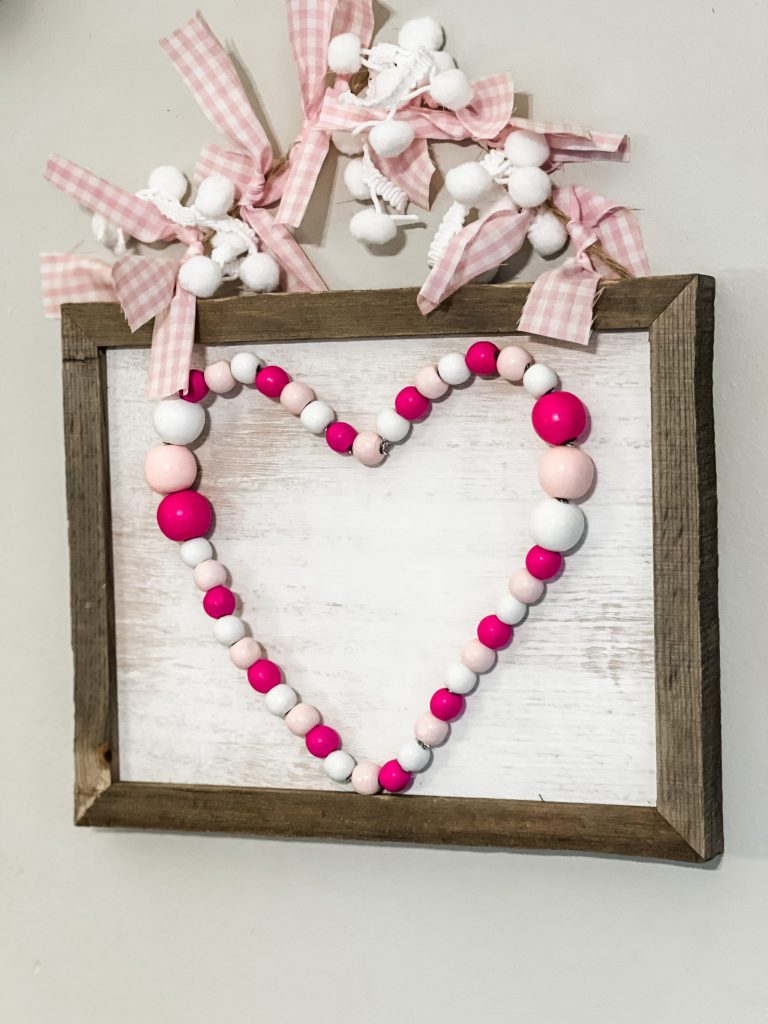
How stinkin’ CUTE did this turn out, y’all?! For real??? and EASSSSY!
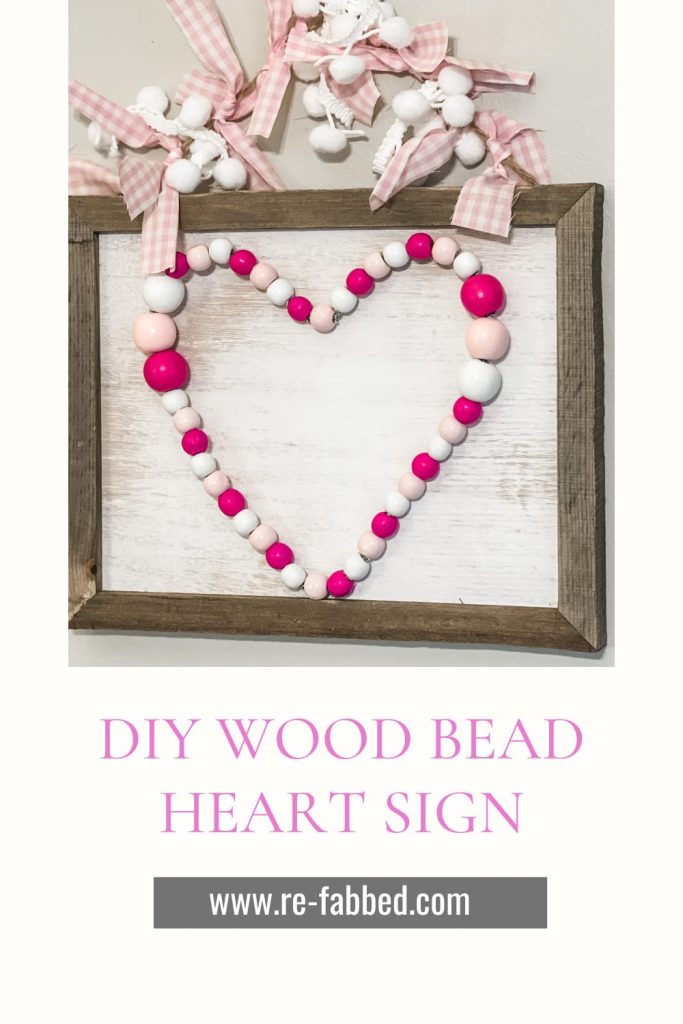
Be sure to pin this for later!!
Last Updated on January 10, 2023

I love this one Brooke????
Love, love, love !!!
Cute as e we ❤️❤️❤️