My love for colorful felt balls runs deep! There are seriously so many ways that you can use felt balls in decorating, and today’s Christmas tree project turned out so stinkin’ CUTE!
Supplies: (some referral links are used for convenience)
Colorful felt balls
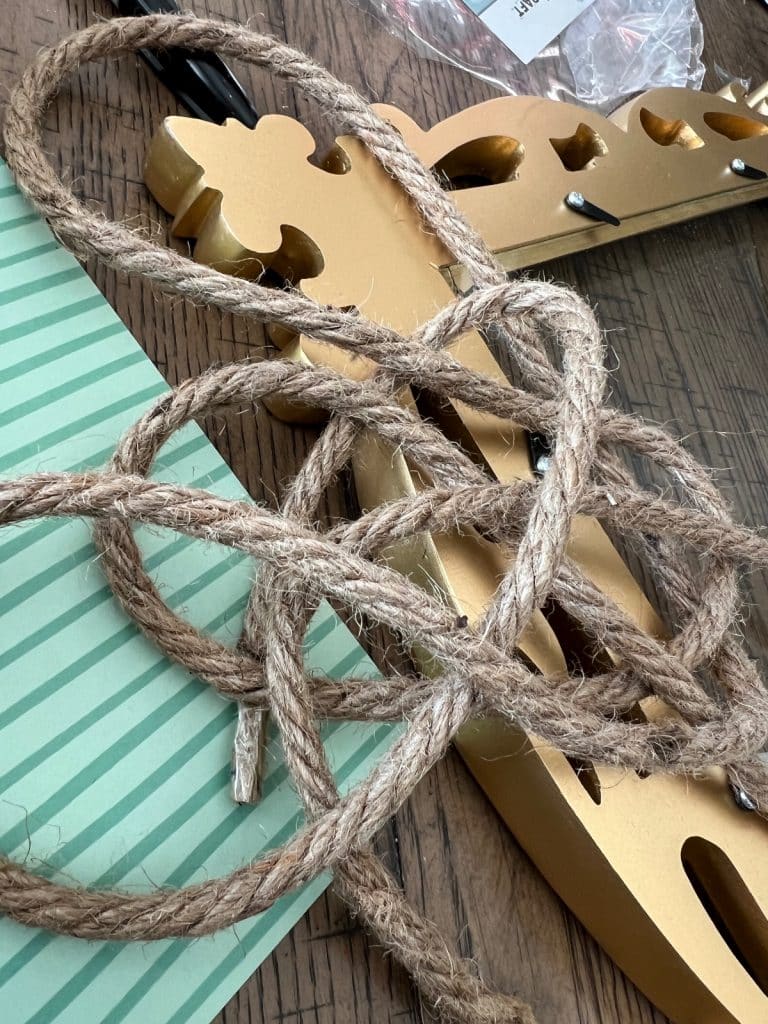
Twine (this is from Dollar Tree)
1 piece of scrapbook paper (mine is from MY OWN COLLECTION)
Hot glue gun
8×10 Frame to put it in (or any size frame, depending on the size tree you want to make)
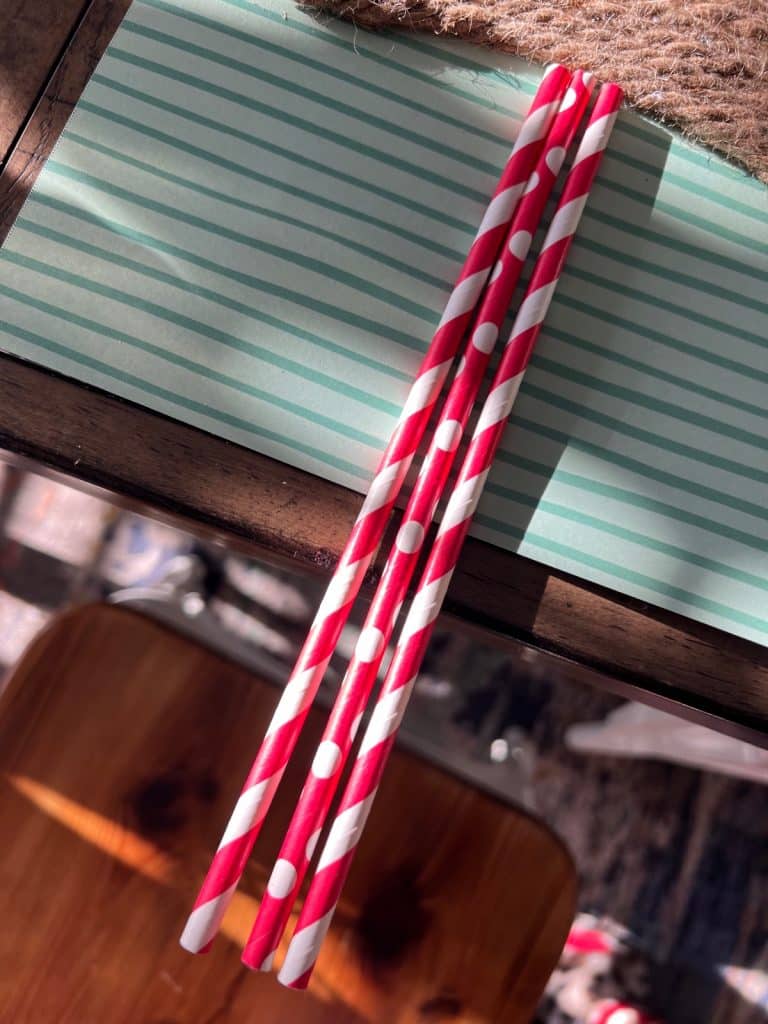
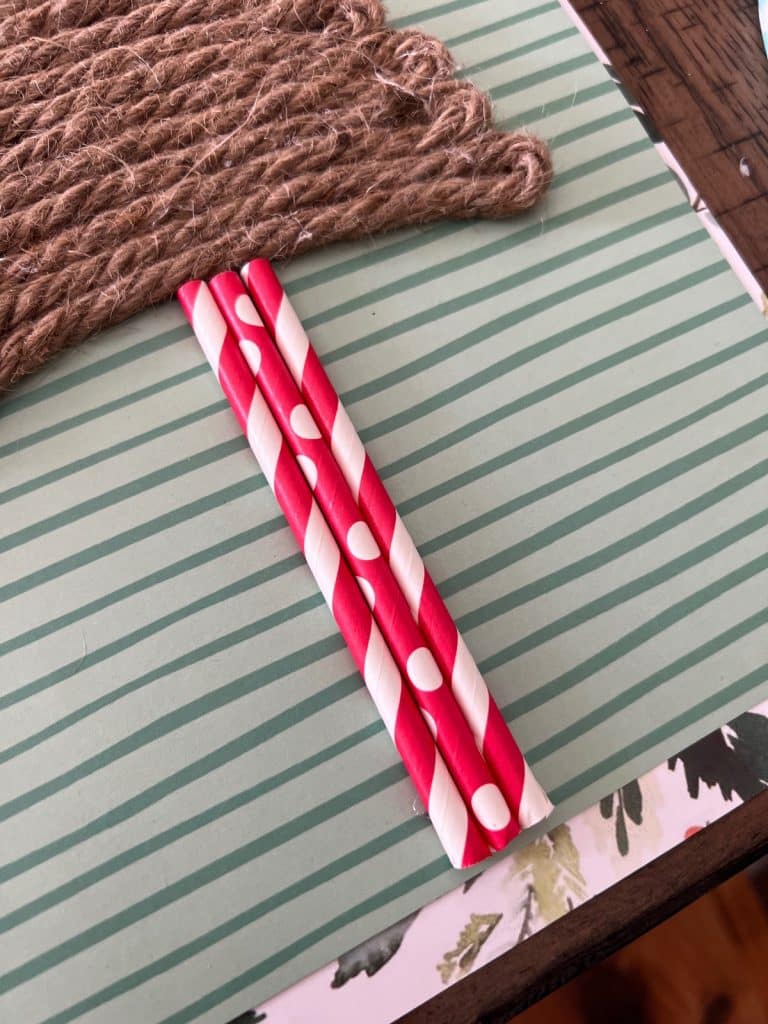
Paper straws of your choice
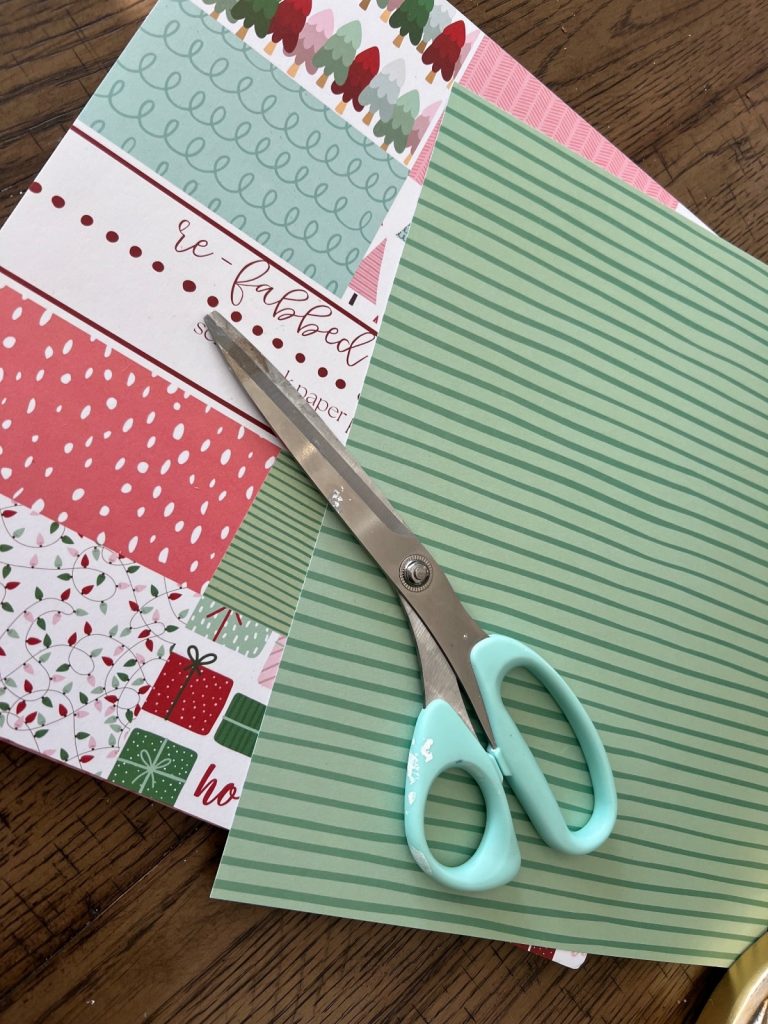
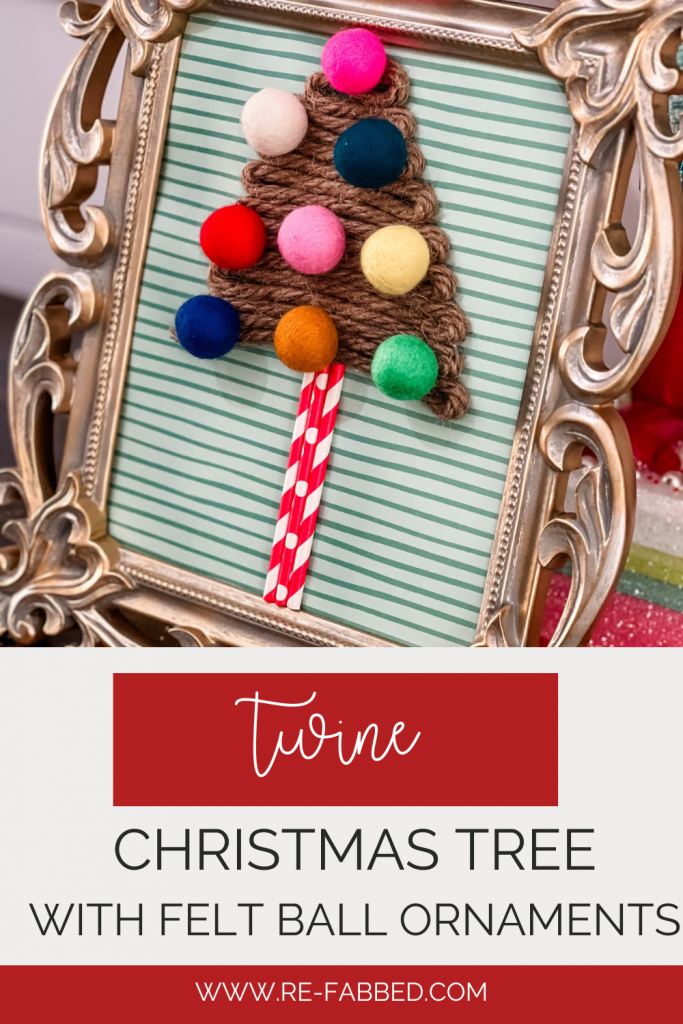
First, I found a piece of scrapbook paper that I wanted as my background and cut it to the size of my frame. I loved the light green with darker green stripes from my whimsy collection! My frame was 8×10.
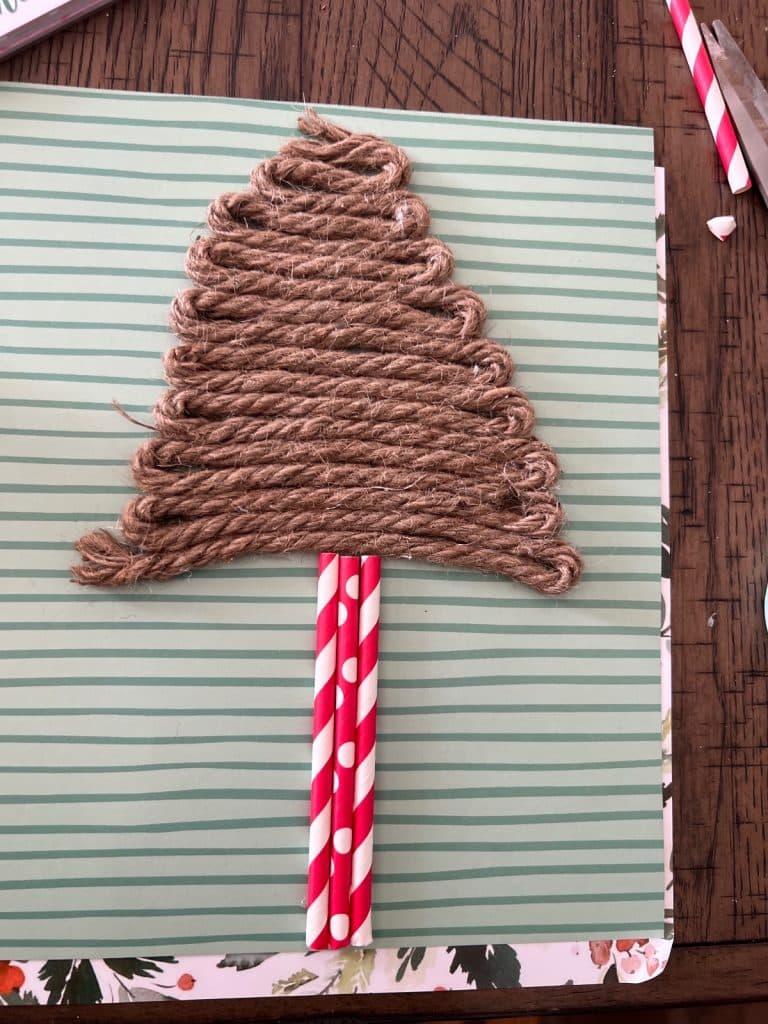
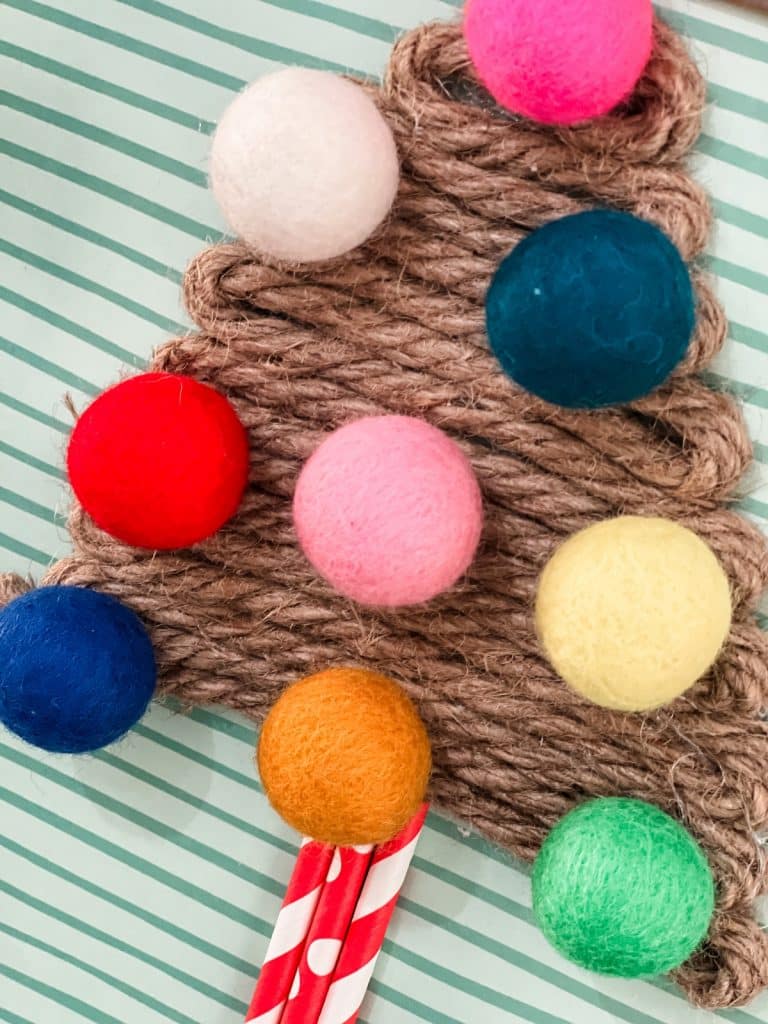
After that, I started on my twine tree! I will do my best to explain it, but the pictures will show you much better than my descriptions. My twine was from the Dollar Tree, and it was called “nautical rope”, so it was a little thicker.
I started at the top and then pinched the twine together and hot glued it going downward, twisting it back and forth. I kept adding hot glue as I went, to keep it tight and together. See pic below!
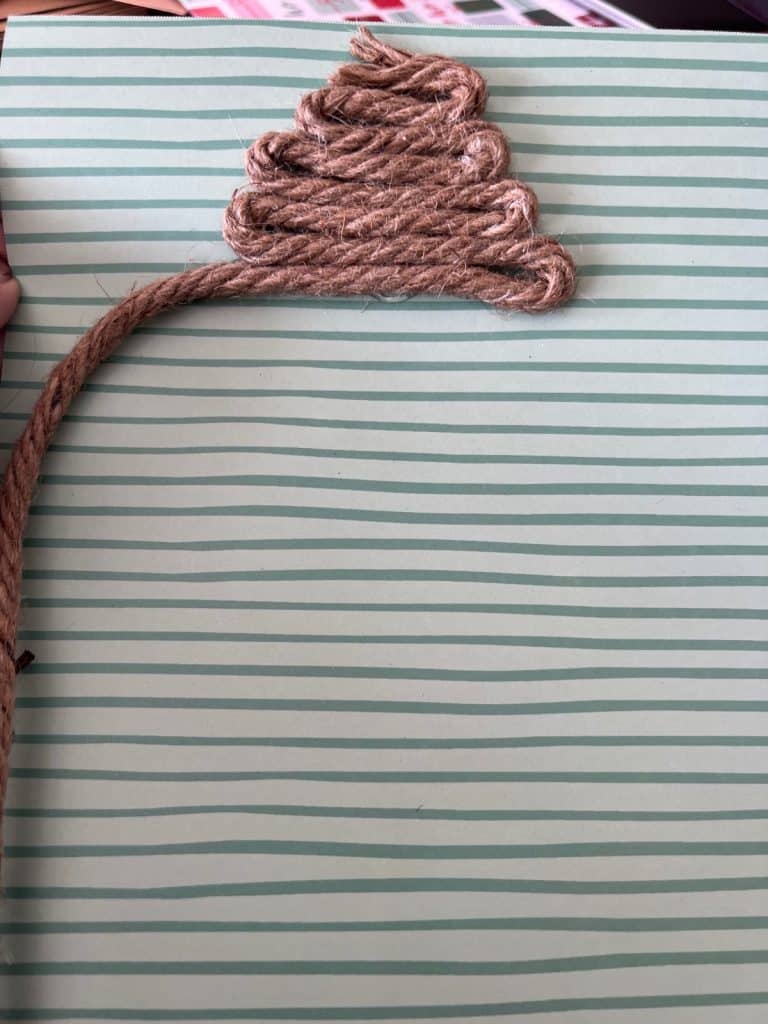
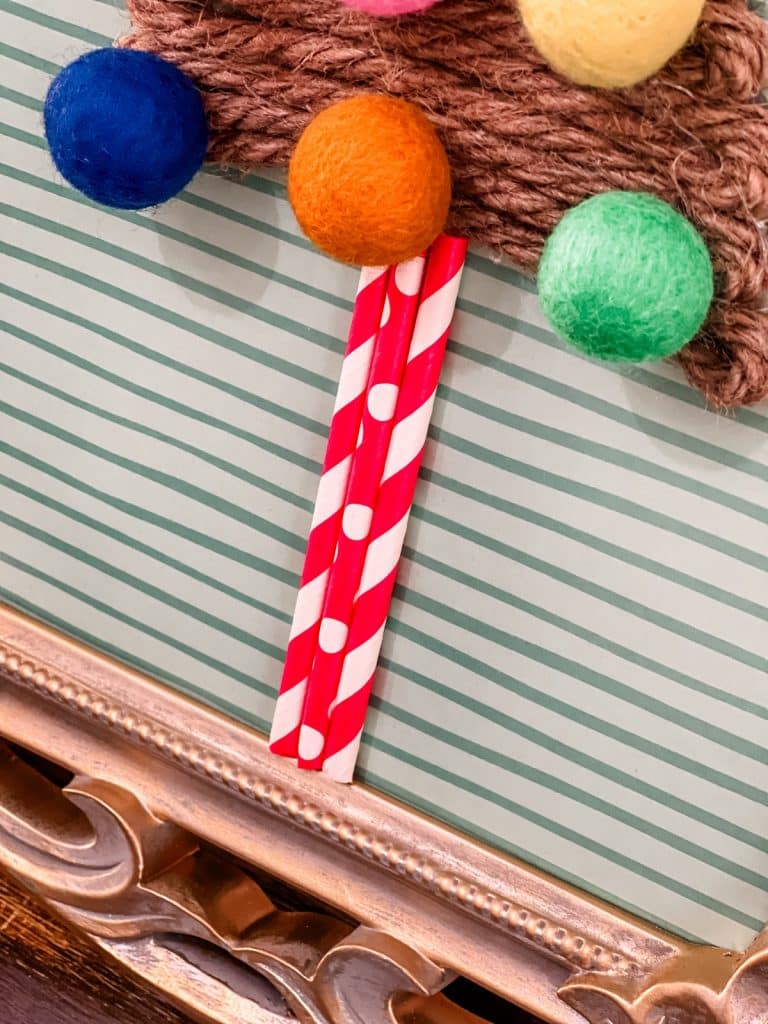
I kept going until I got to the end of my twine or wanted to finish the tree. I wanted to have some extra space at the bottom of my paper because I wanted a “skinny trunk”! I decided to cut up some paper straws that I had on hand to stick together and glue on as my trunk.
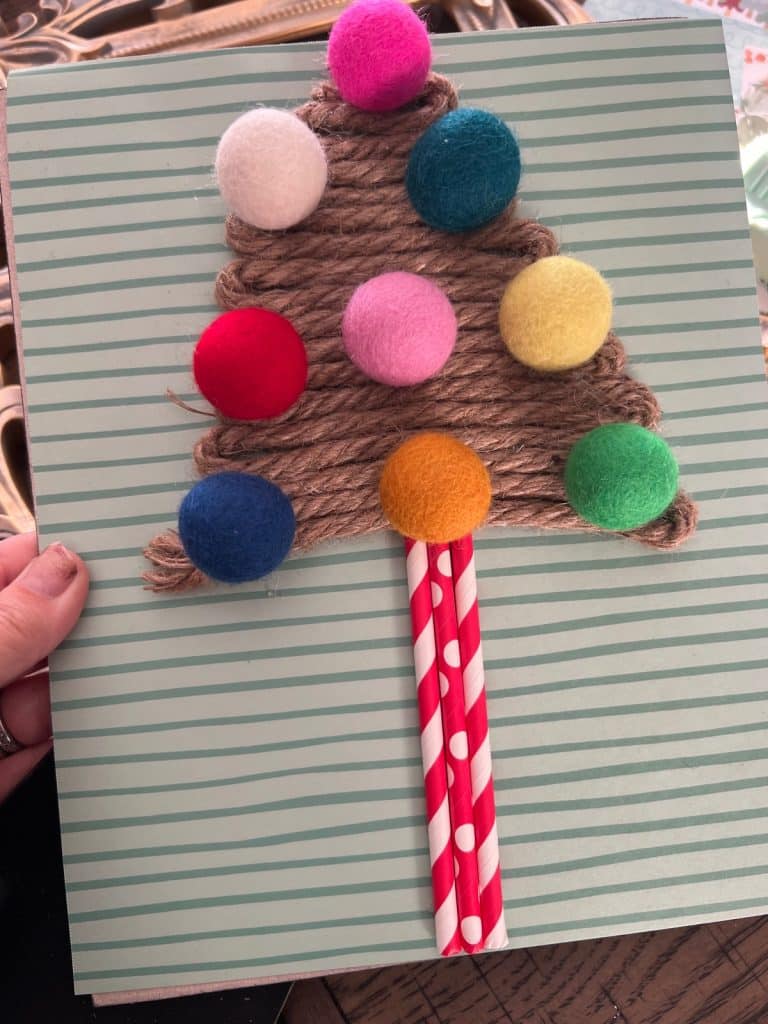
After I had my trunk and tree, it was time for the colorful ornaments, otherwise known as felt balls! I simply hot glued them on sporadically where they looked right and then, my tree was complete!
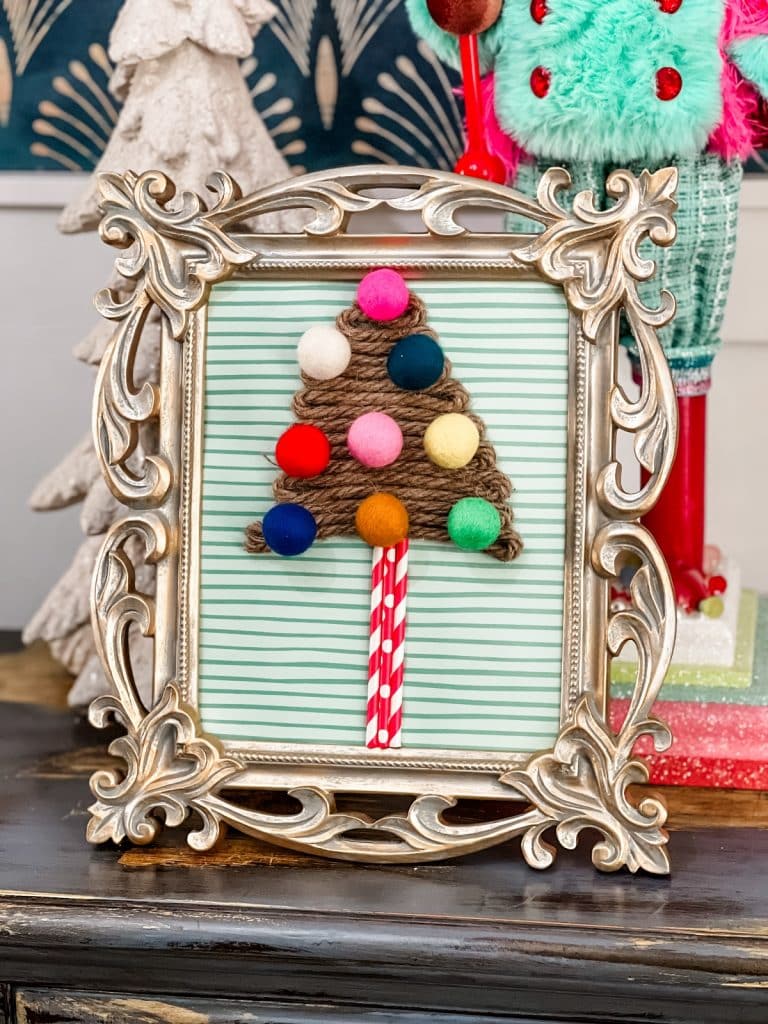
I have to admit- I am SO HAPPY with the way this fun little craft came out! The colors are so fun, and once I put it in the frame, it took it to a whole new level! *NOTE- I did NOT use the glass in my frame*

Be sure to PIN FOR LATER!
Last Updated on November 28, 2023

I love how this tree turned out. All the bold colors makes it look happy.
Love it and it’s different from the one you did liver. And I loved it too.
It is very cute!
I watched your tree you did this afternoon, so cute…I love this one too!! ????????????
It is so cute! You are a green person =)
#replay Texas Sprinkled
I love how this tree turned out. So stinking cute. Love that you share your talent with us.
Very cute and whimsical tree