Succulents are wildly popular right now! For those that can keep plants alive, they are scooping up the live ones…and, well…for those like me who struggle a bit in that department, I go for the artificial! Today, we’re going to make a cute little tabletop topiary for succulents or small plants.
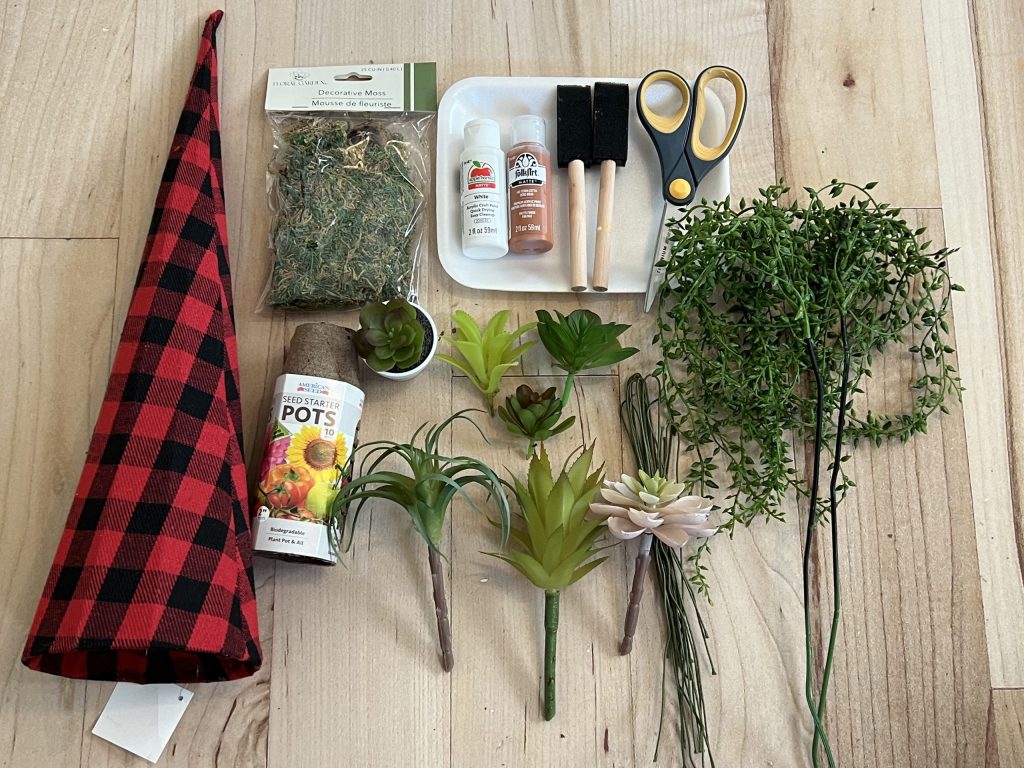
Here is a list of items I used:
- Wire cone (Mine was purchased during the Hobby Lobby Christmas clearance for $2)
- Paper seed starter pots from the Dollar Tree
- Assorted succulents (these can also be purchased from the Dollar Tree)
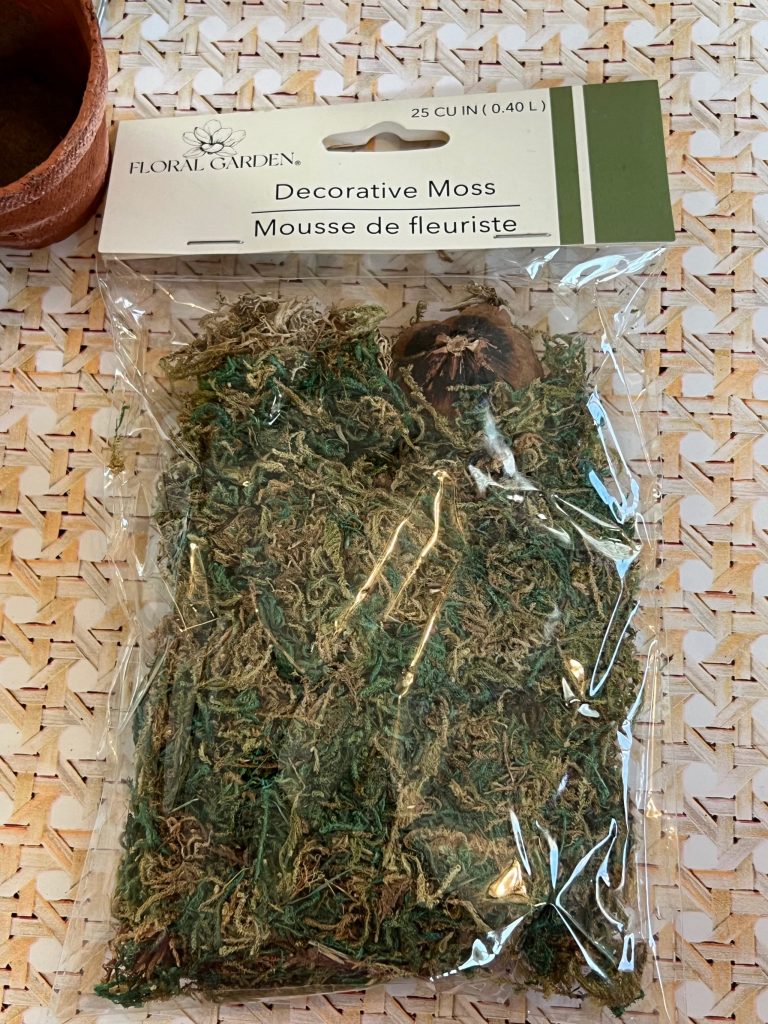
- (2) Dry moss bags from Dollar Tree
- White paint (I used Apple Barrel White)
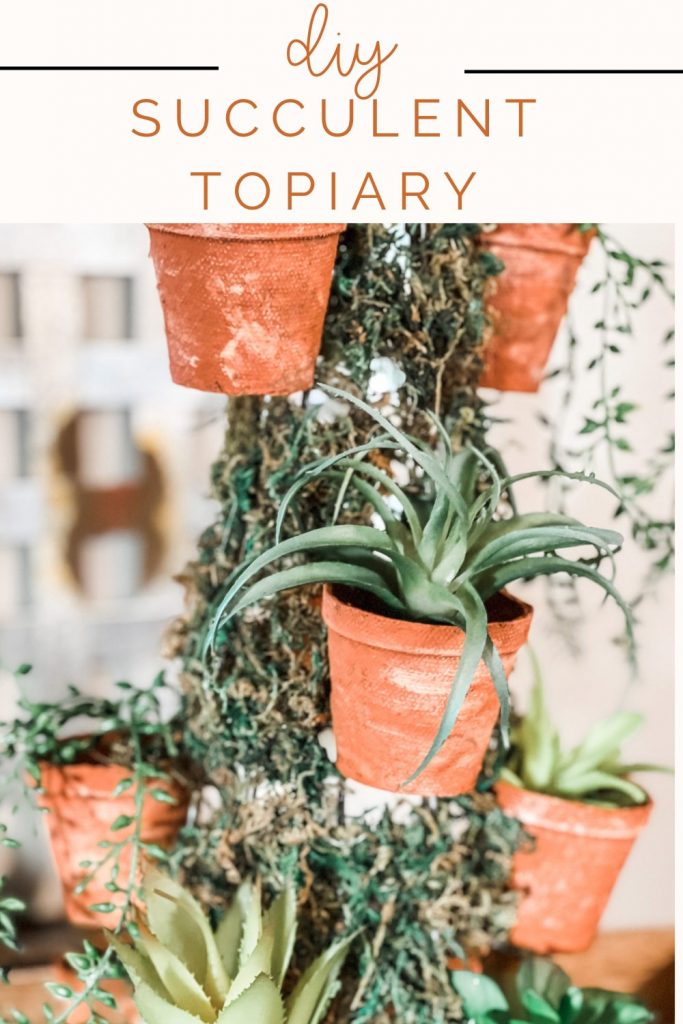
- Terracotta paint (I used FolkArt Terracotta)
- Sponge paint brush
- Scissors
- Hot glue gun
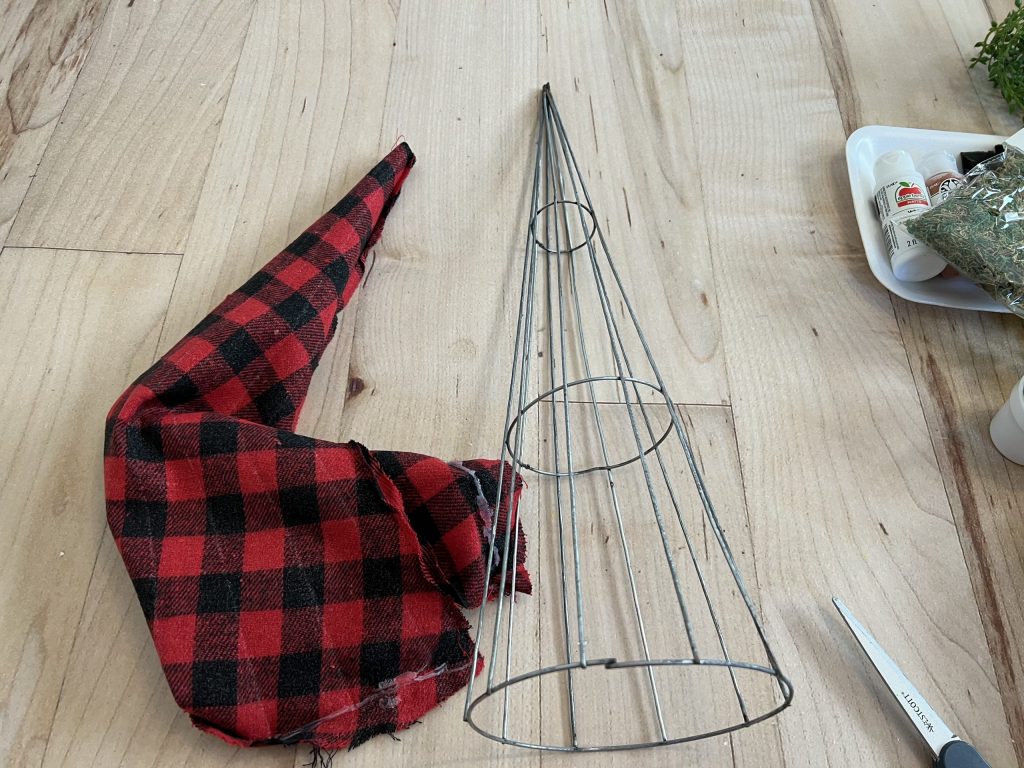
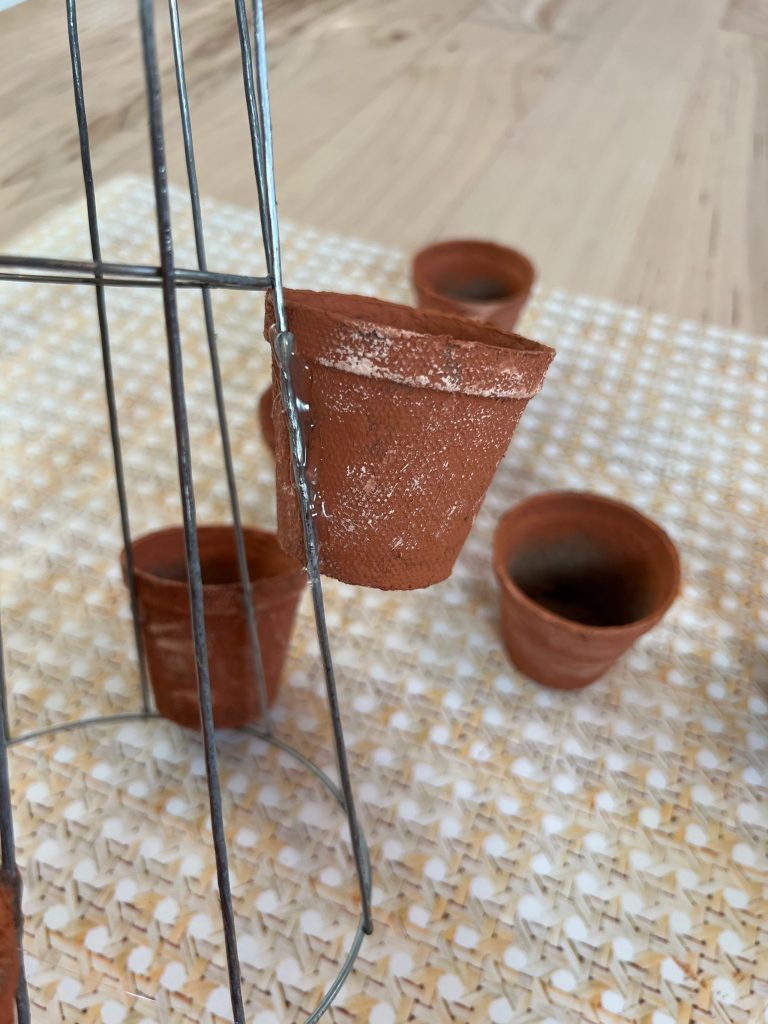
I removed the plaid fabric from my cone and was left with just the wire cone. It was just plain galvanized wire, so I didn’t need to paint it.
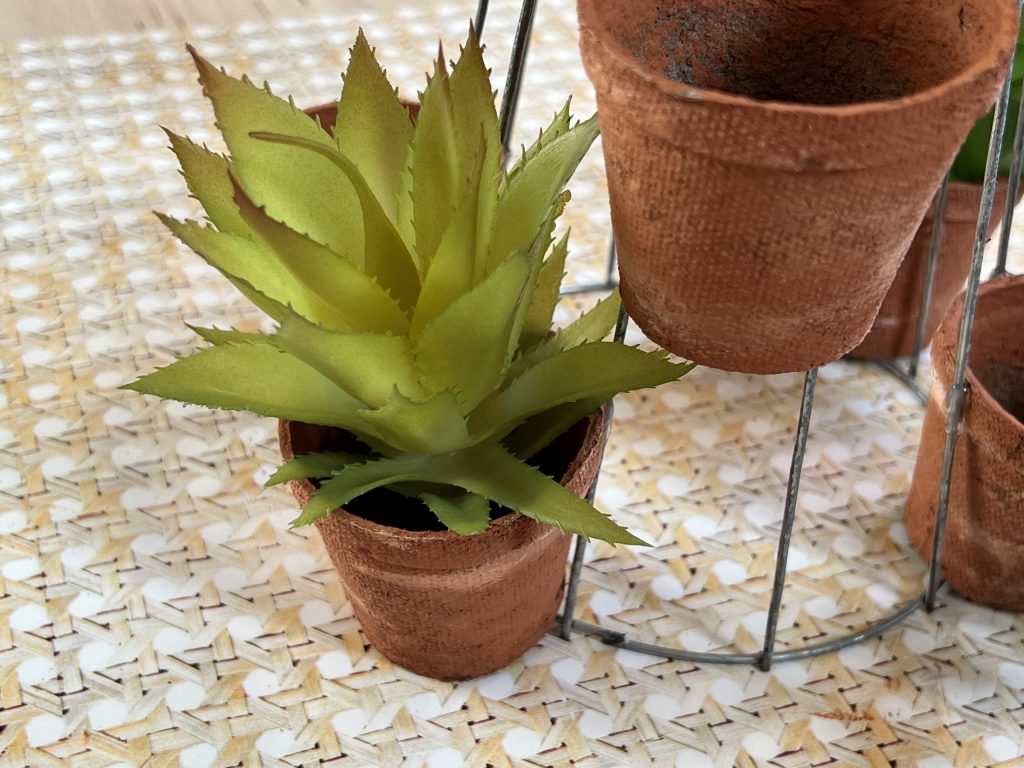
Next, I painted the seed starter pots with the terra-cotta paint.
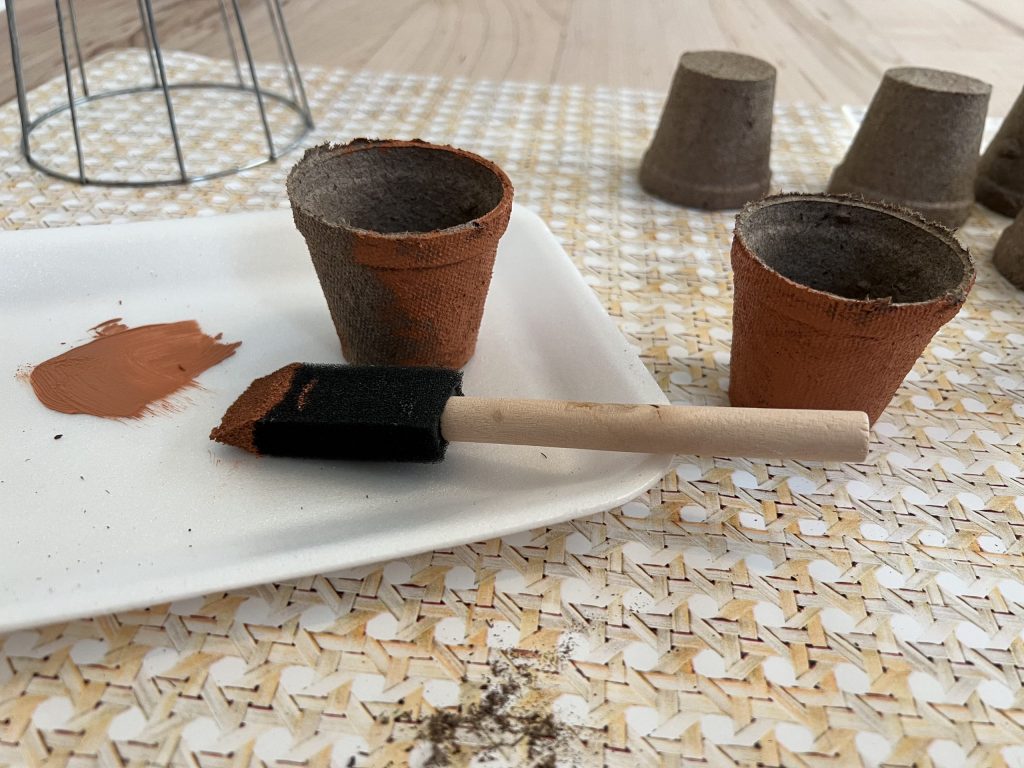
I painted the outside of the pots, then I painted around the inside rim. I used my scissors to trim down the jagged edges at the top of the pots.
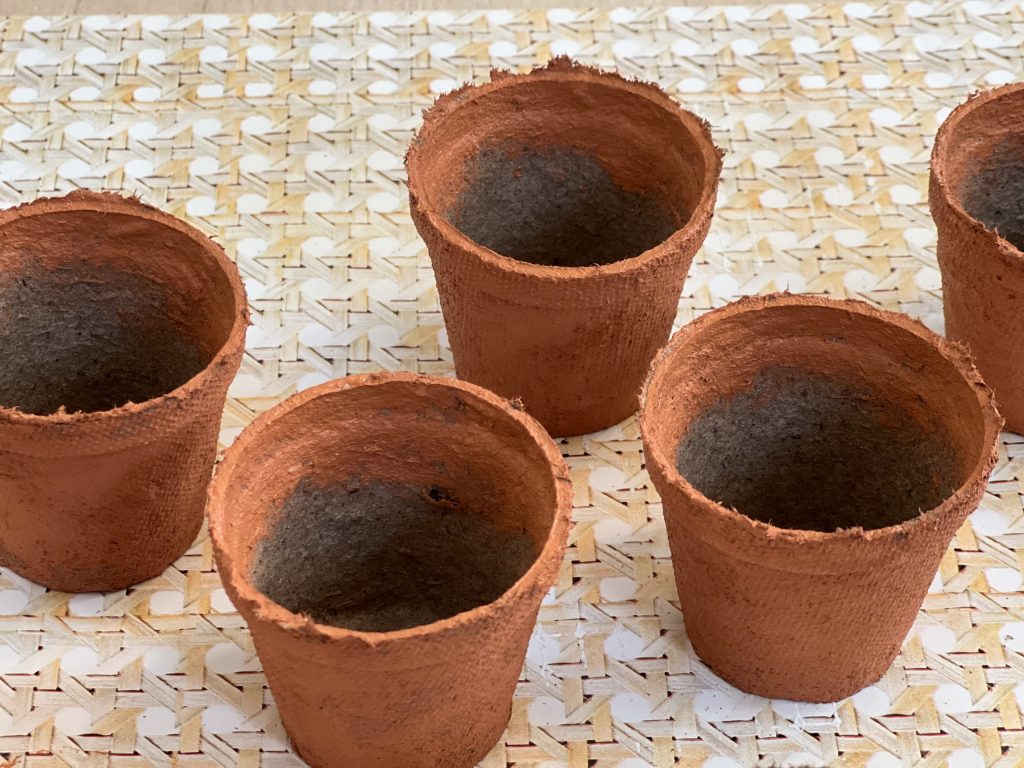
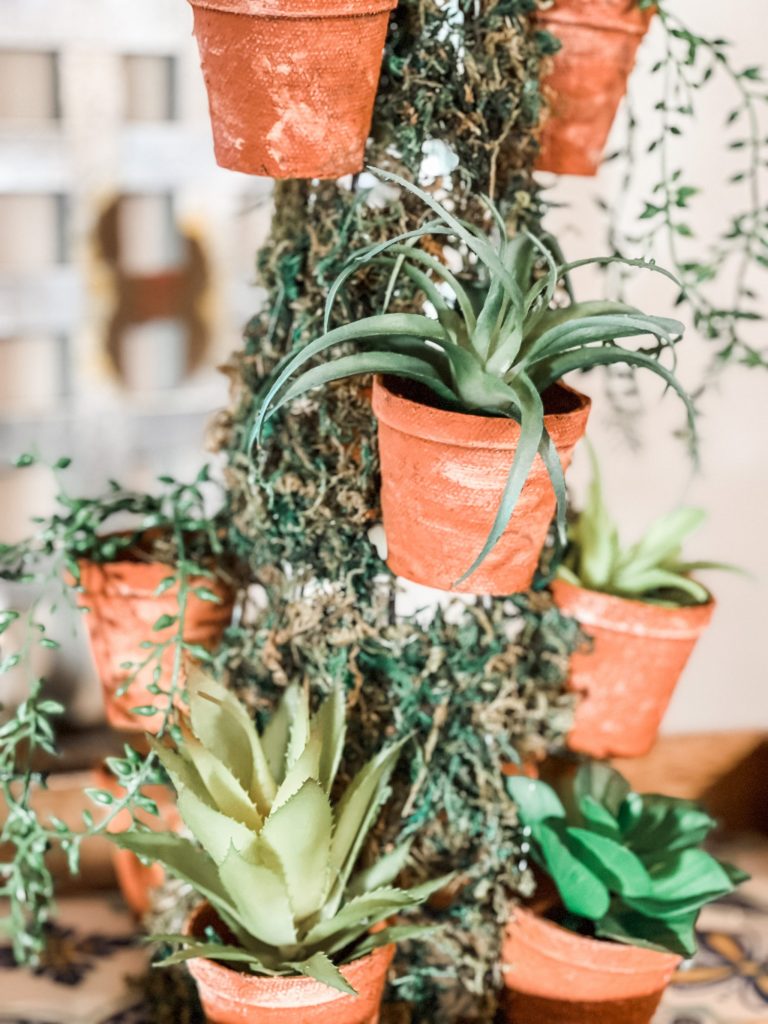
After the paint dried, I mixed a little white with the terra-cotta paint and brushed it lightly on the pots to achieve that faux terra-cotta look.
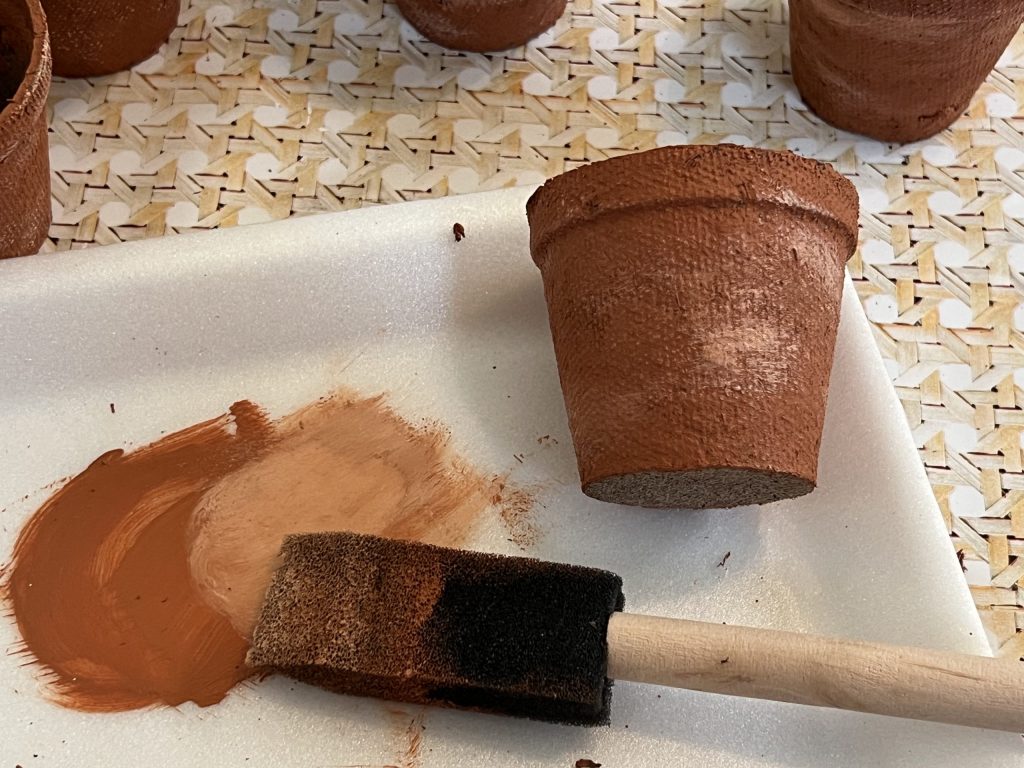
I love the texture of the pots, and the white accents really made them look like terra-cotta pots WITHOUT the heavy weight!
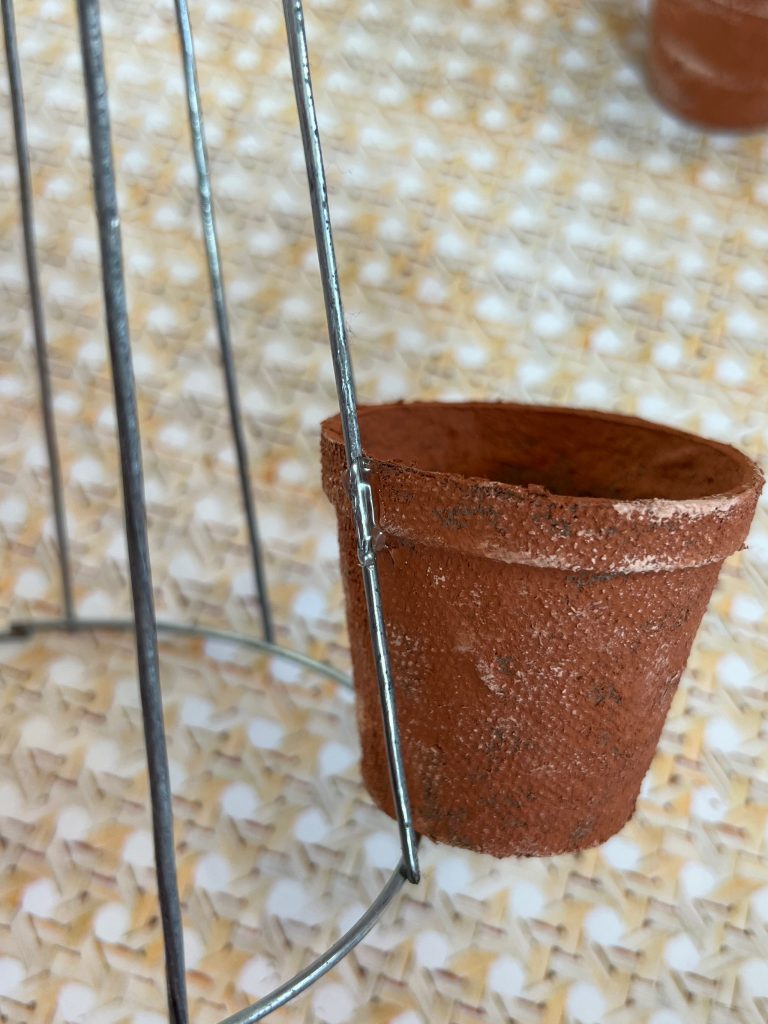
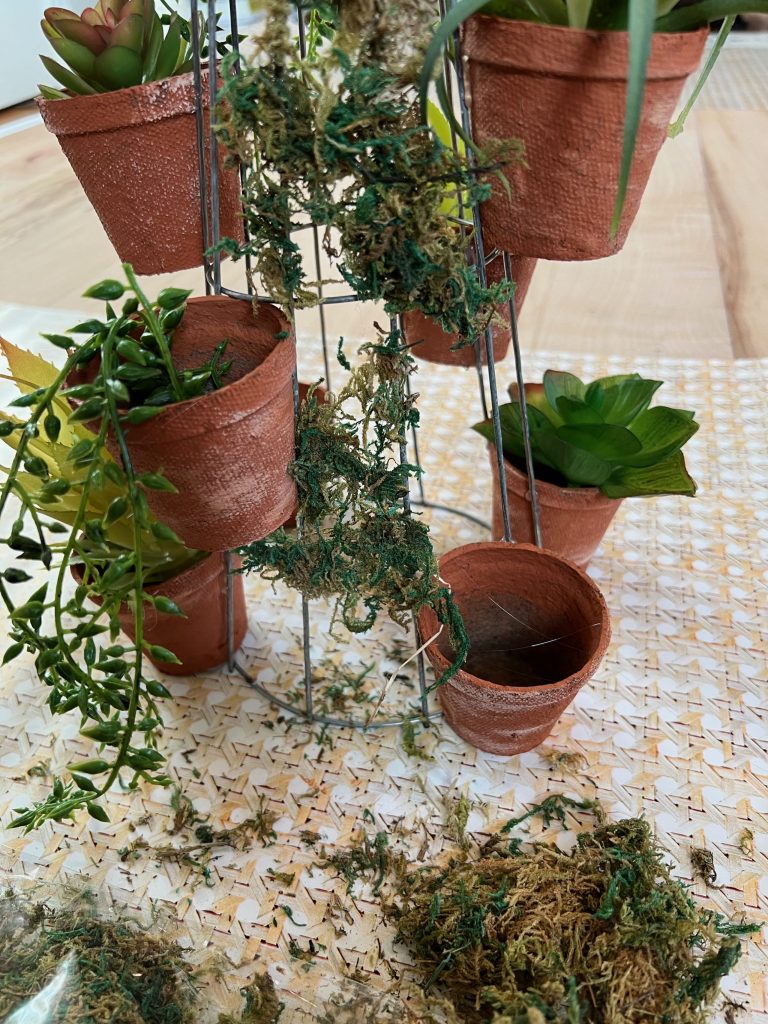
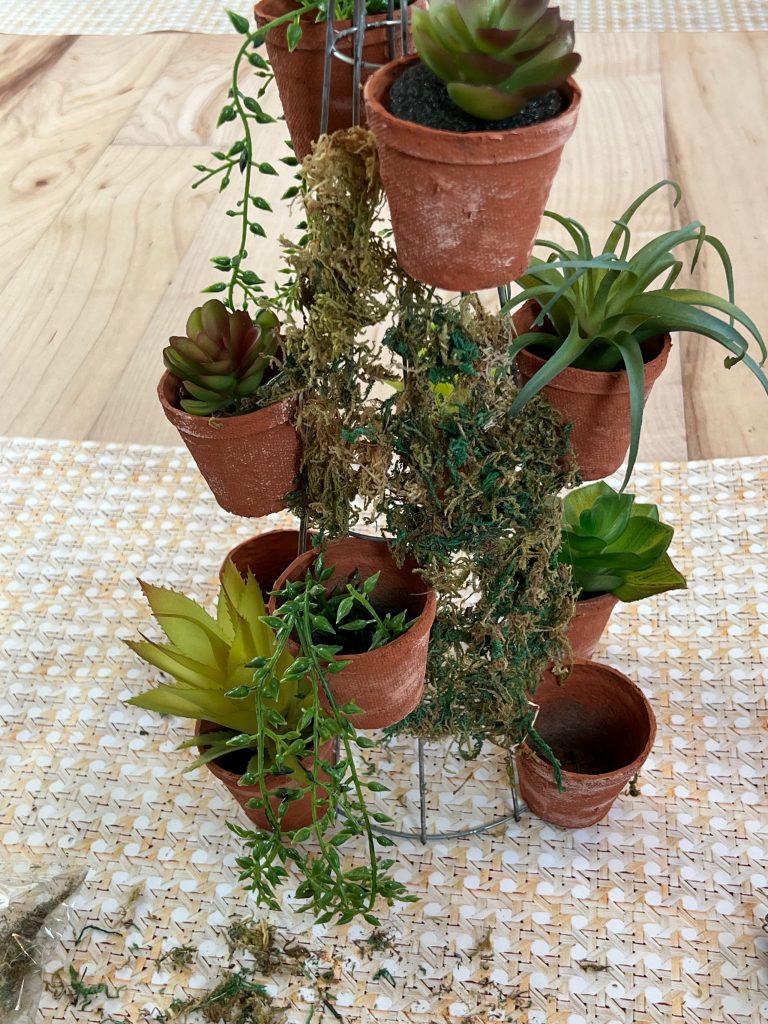
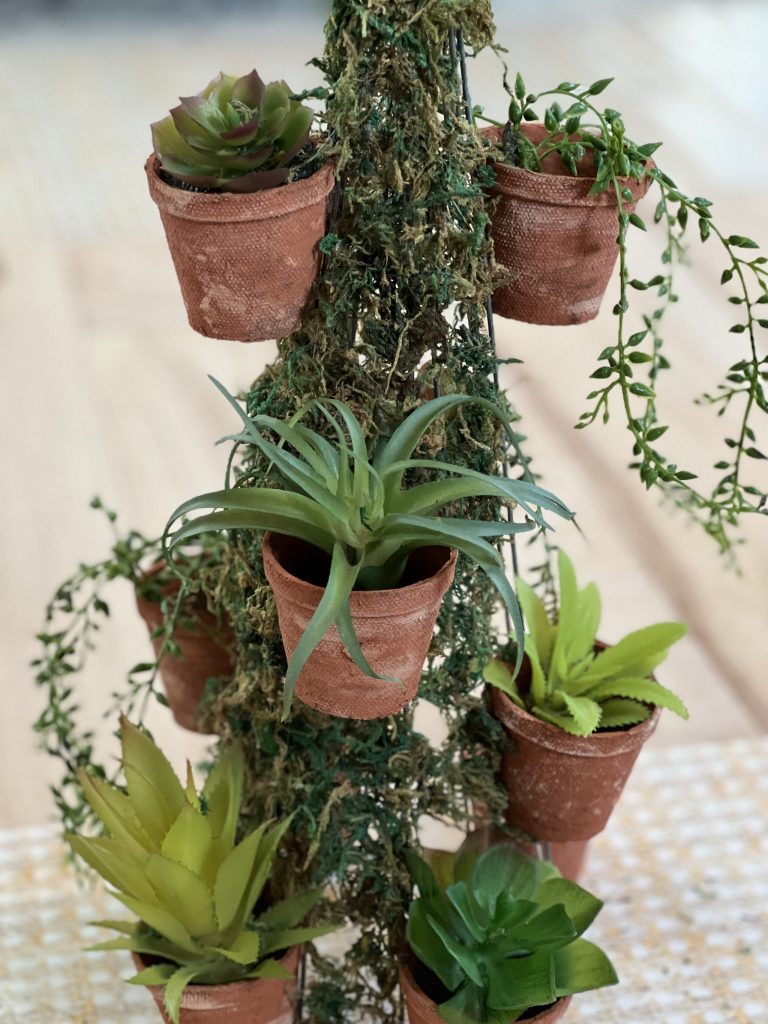
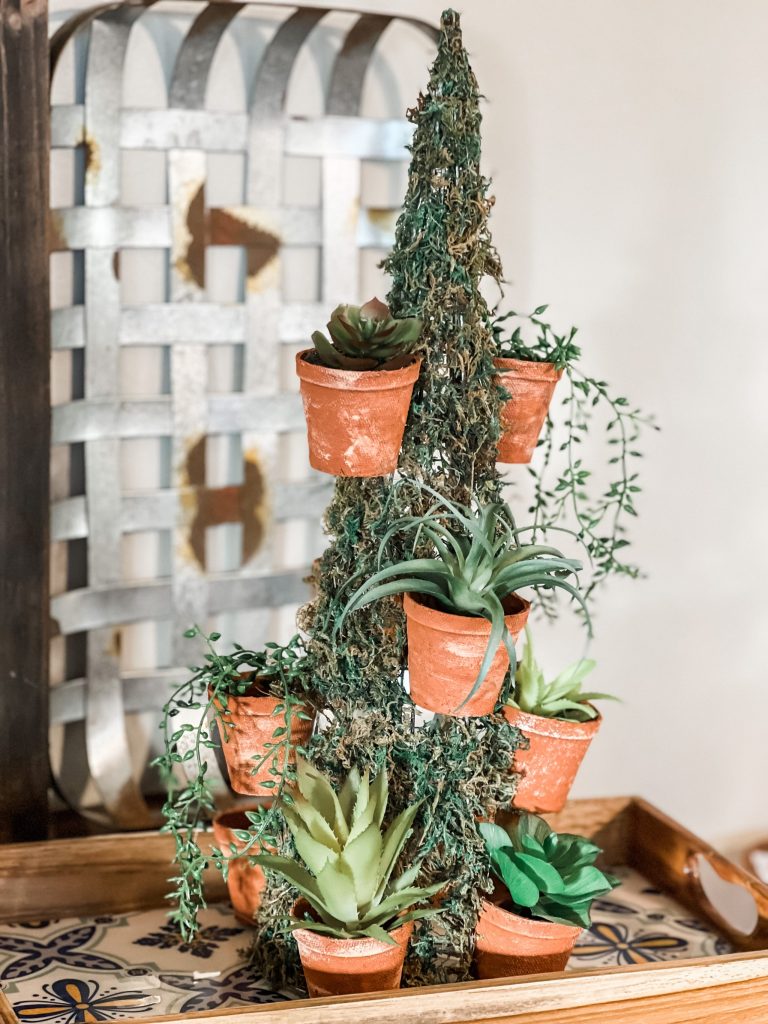
Once the paint had dried, I began gluing the pots onto the wire cone using hot glue. I scattered them around the cone.
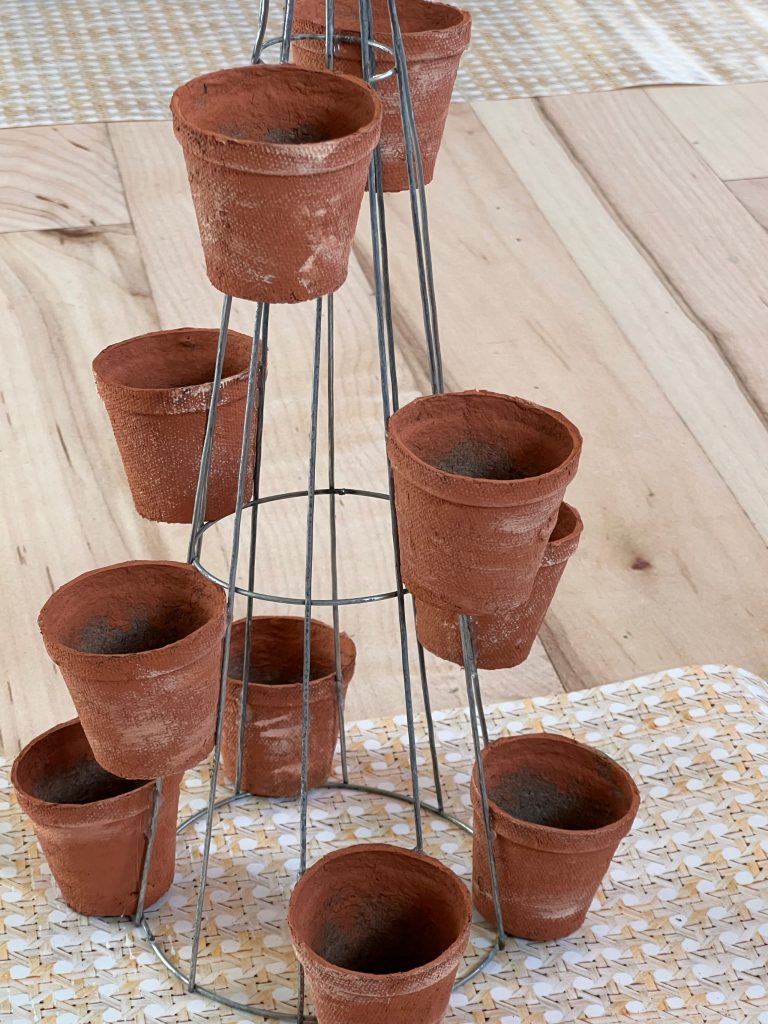
Next, I started placing the succulents and plants in the pots. I tried to get a mixture of shapes and sizes.

After placing the succulents, I started hot gluing the decorative moss on the wires to fill in the background. (I think this step is optional, because it looks SUPER CUTE without the adding moss.)
The moss was very tricky to work with. I took it out of the bag and kind of loosely pulled it apart a bit to create sections to glue.
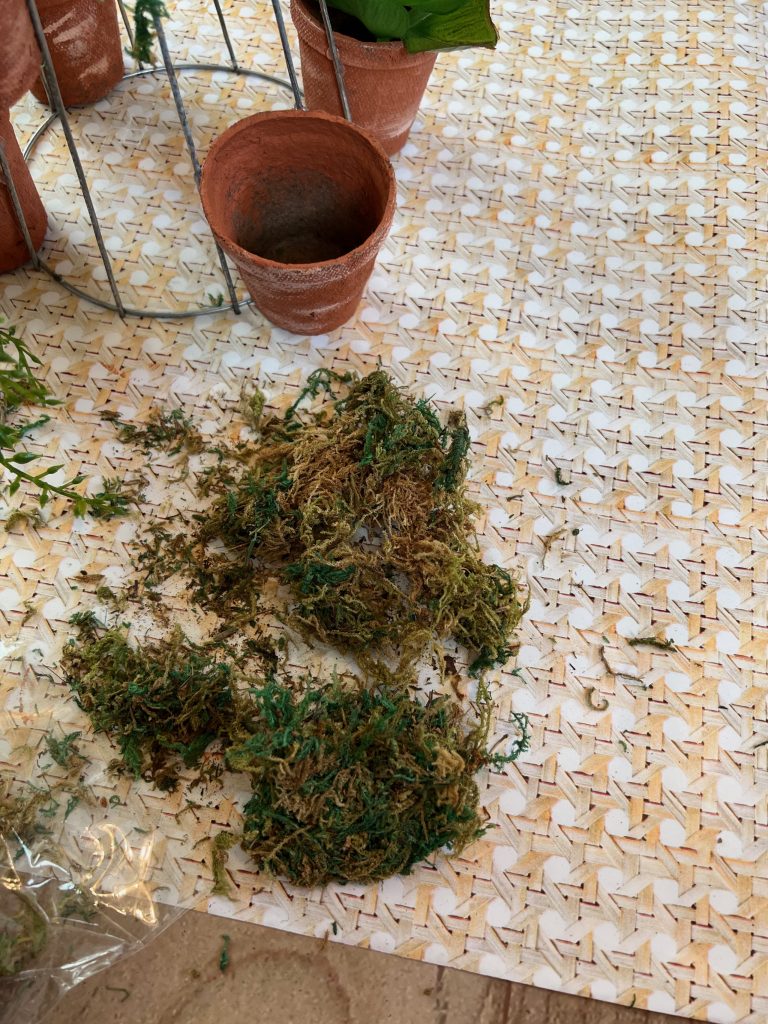
I applied glue directly to the wire and pressed the moss on.
This was the most difficult part of the project. If I was going to do it again, I would probably opt for a nicer quality moss for better coverage. If using the Dollar Tree moss, you will need some patience! It can be done, but it’s a little tricky!
In the end, I think it turned out adorable!!! Y’all, I’m in LOVE with these faux terra-cotta pots! I’m already thinking about how I could use these in other projects. What do you think? Not bad for a $10 project!
Be sure to pin for later!
Last Updated on March 17, 2023

That looks like it cost more than 10.00!!
Oh my goodness, I love these!! I should try this with some tomato cages that I have…and make it in a much larger scale!! Thanks for another great idea!
That is really very nice
Love it!
I think this looks very cool. I’m not s big succulent fan. I think I would use this with a variety of flowers in the pots. Perhaps the artificial pansies would look pretty in it for spring arrangement.
This is a super cute idea! I love it!
Such a cute craft! I love it!
Love it!
Looks great