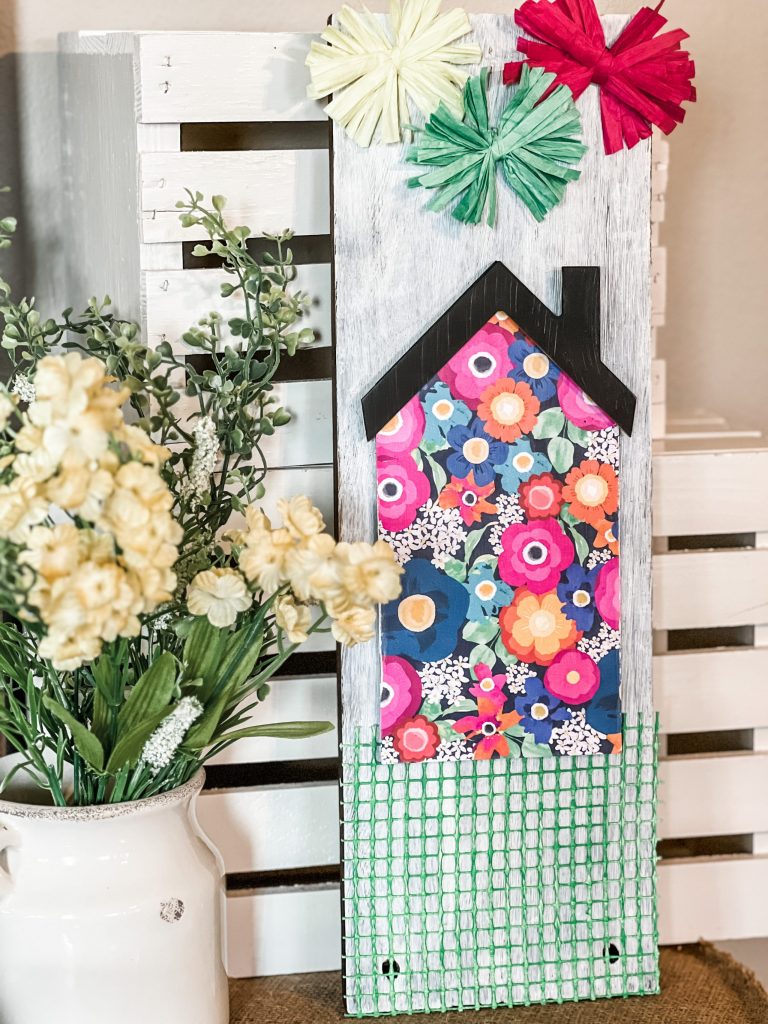
Spring is in the air right now in Kentucky, and I am HERE for it! I LOVE a good Spring craft, so I grabbed some supplies and this sweet little Dollar Tree house and threw together the cutest project! Can you guess what I’m going to do with the rug underlay???
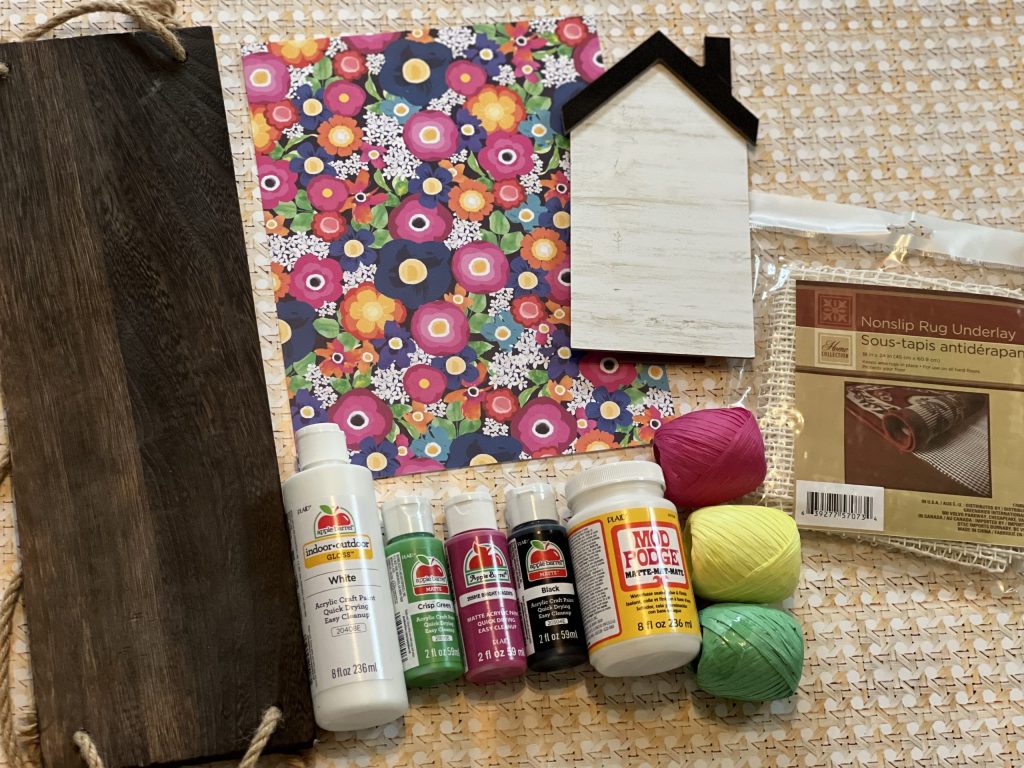
For this project, I used the following supplies:
– Wooden board (mine was from a hanging shelf)
– Easel back house from Dollar Tree
– Nonslip rug underlay
– Scrapbook paper
– Apple Barrel acrylic paints (White, Crisp Green and Black)
– Mod Podge
– Raffia
– Sponge brush
– Hot glue gun
– Sanding block
– Scissors
– Pencil
I actually found this hanging shelf at Goodwill. The wood piece and jute rope were in great shape! The first thing I did was remove the jute rope. I didn’t want to cut it so I could reuse it for a future project, so I was able to untie the knots and slip them out of the shelf.
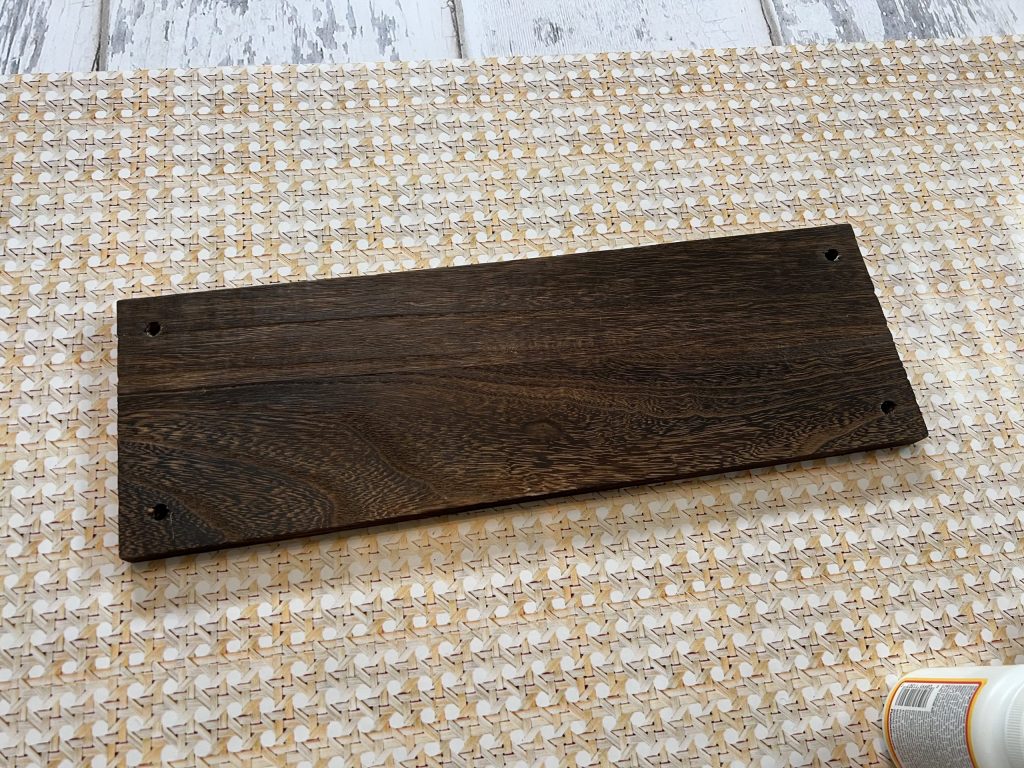
To be completely transparent, my original plans for this project did not work out like I thought. Hey…it happens! So, I ended up painting the board white to cover my flop. I painted two light coats on the front only.
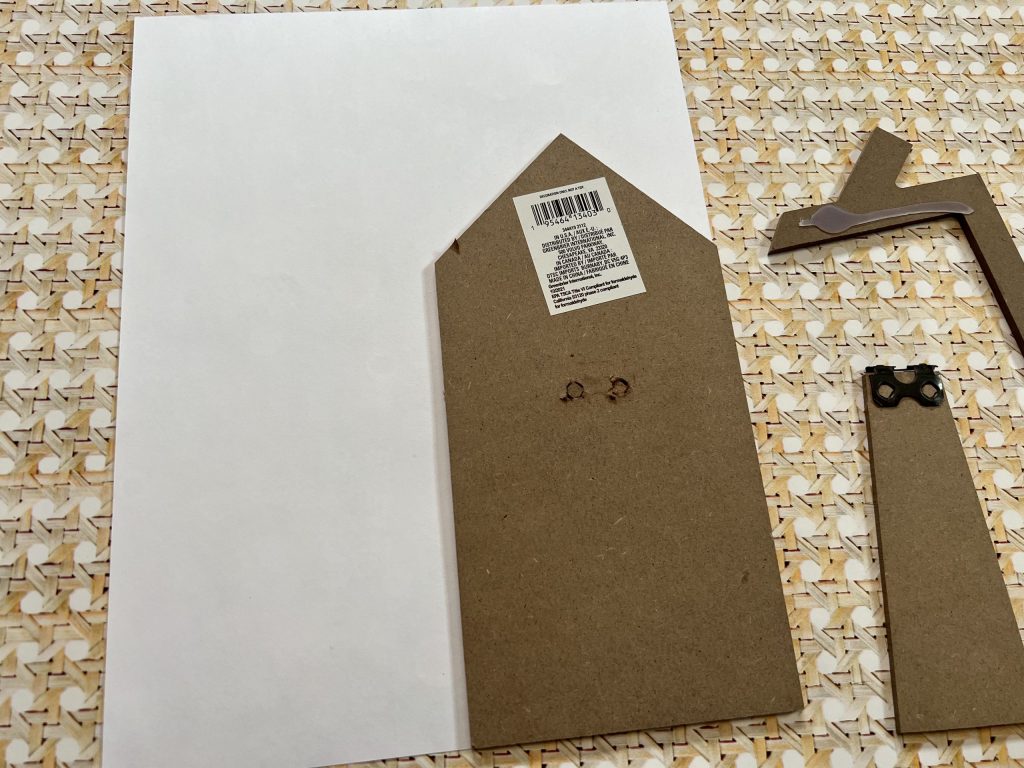
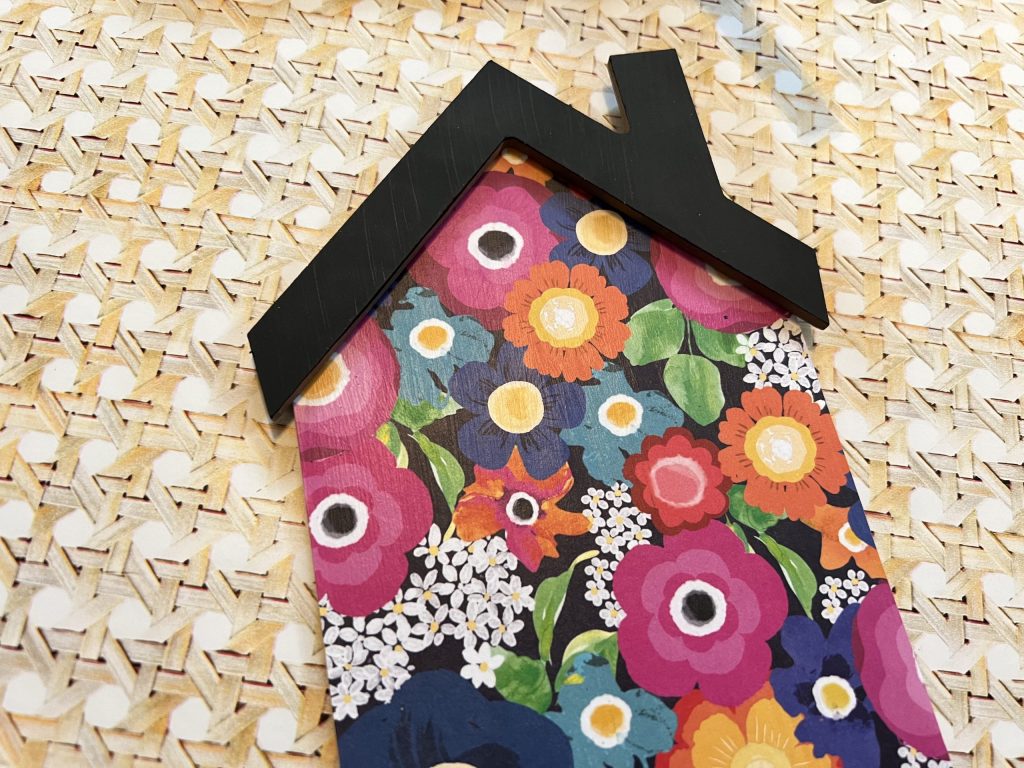
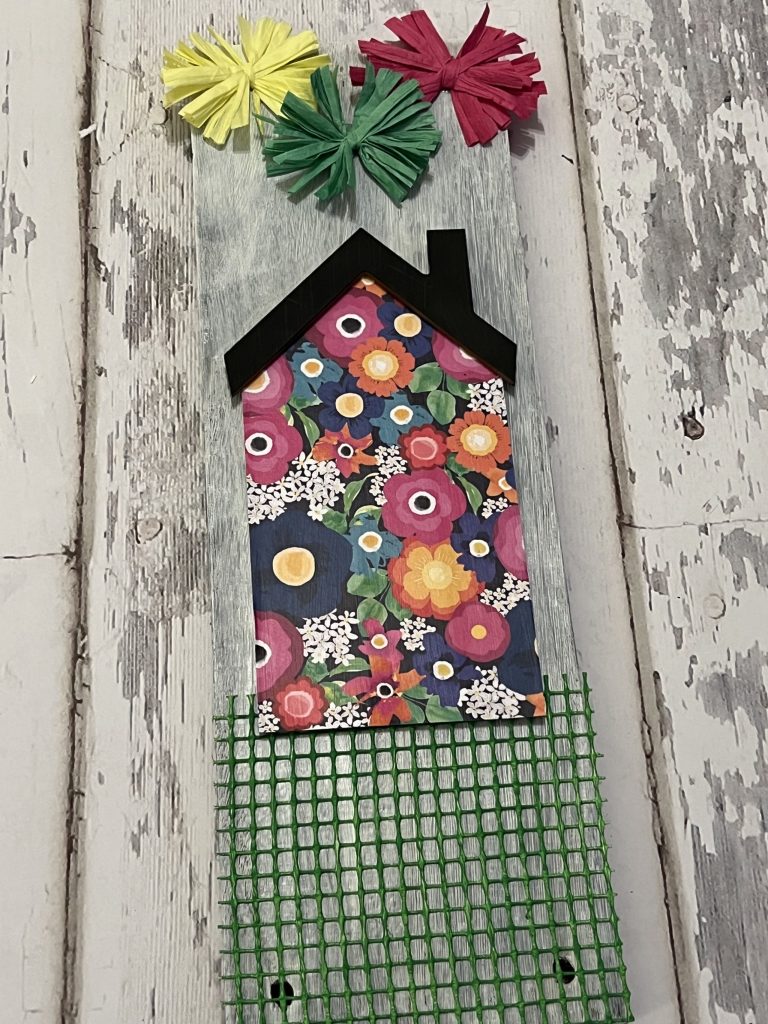
Then, I removed the roof and easel back portion of the house.
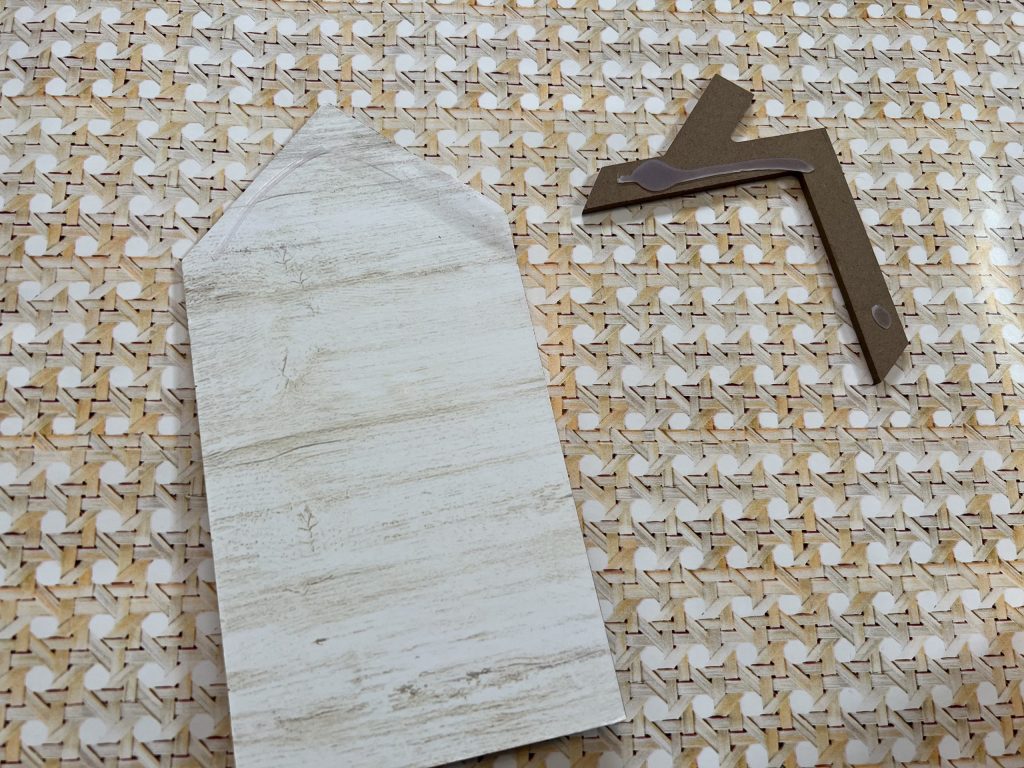
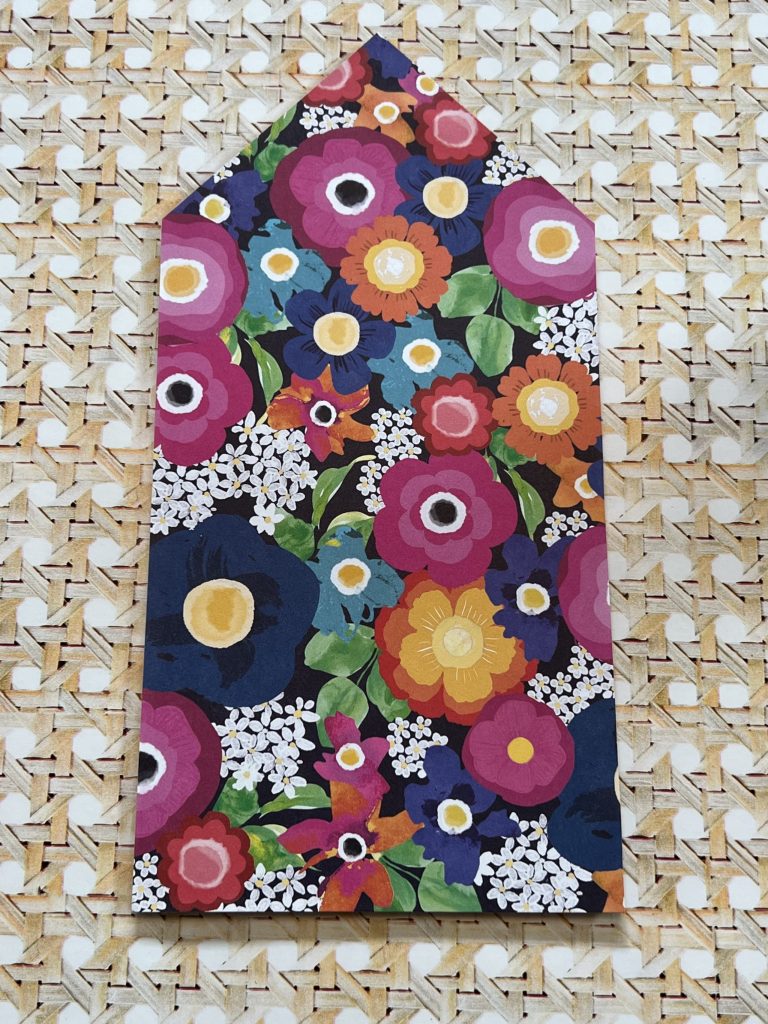
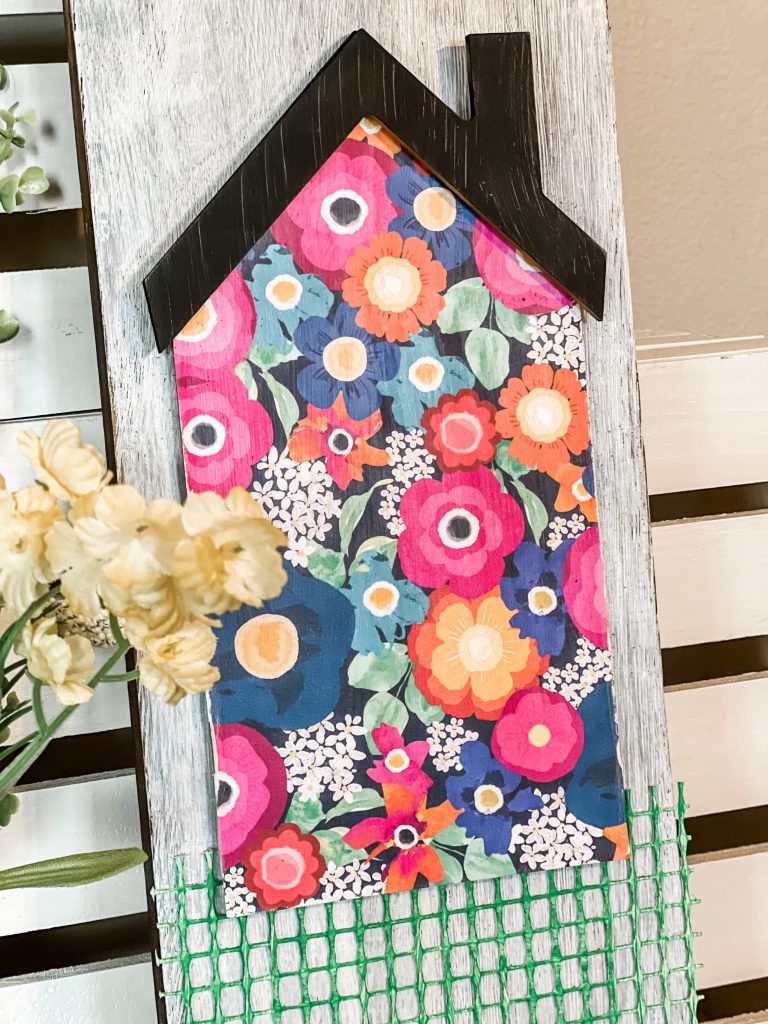
I traced the house on the back of my scrapbook paper and cut it out.
I used Mod Podge to apply the paper to the front of the house.
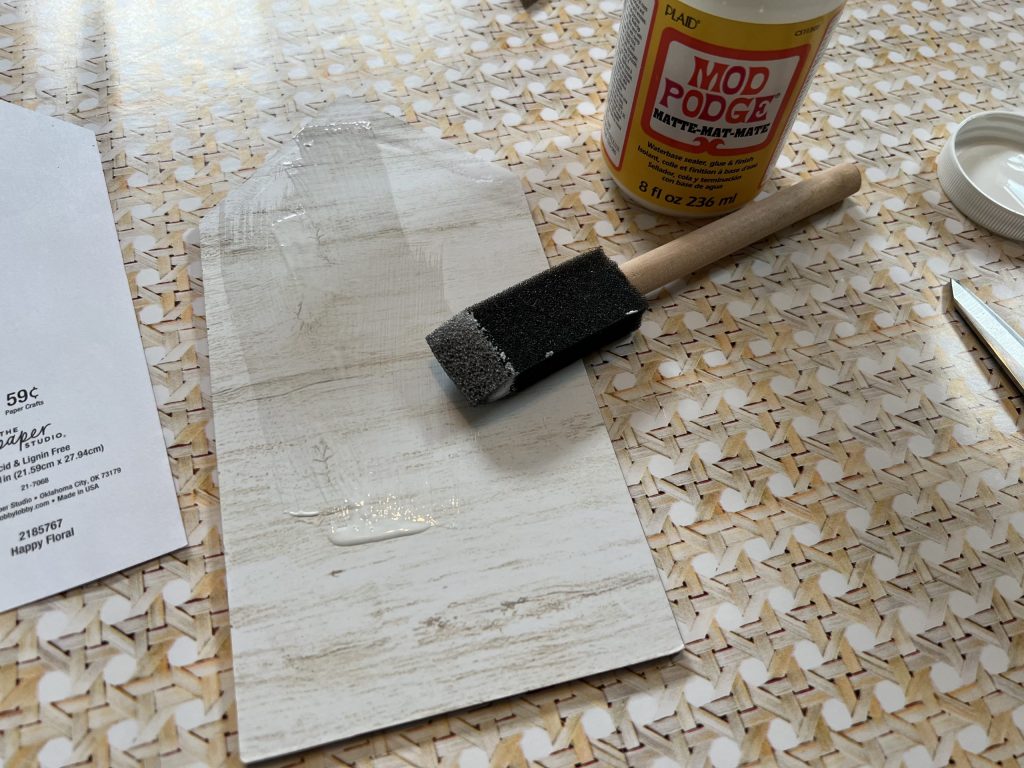
I also applied Mod Podge on top of the scrapbook paper to seal it well.
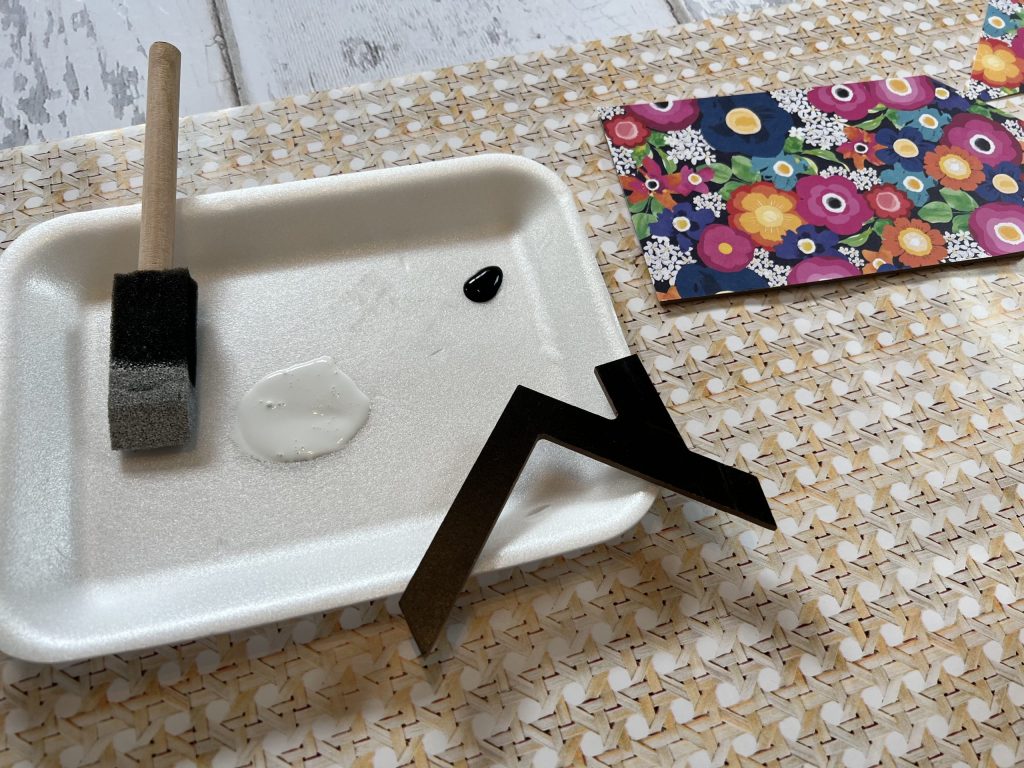
While that was drying, I applied a coat of black paint on the roof to cover a few scratches.
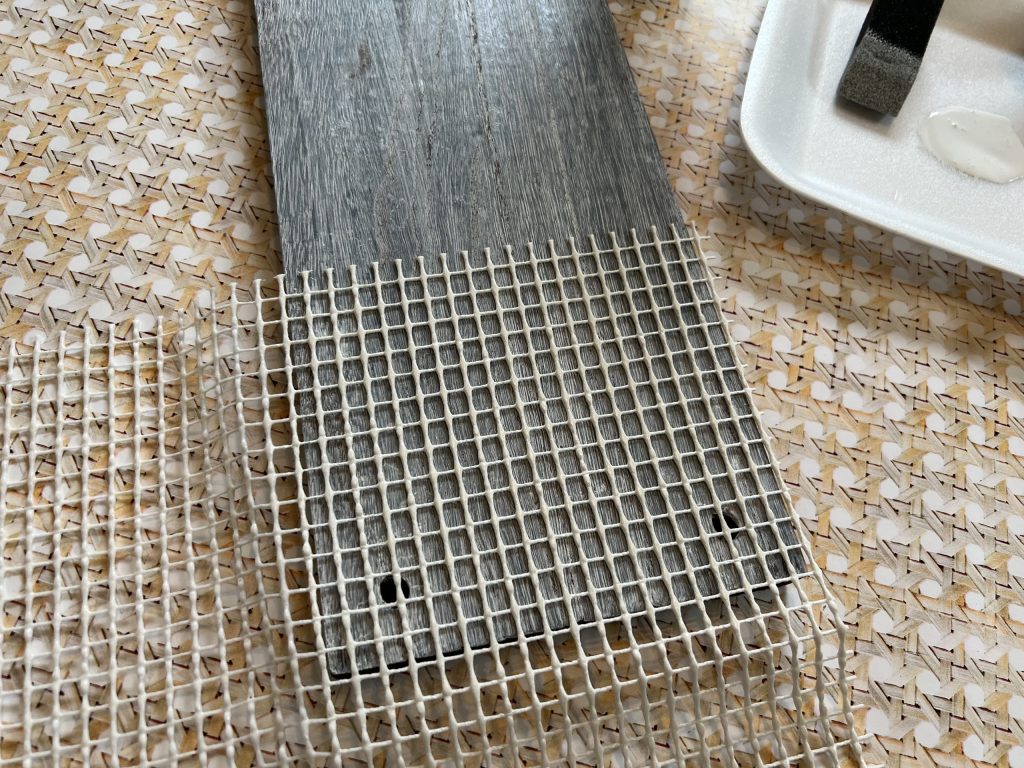
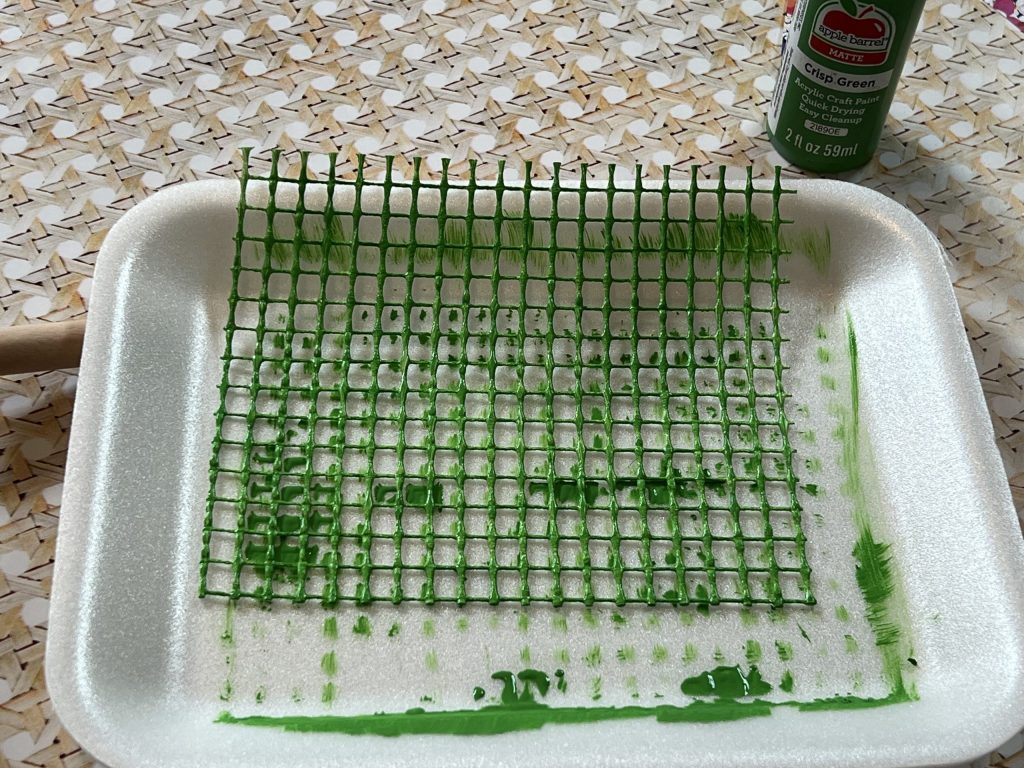
I LOVE to add texture and dimension to my projects, and when I saw this nonslip rug underlay at the Dollar Tree, I knew I wanted to incorporate it somehow. I cut it to fit the bottom of the board, then I painted it with Apple Barrel Crisp Green.
While that was drying, I used a hot glue gun to glue the roof back on the house.
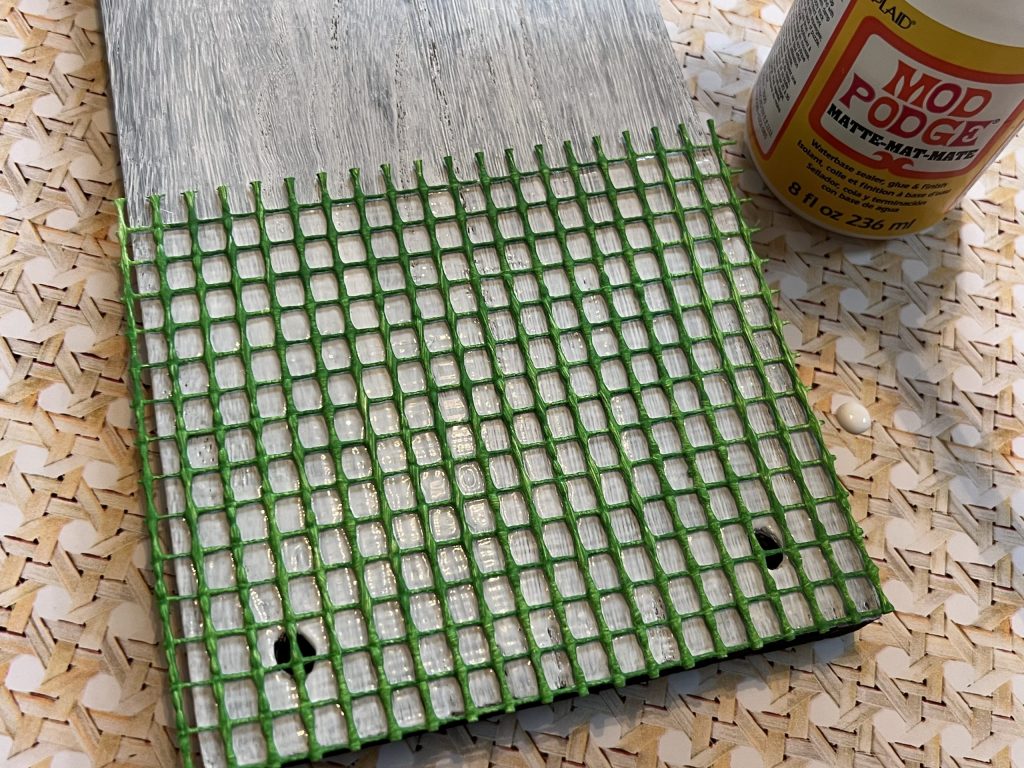
Then, once the green paint had dried, I applied a good layer of Mod Podge to the bottom of my board and pressed the green grid piece into the Mod Podge. I love the way it pops on the white background!
Using my hot glue gun, I glued the house to the board, just slightly overlapping the green grass piece.

I needed a little something up at the top, and I considered running string through it to hang, but I opted for a fun burst of color!
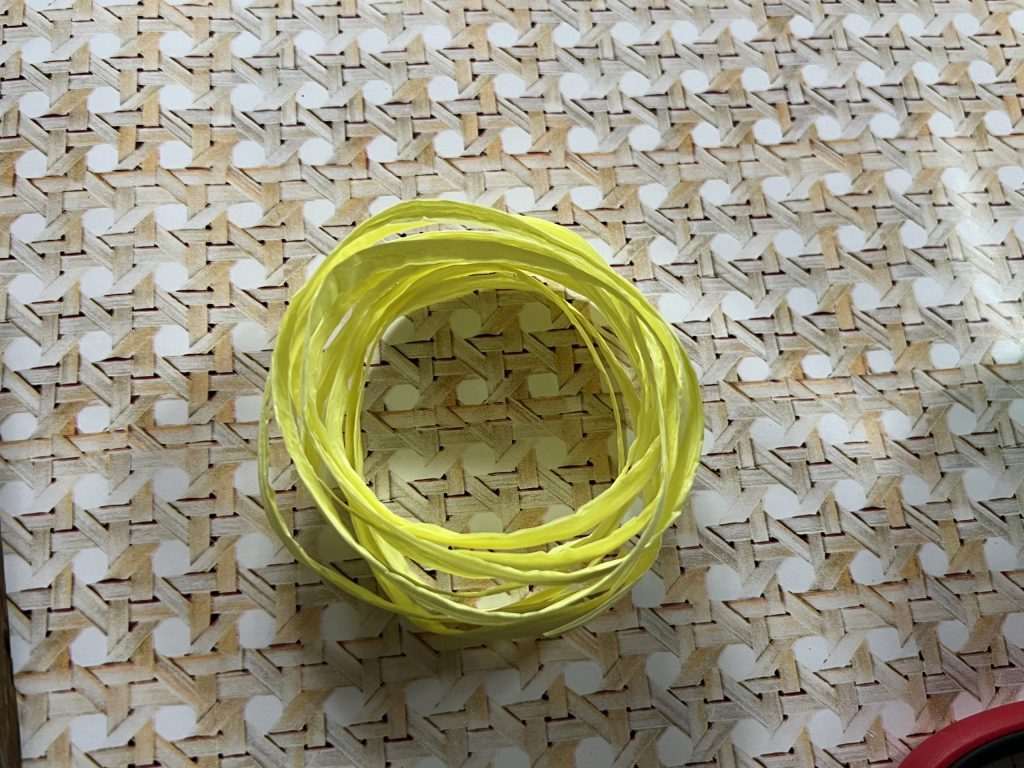
You know my love for raffia! I have it in all the colors, and it’s so versatile! I pulled out some raffia and made some little flowers.
To make the flowers, I sort of just allowed the raffia to fall off the spool, forming a few layers of ribbon. If you have a large spool, you can wrap it around three fingers several times to create a similar circle of raffia.
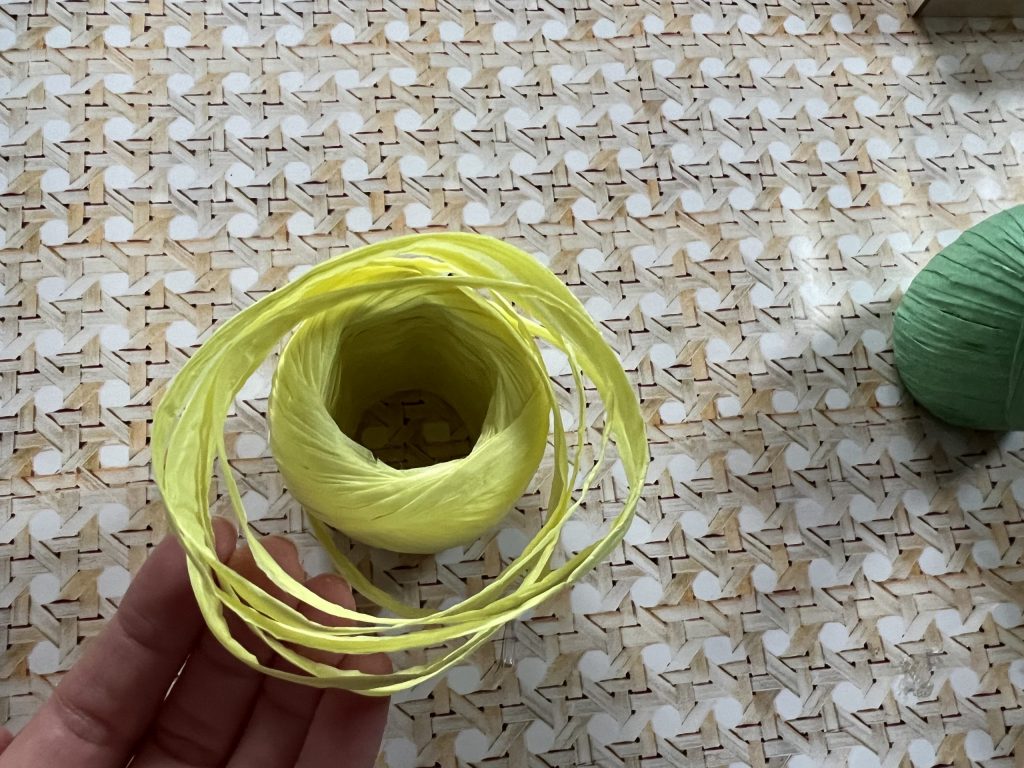
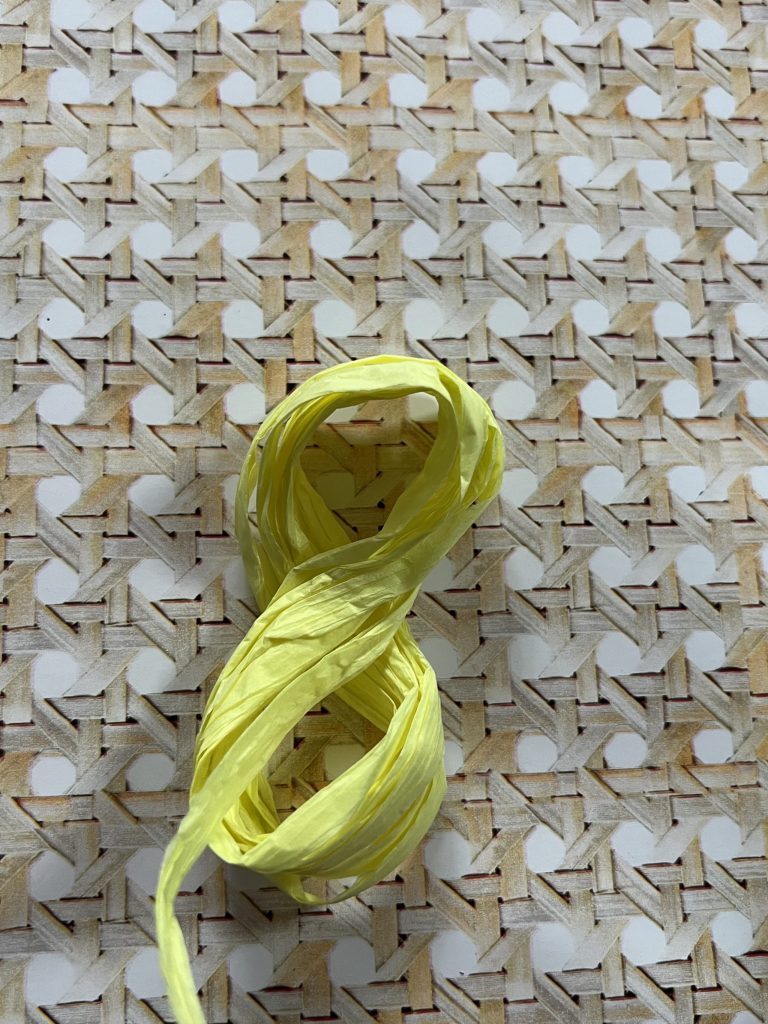
Raffia has great body and movement, so I twisted the circle to form a figure eight.
Then, I took another piece of raffia and tied it around the center to secure the figure eight shape.
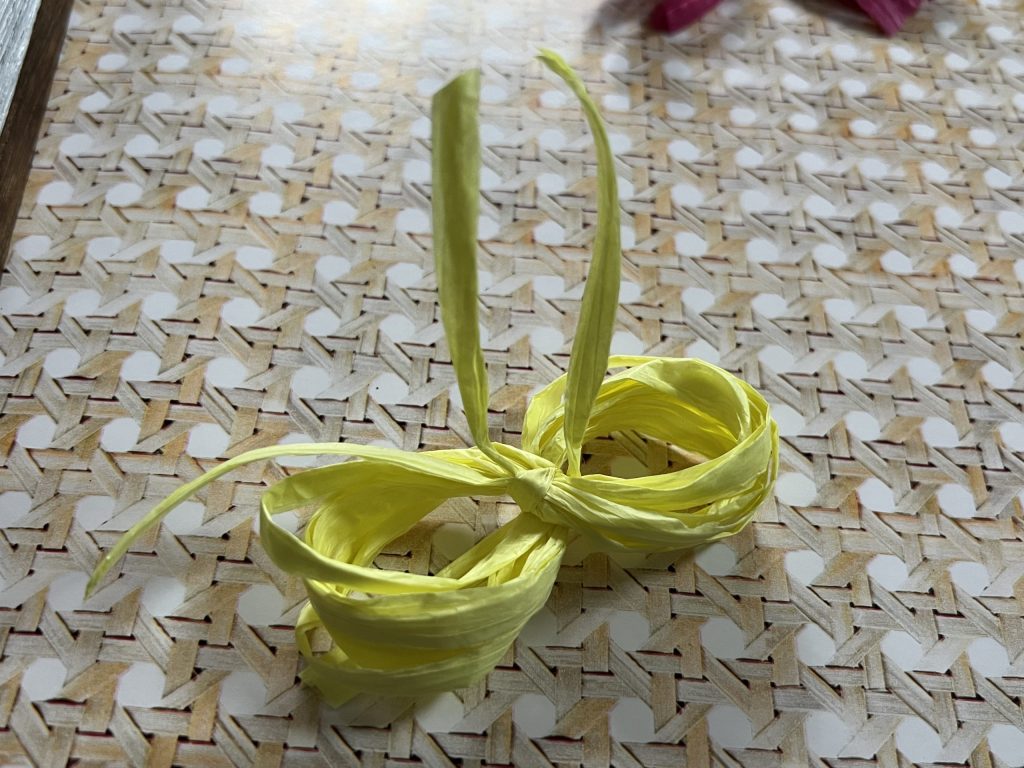
I cut the looped sections with scissors and then spread out the pieces.
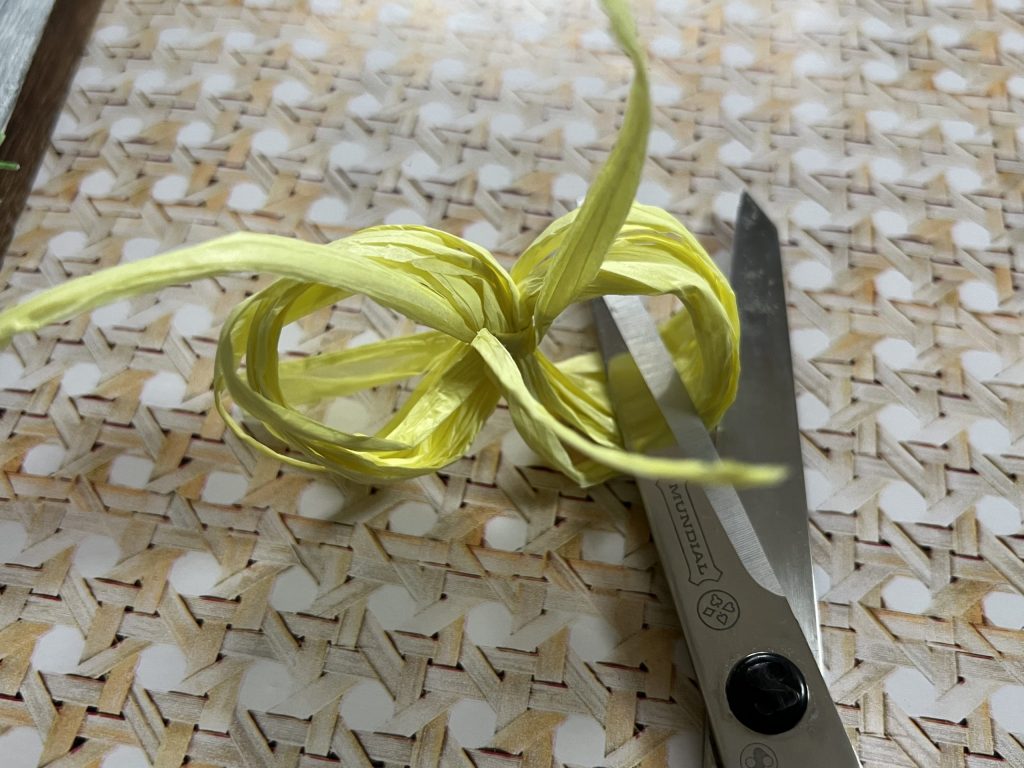
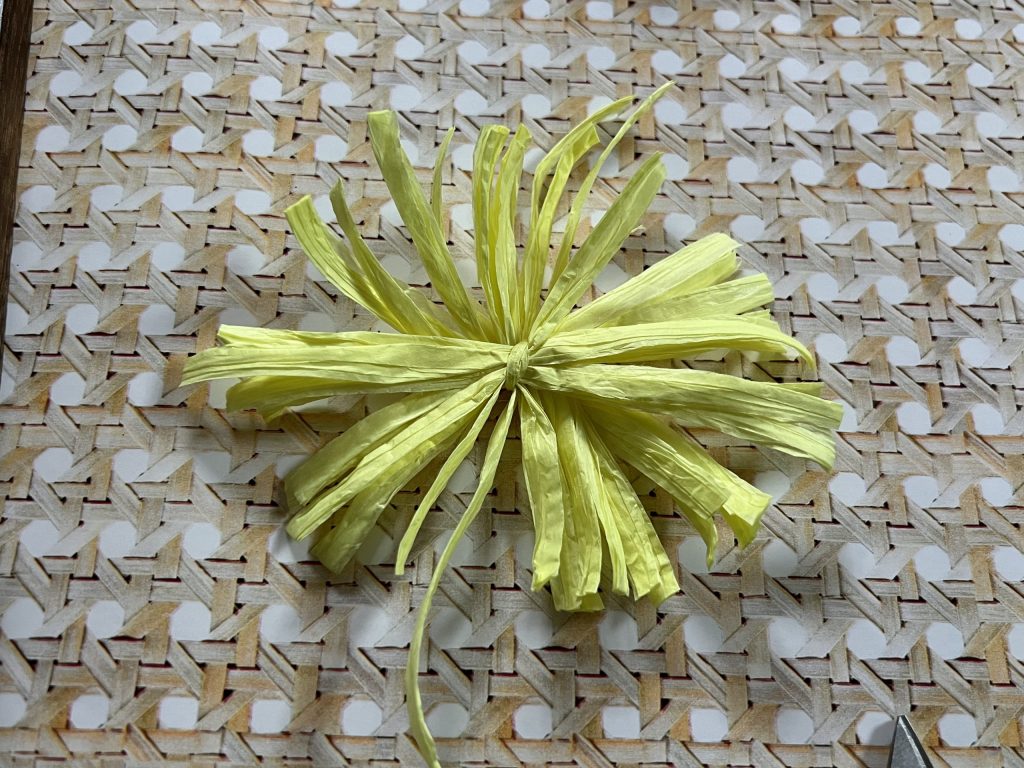
Next, you will need to trim the pieces to the desired length. I repeated the process for the other colors.
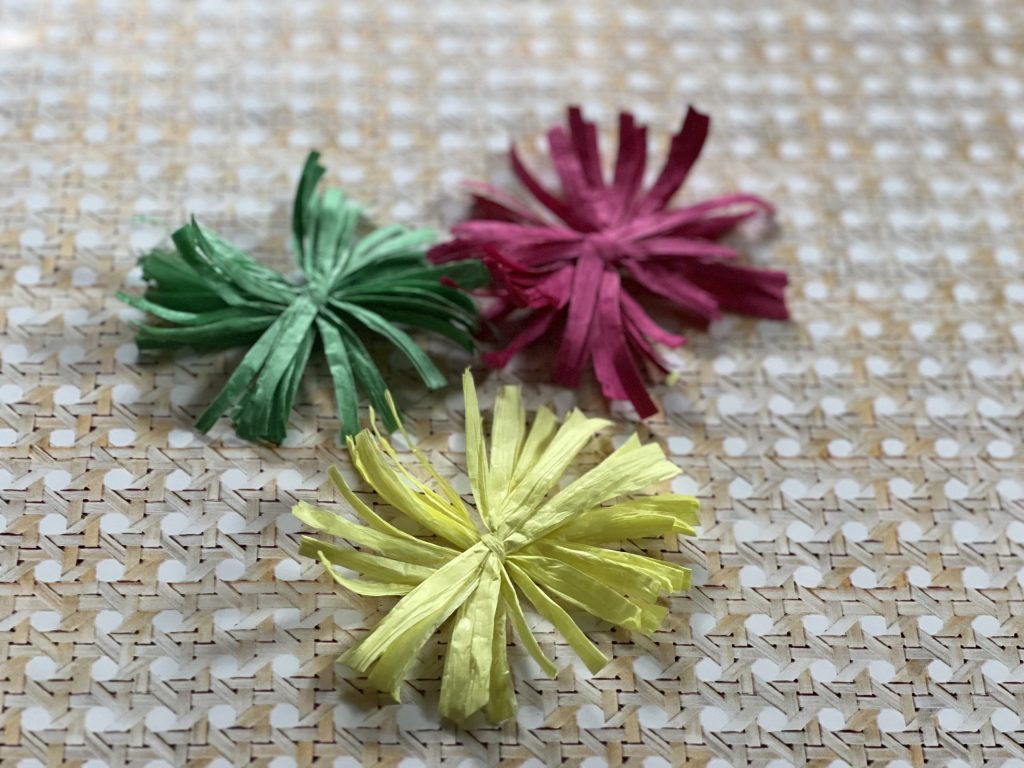
Using a hot glue gun, I glued them to the top of the board above the house. I think they added the perfect touch of color to balance the piece.
Finally, I sanded on the house and board just a tiny bit to give it a little distressed look.
This just screams SPRING! This project can be done with any color palette! Make it to suit YOUR décor!
Get creative!
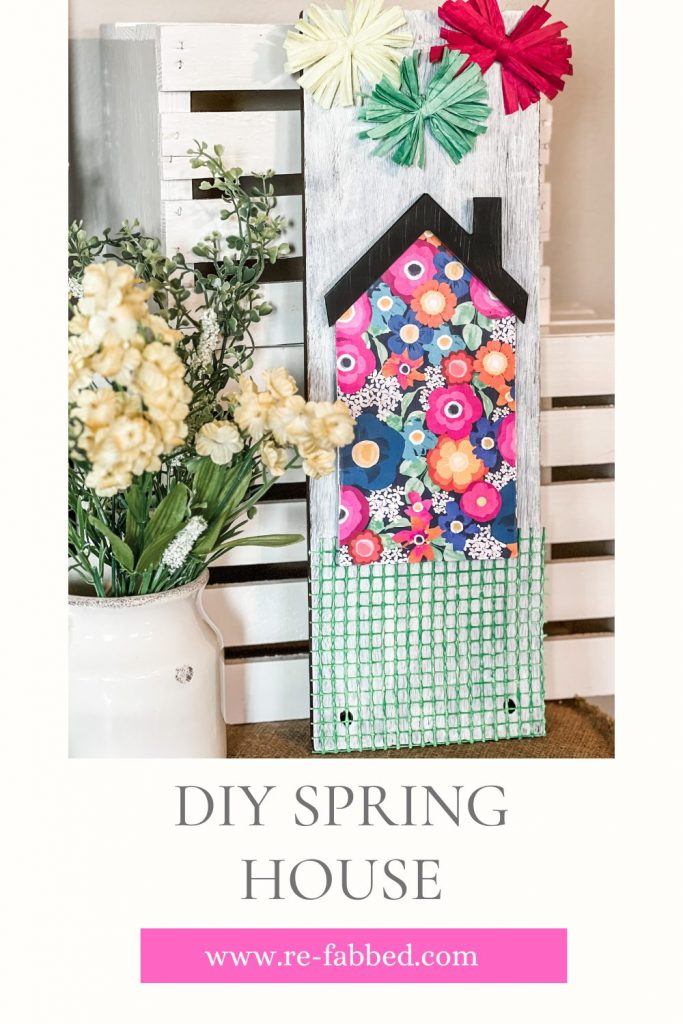
Be sure to pin for later!!!
Last Updated on February 24, 2023

This is so stinkin adorable!!! Love it
Love everything you do!!!!
LOVE IT!!
Love it!
This is absolutely precious!
Luv ur skills xx
Brooke. Where did you get the paper you used for the house? I would like to scrapbook with that print. It’s beautiful.
I’m not sure on that specific paper, but Walmart, Hobby Lobby & Michael’s are where I get a lot of mine!