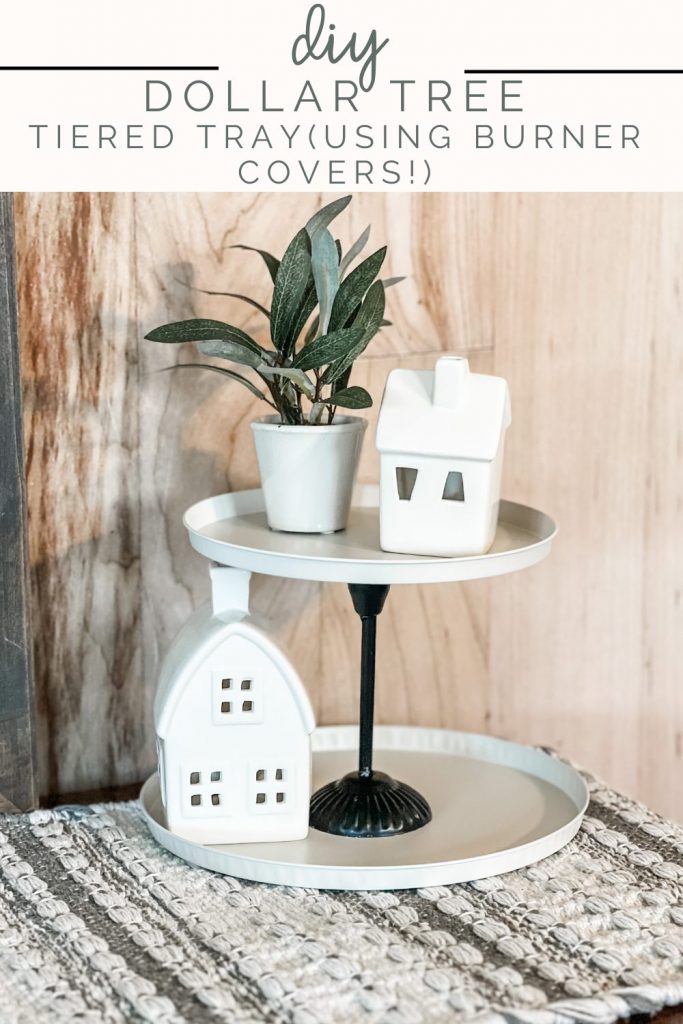
Tiered trays are so fun to decorate with, and today I have an adorable diy tray straight from the DOLLAR TREE! I love the versatility of trays and how they add height on tables and shelves. For this diy project, I used stove burner covers that come in a two pack at the Dollar Tree, but you can also use the tin lids from popcorn or cookie tins. This project is so simple, but it turned out amazing!
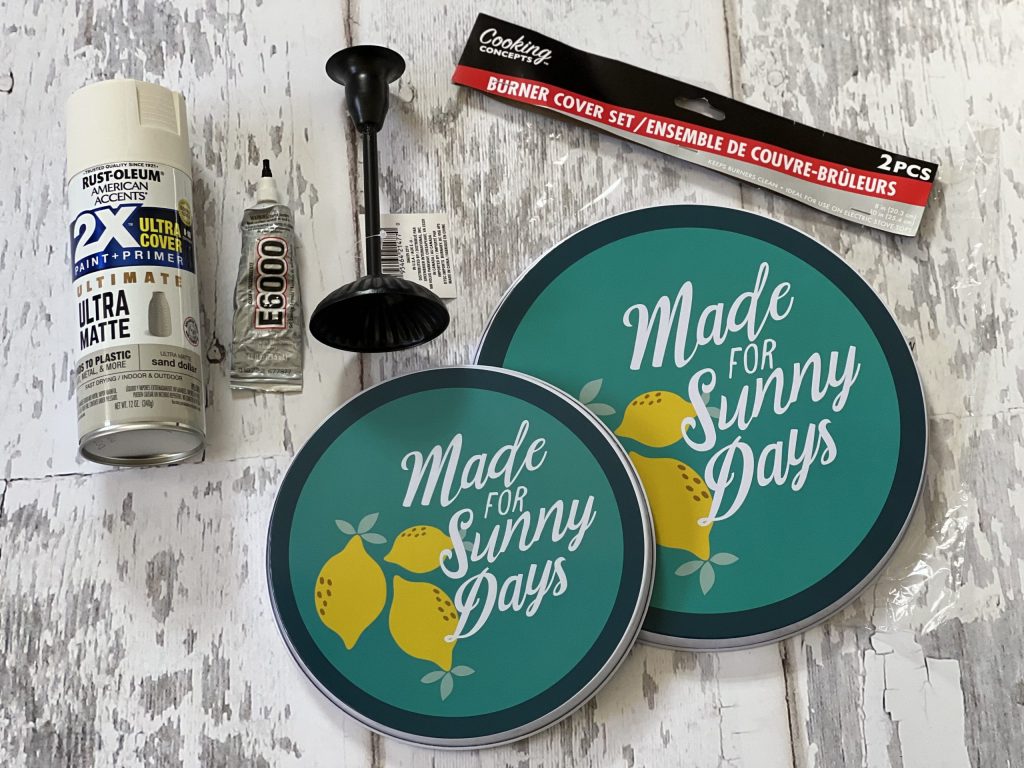
To create this tiered tray, you will need the following supplies:
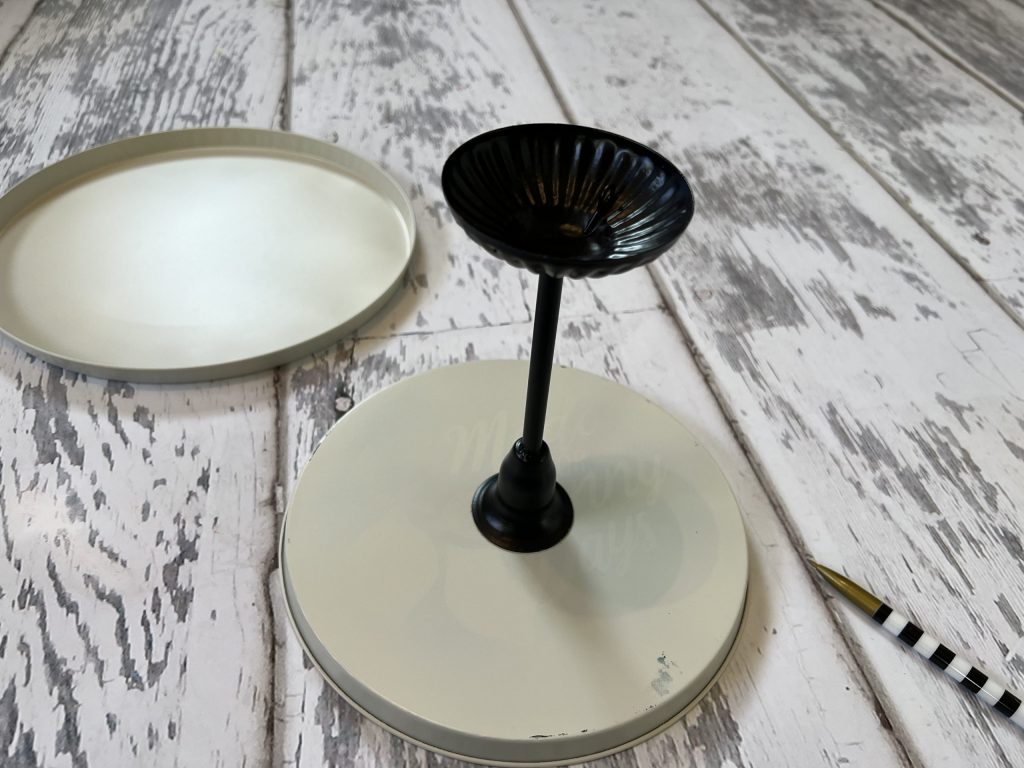
- Stove burner covers (Mine came from the Dollar Tree) or tin lids from popcorn or cookie tins
- Candlestick from Dollar Tree
- Spray paint (I used Rust-Oleum 2X Ultra Cover in the color Sand Dollar)
- E6000 glue
- Toothpick
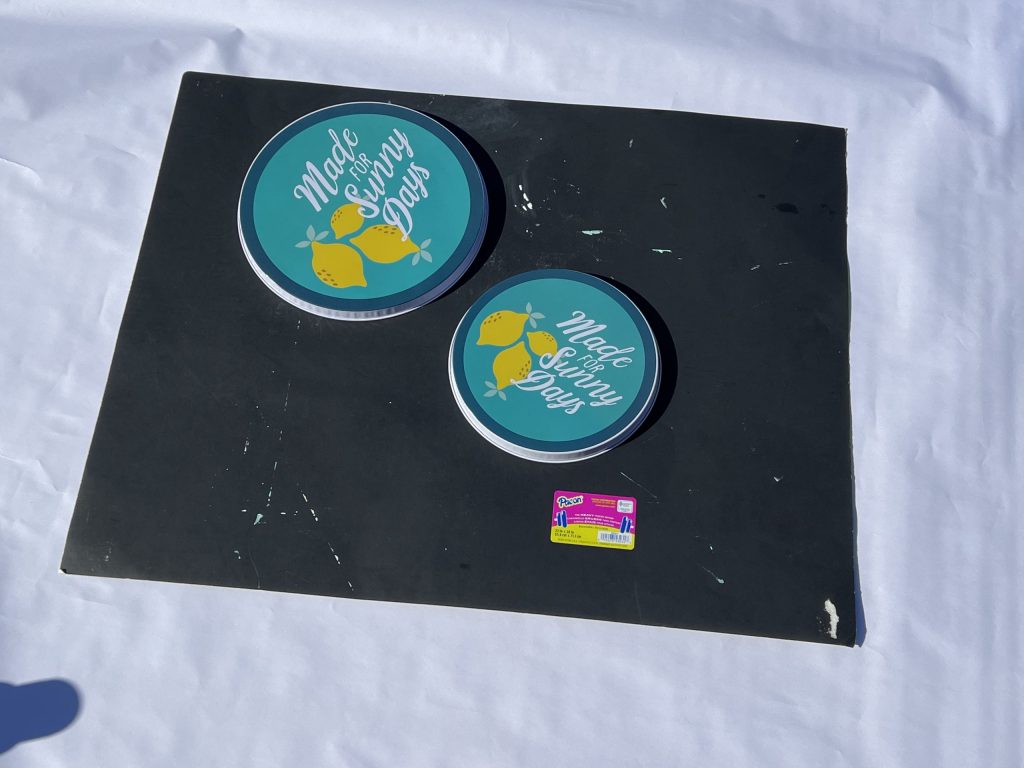
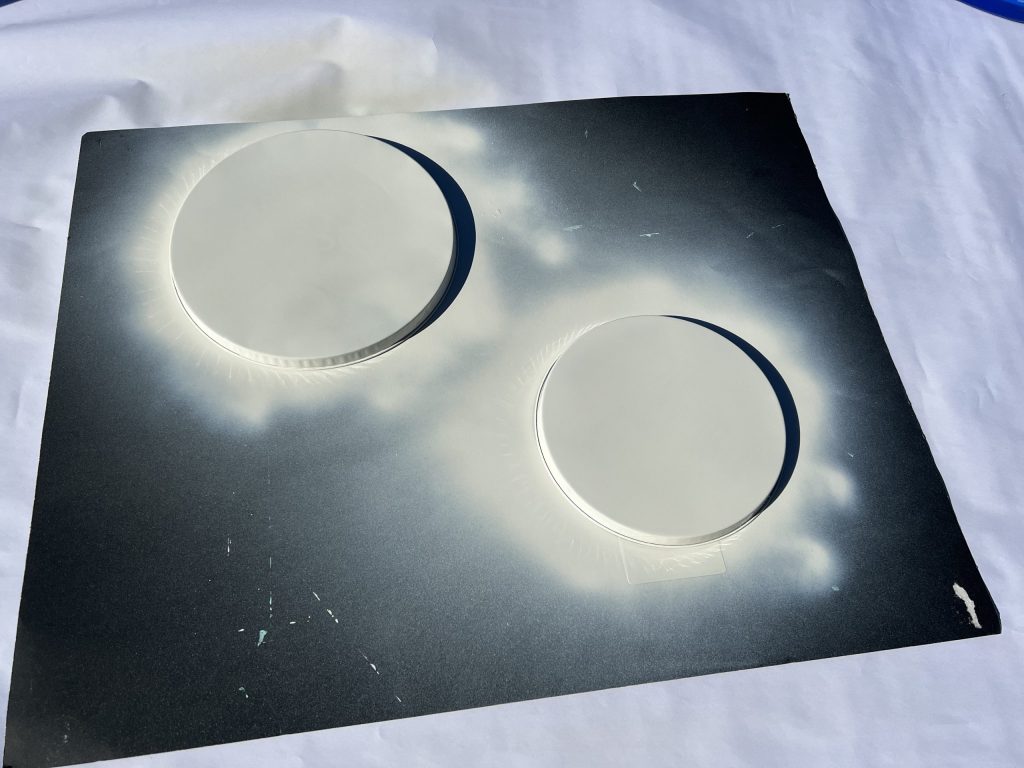
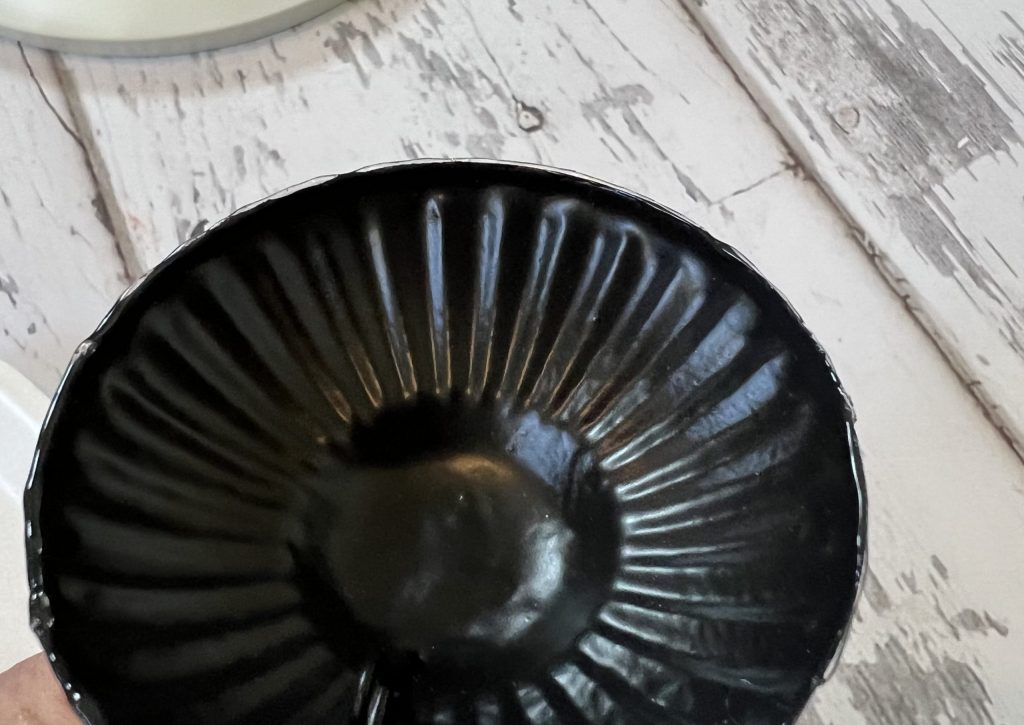
To start, I spray painted both sides of the burner covers. The printed sides will not be seen in the final product, so if it’s not completely covered, that’s okay!
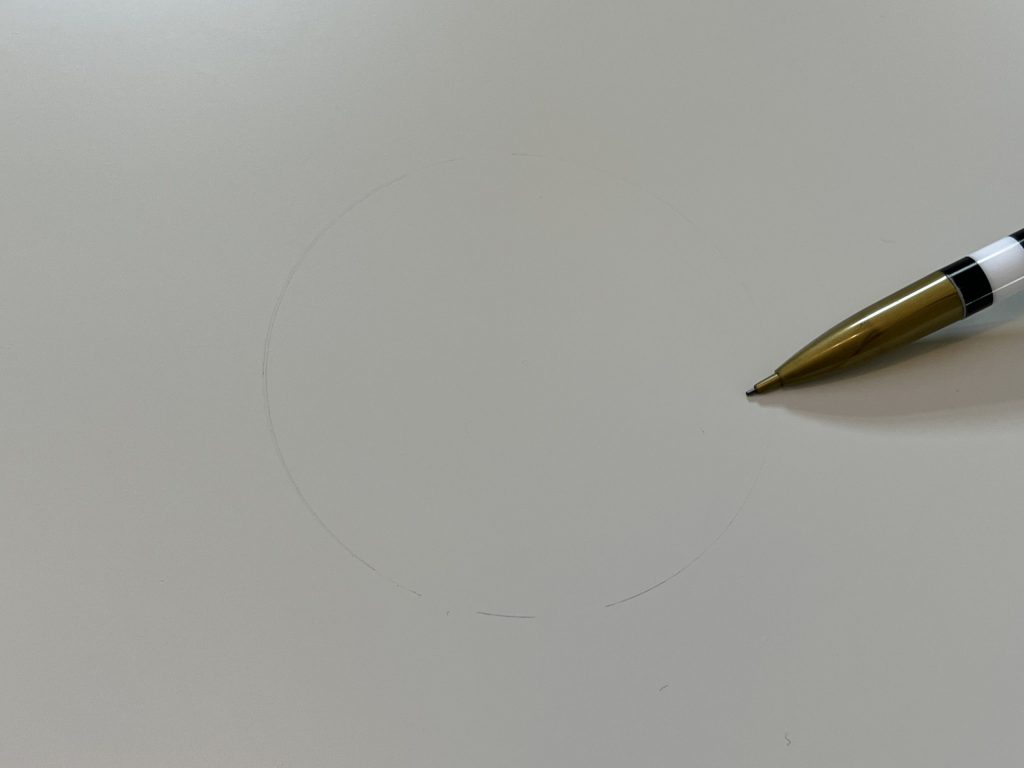
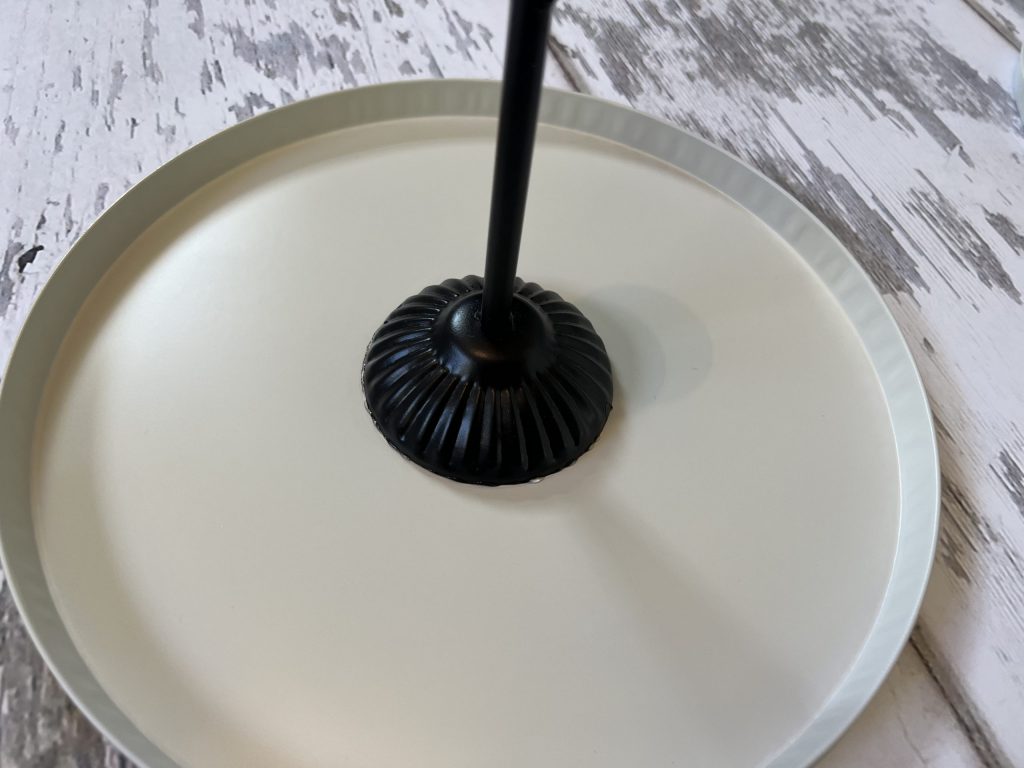
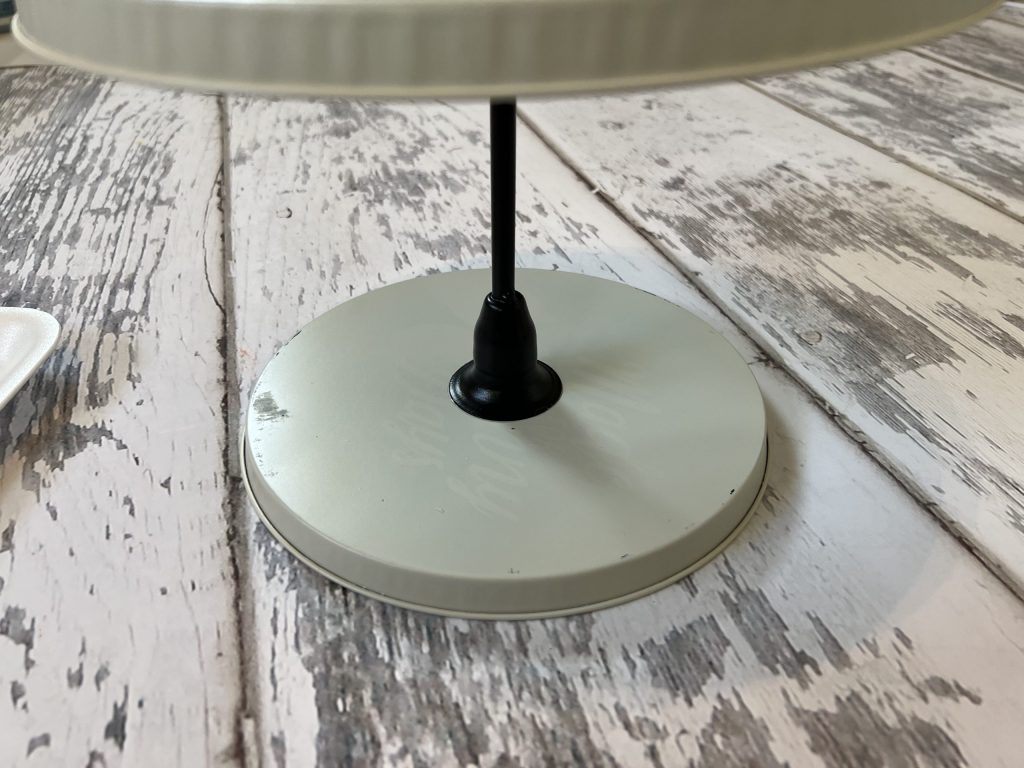
After the covers dried, I flipped the large cover over and placed the candle holder in the center of the circle. Using a pencil, I traced around the base of the candle holder.
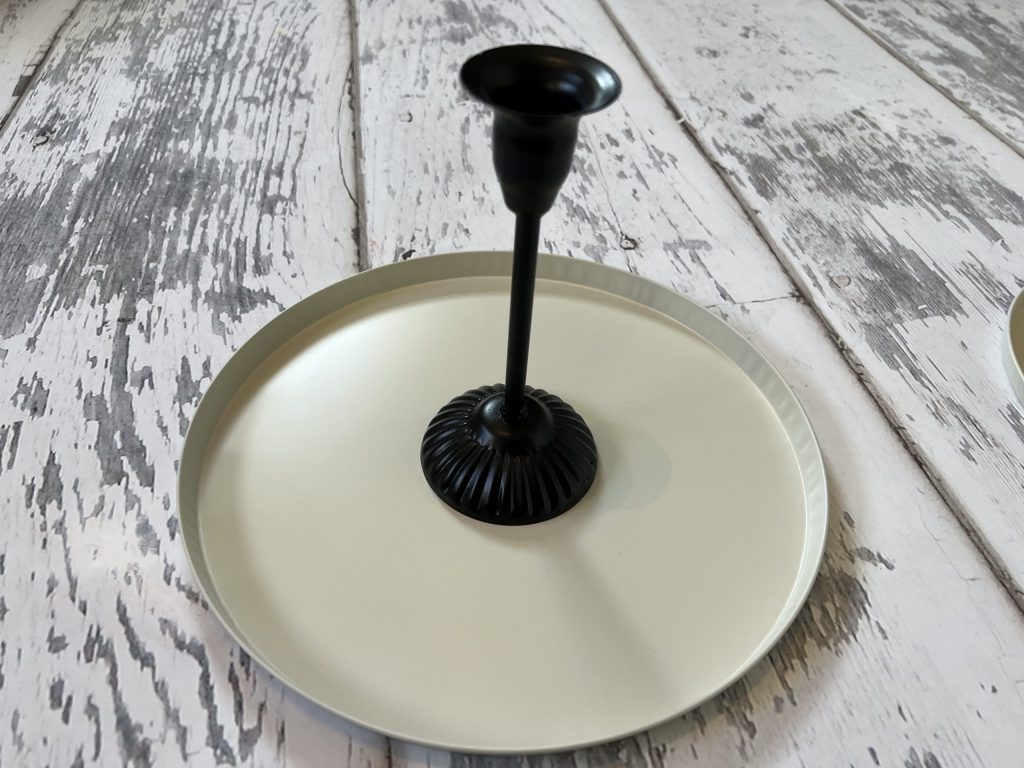
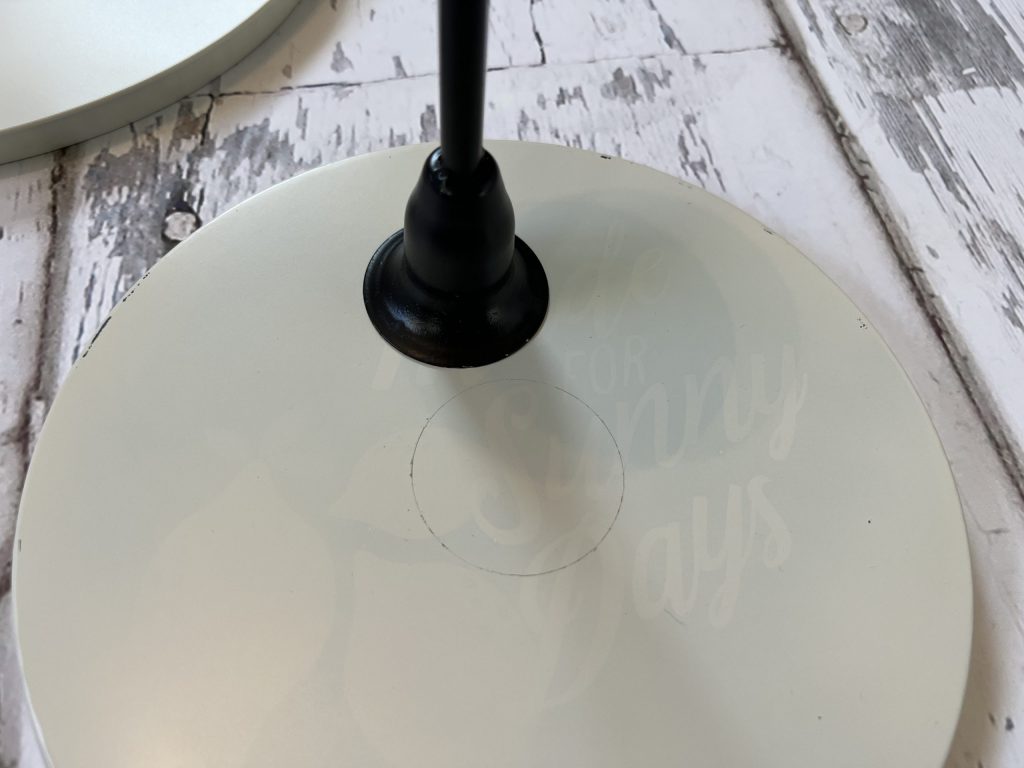
Next, I flipped the candle holder upside down and placed it in the center of the small burner. Again, I traced it on the top of the small burner (printed side up).
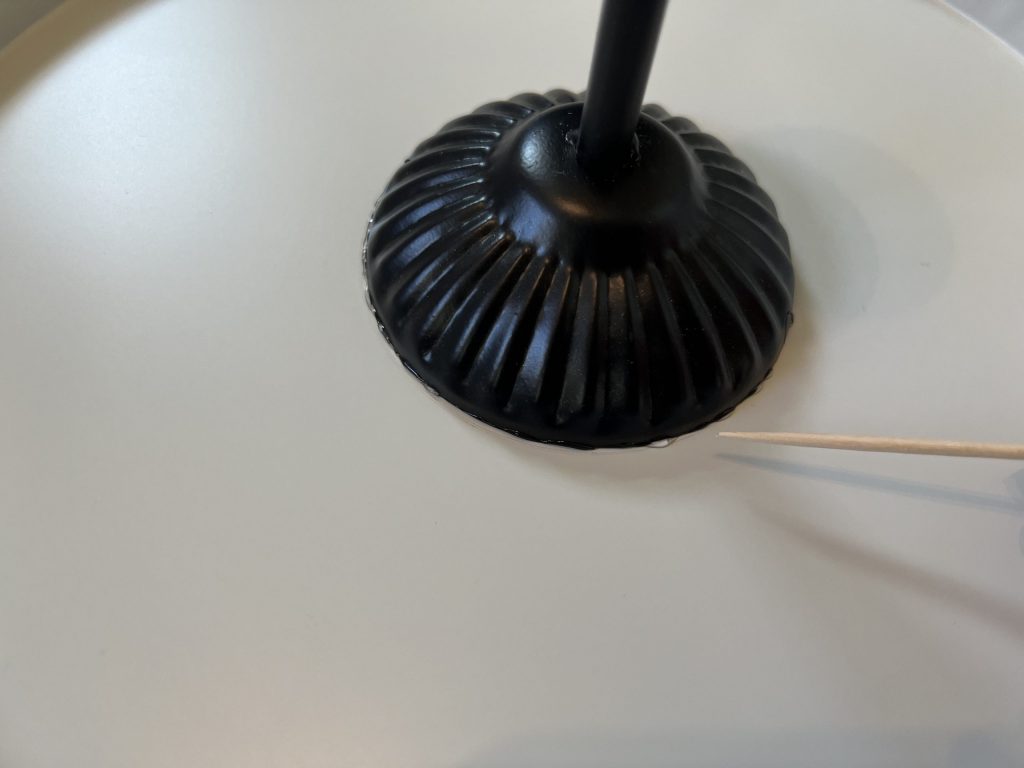
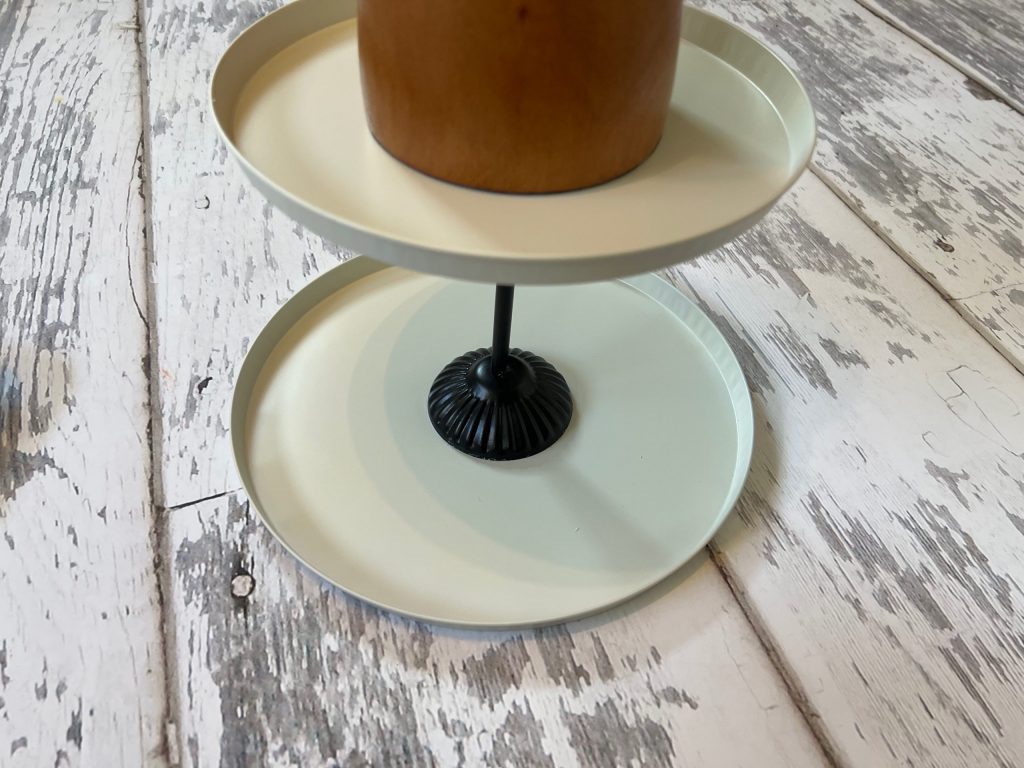
Now that both pieces are marked, it was time to apply the glue to the candle holder. I first applied it to the base and glued the base burner cover.
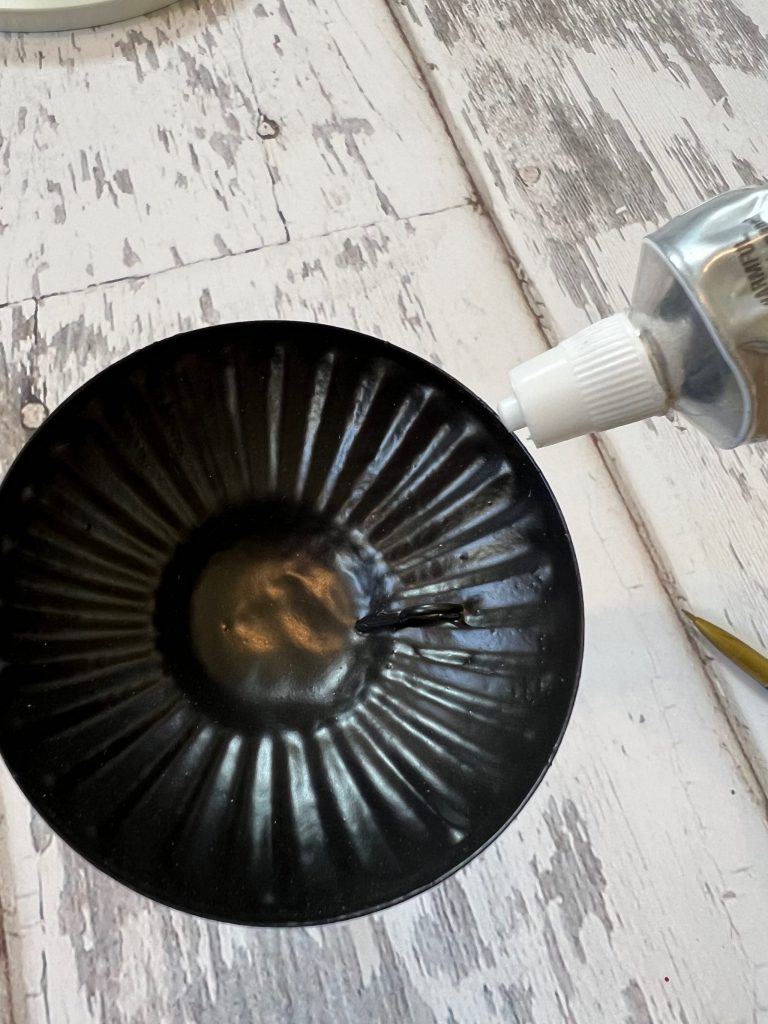
I used a toothpick to clean up any excess glue around the base.
Then, I applied the glue to the top of the candle holder and flipped it over to match up with the outline on the small burner.
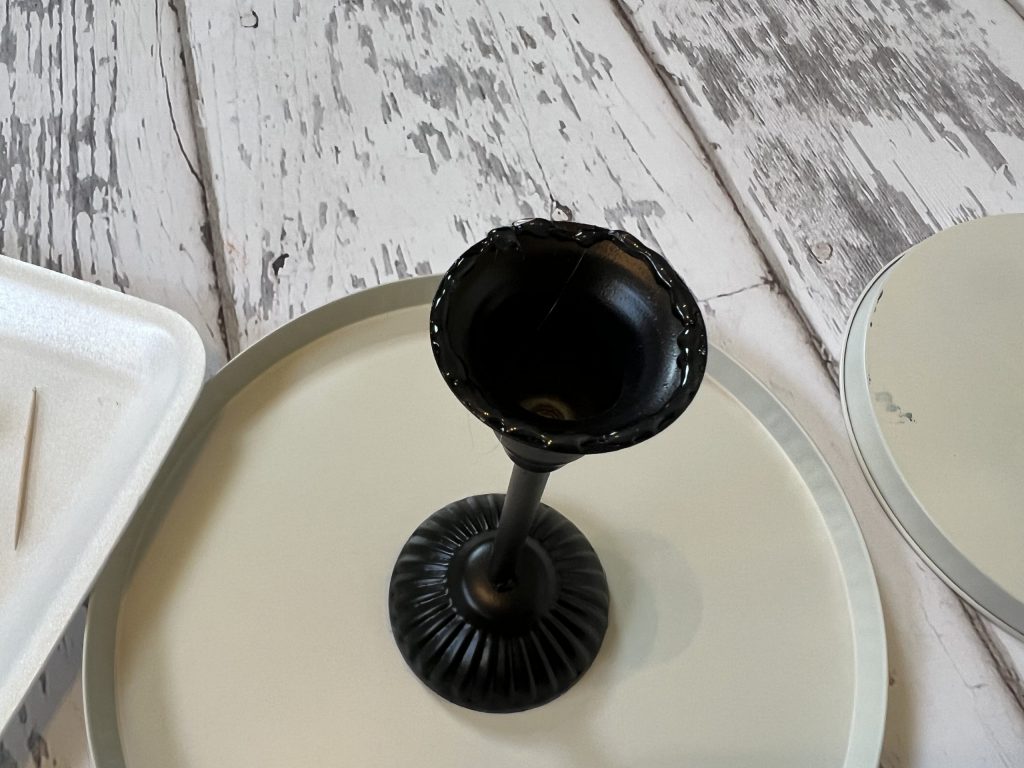
Once it was glued and assembled, I turned it over correctly and placed a heavier object on the top tier to apply pressure in the center of the tray. I left it overnight for the glue to cure well.
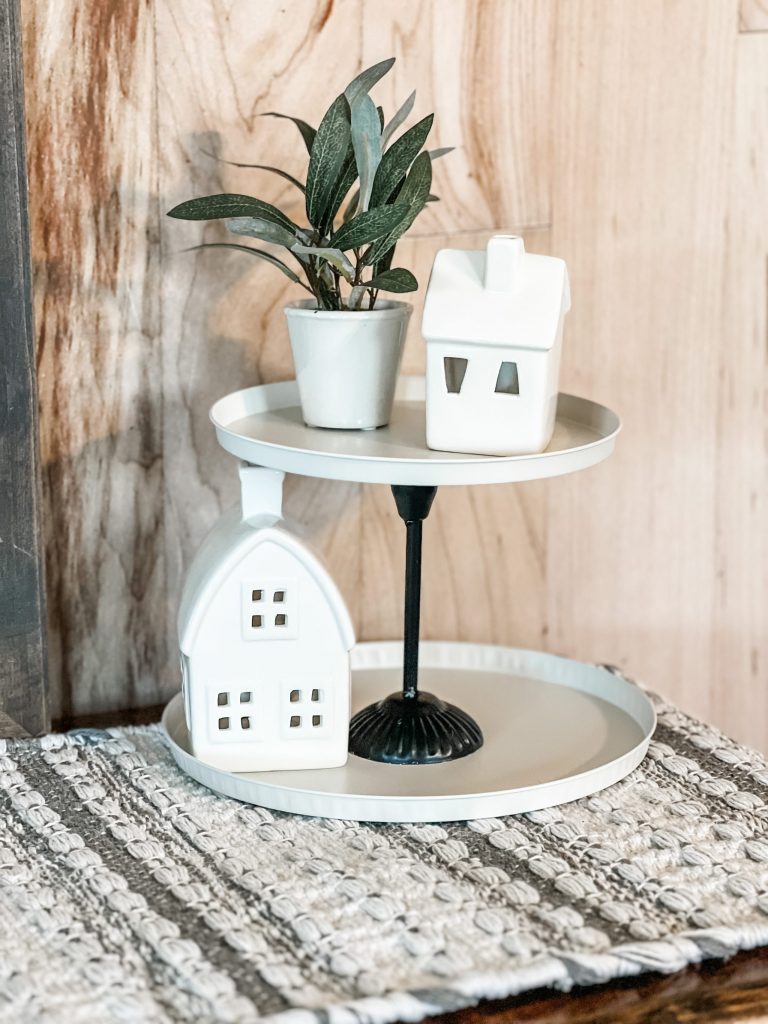
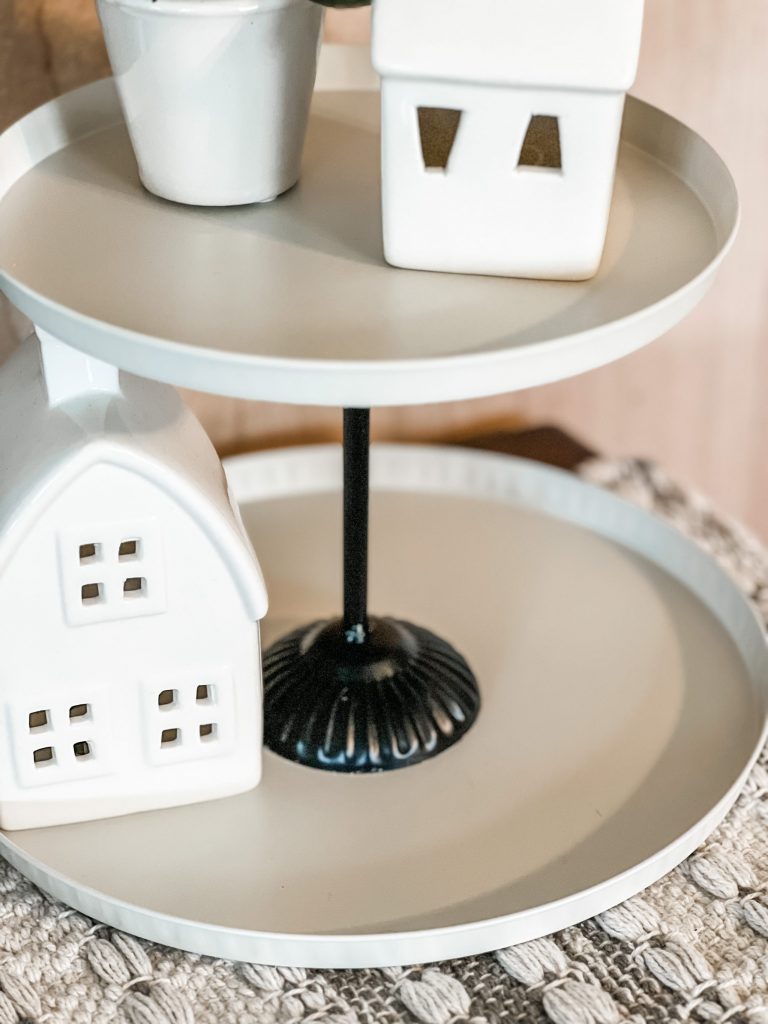
I just LOVE the end result! It really looks SOOO much nicer than $4! I could totally see these being used as inexpensive centerpieces for an event! I really like the black and white, but spray painting it with a bold color would be so fun! How would YOU use this tray to fit your decor? I would love to see it!
Don’t forget to pin for later!!
Last Updated on April 12, 2023

Cute!! Great and inexpensive idea!!
How in the world do you come up with these things? That is just adorable. A friend of mine has been looking for a tiered tray and I’m going to show her this post.
Love it!
Very cute! I love the way the tiered tray turned out and it can be used for so many ideas.
So, so cute! Have to make one!
Love the tray. Turned out great. I have a question was told tier trays were not in this season ( I know use what you like) if they are not in this season. What are people using in their tables. I used a table runner and added things to it but takes up so much room if you do not have a large table. What are you suggestions to use. Have tried to find a dough bowl big enough fir table to decorate been everywhere no one has large ones and do not see a lot are they out of style? Thanks for your feedback.
Very cute and inexpensive idea! I might use a pale blue for the tray and either black or white for the stand. Can’t wait to make it!
That will look great! I’d love to see your finished project. ❤️