I’m not sure if it’s the unseasonably warm weather we have had recently or the March flowers that have bloomed way early, but I am feeling Spring! Easter will be here before we know it, and today I have a fun little craft to get us ready. Bunnies are so cute, and I love to decorate with them for Easter and Spring in general. This bunny was created using a boxwood pick from Walmart, and the whole project was less than $5!
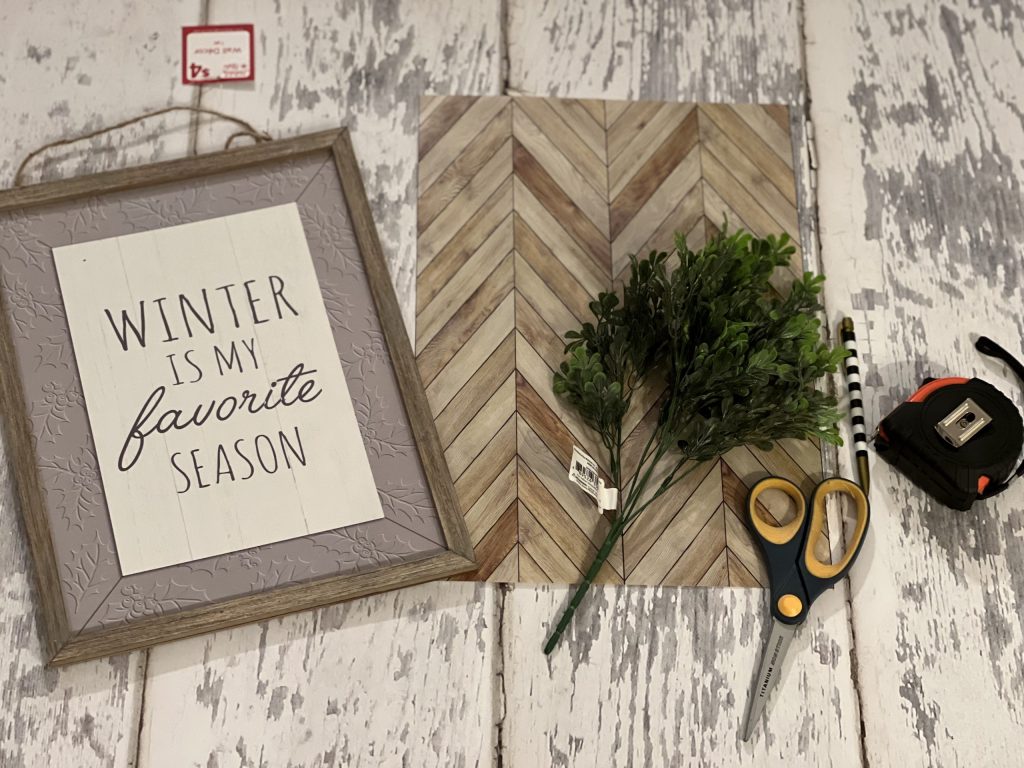
I used the following supplies for this project:
– Framed sign (Or even just a frame with cardboard background)
– Boxwood pick
– (1) sheet of wallpaper from the Dollar Tree
– Hot glue gun
– ¼” or ½” ribbon (optional)
– Measuring tape
– Pencil
– Scissors
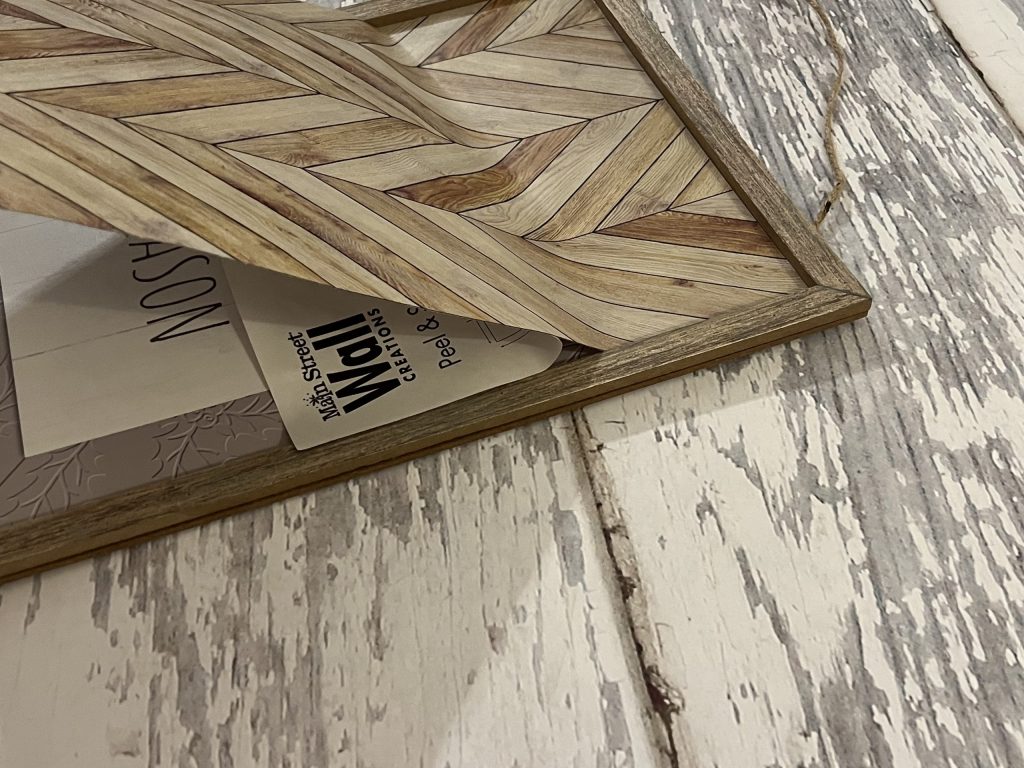
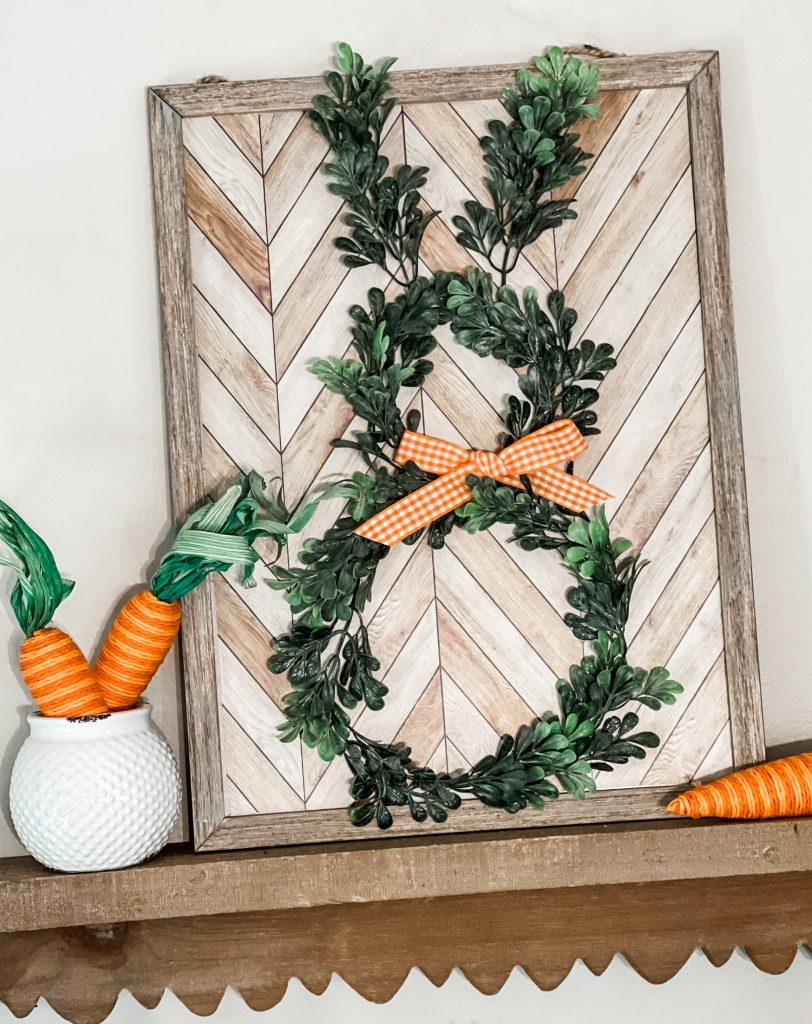
First of all, let me remind you to always be on the lookout for these little framed signs. This one just had a flat, printed image, but it was 70% at Pop Shelf, making it only $1.20! You can’t beat that!
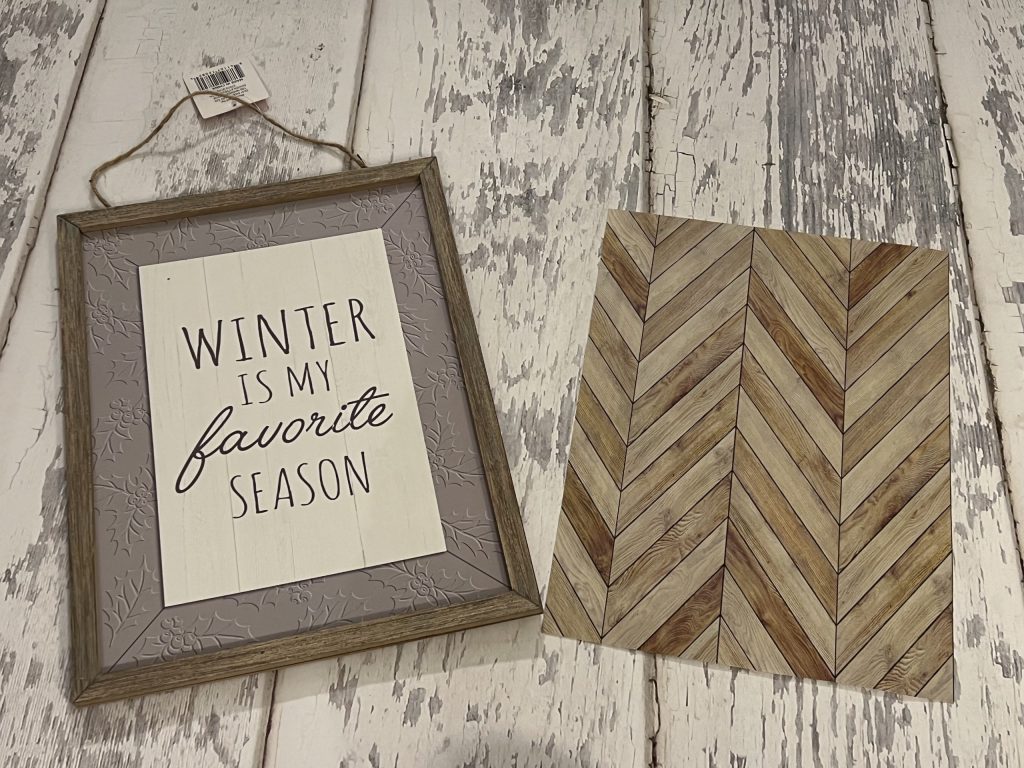
I found this wooden herringbone patterned wallpaper at the dollar tree, and I loved the variation of colors in it…this makes it easy to match a variety of woods.
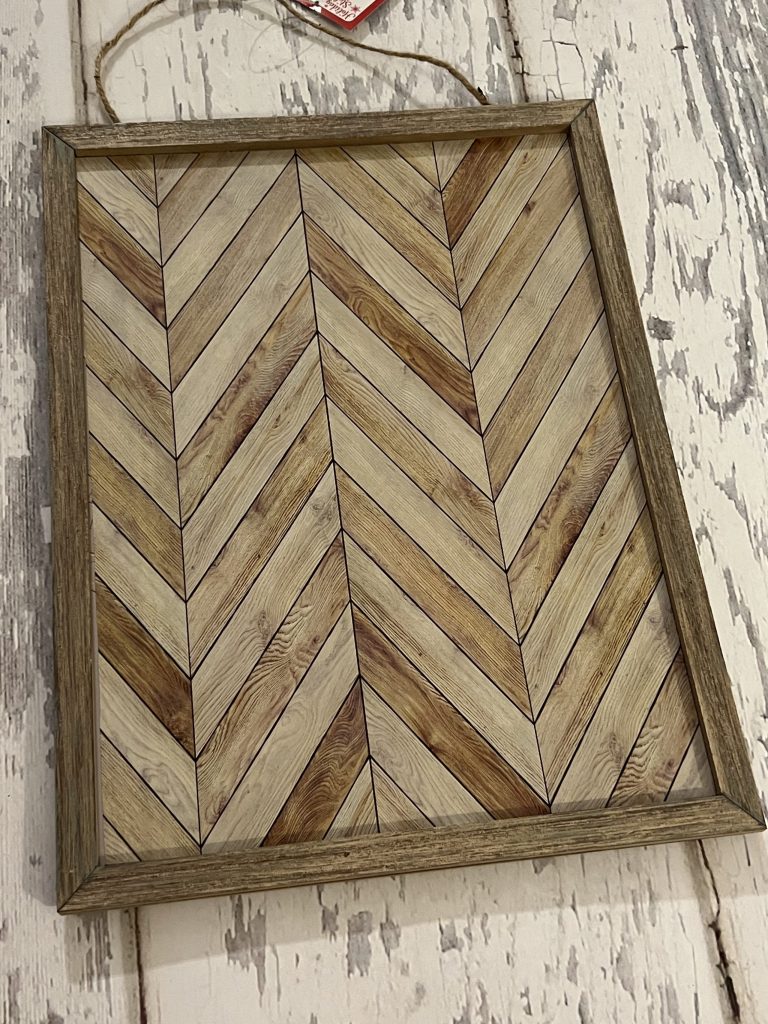
I measured the inside of the frame and then marked the measurements on the back of the
wallpaper.
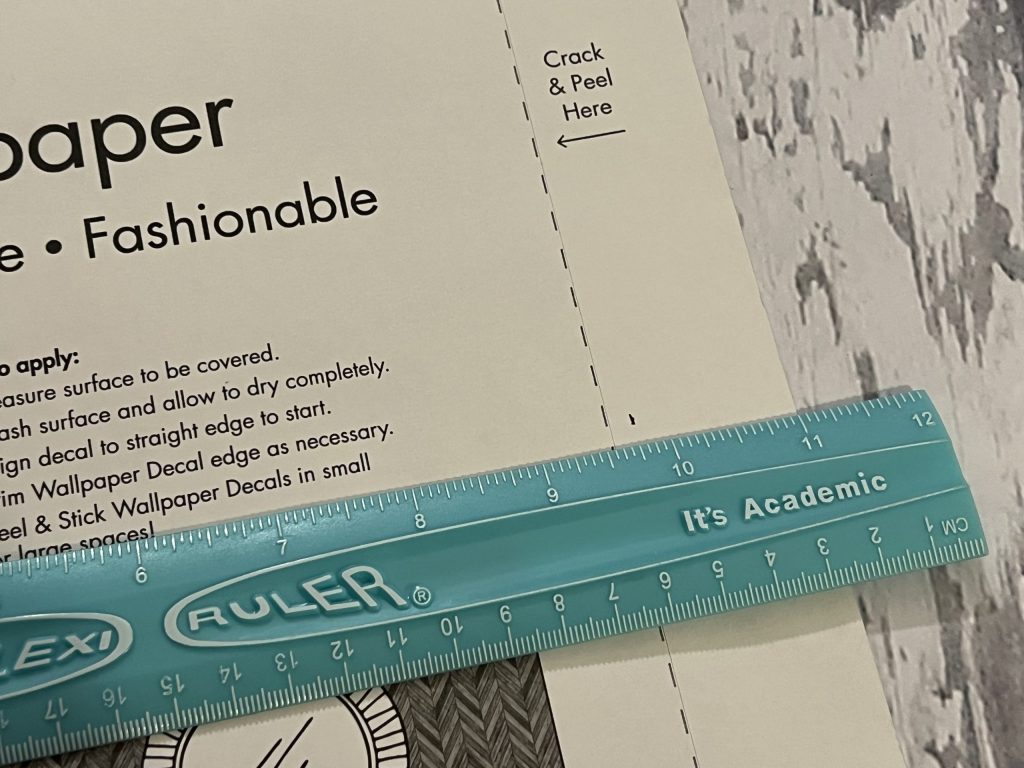
After trimming it down to the correct size, I peeled back the paper and lined it up at the top of the frame. I slowly peeled back the paper, smoothing the wallpaper down as I went.
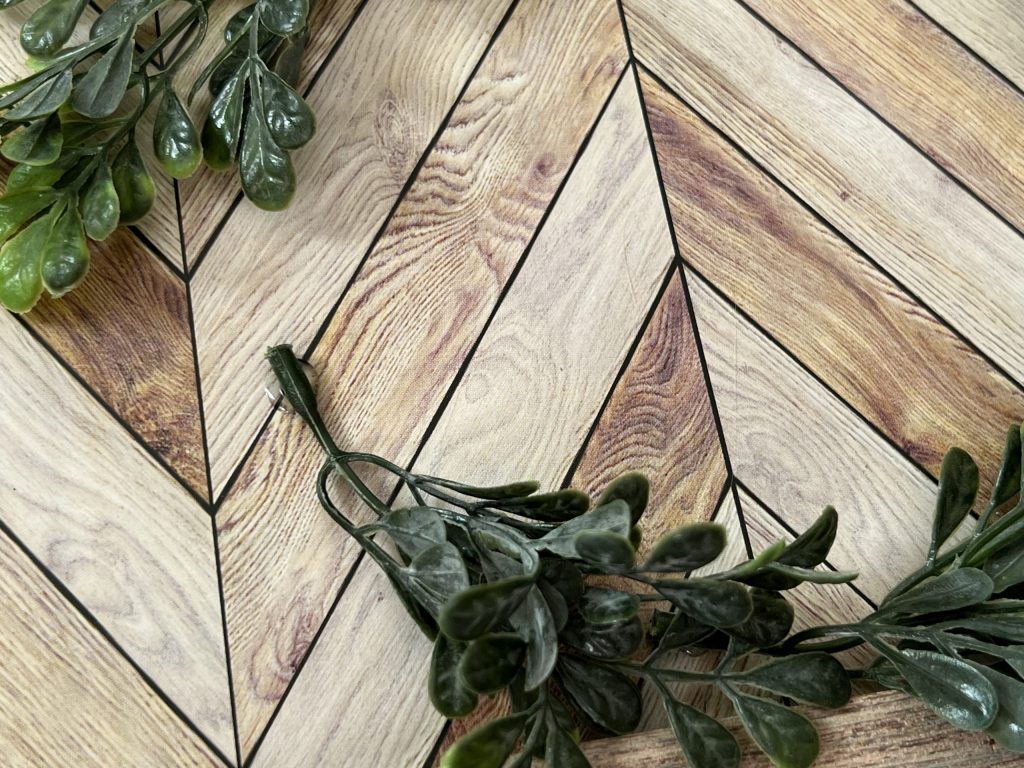
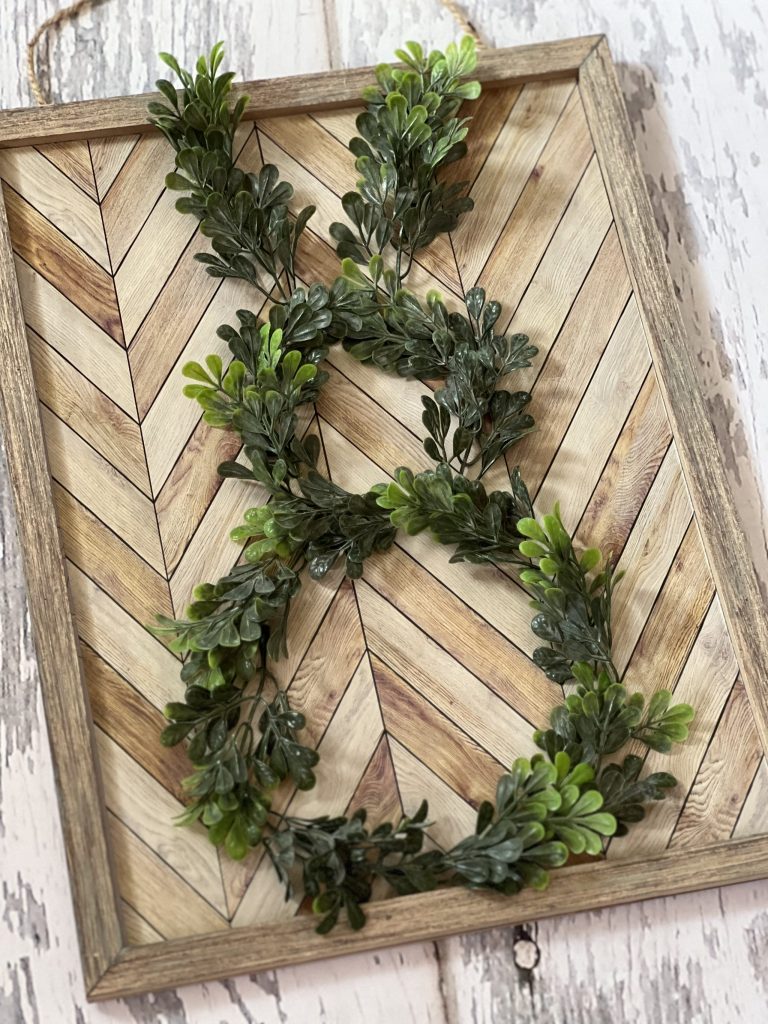
I purchased this boxwood pick at Walmart for $1.28. I removed all the little sprigs from the stems.
Next, using the hot glue gun, I glued the pieces to form a circle at the base of the frame.
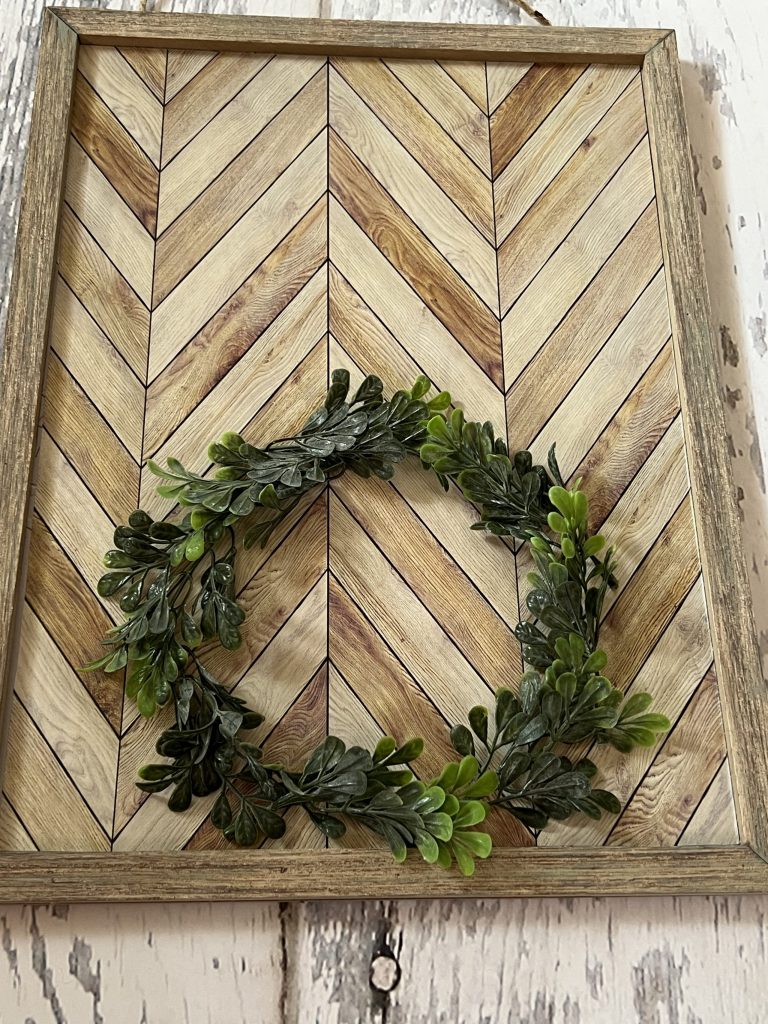
I then glued a smaller circle on top of the larger (body) circle to form the head.
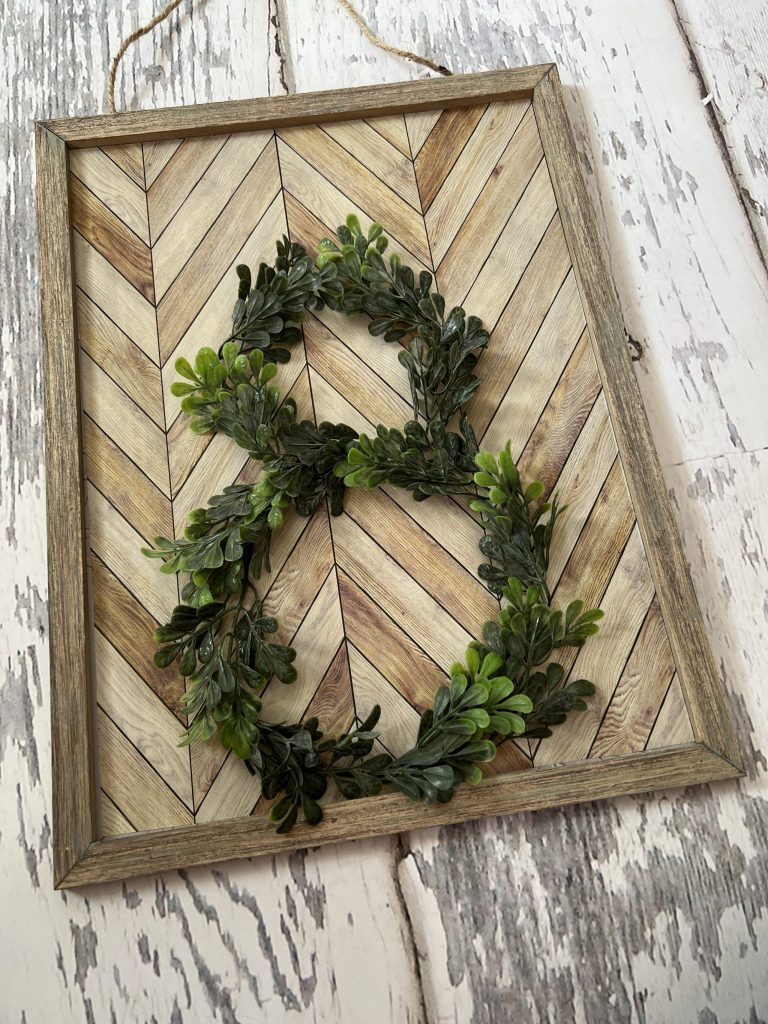
Finally, I glued down the boxwood pieces for the ears.
Now, you can definitely add a little bow at the base of the ears or under the head. I decided to add a little orange gingham bow. It gave it a little pop of color and coordinated well with the carrots I was using.
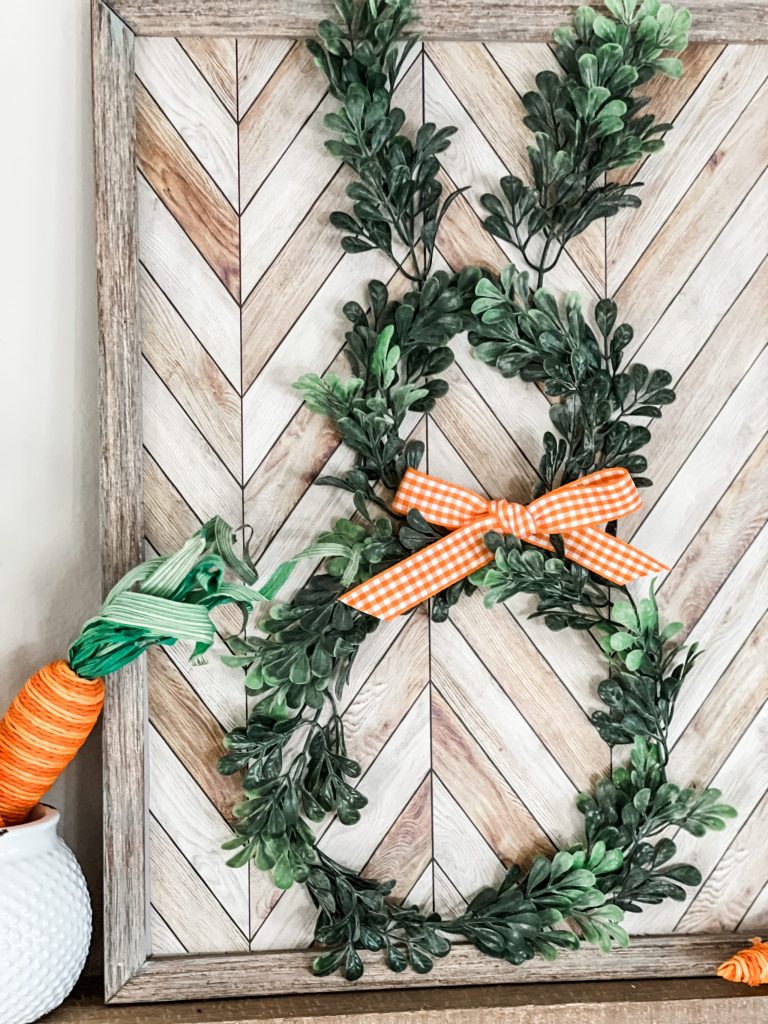
I love how the greenery and wood are so versatile and can work with a variety of home décor styles and colors.
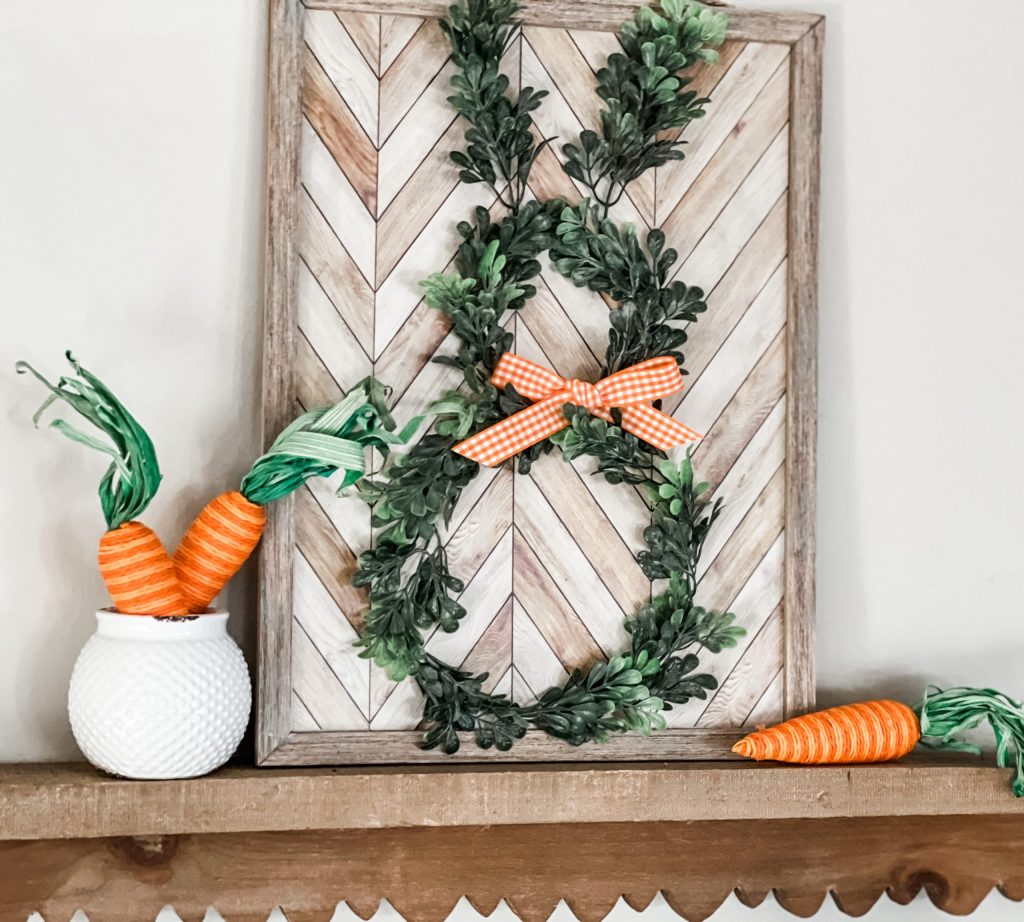
How adorable did he turn out?!!! This was such a quick and easy project on a major budget!
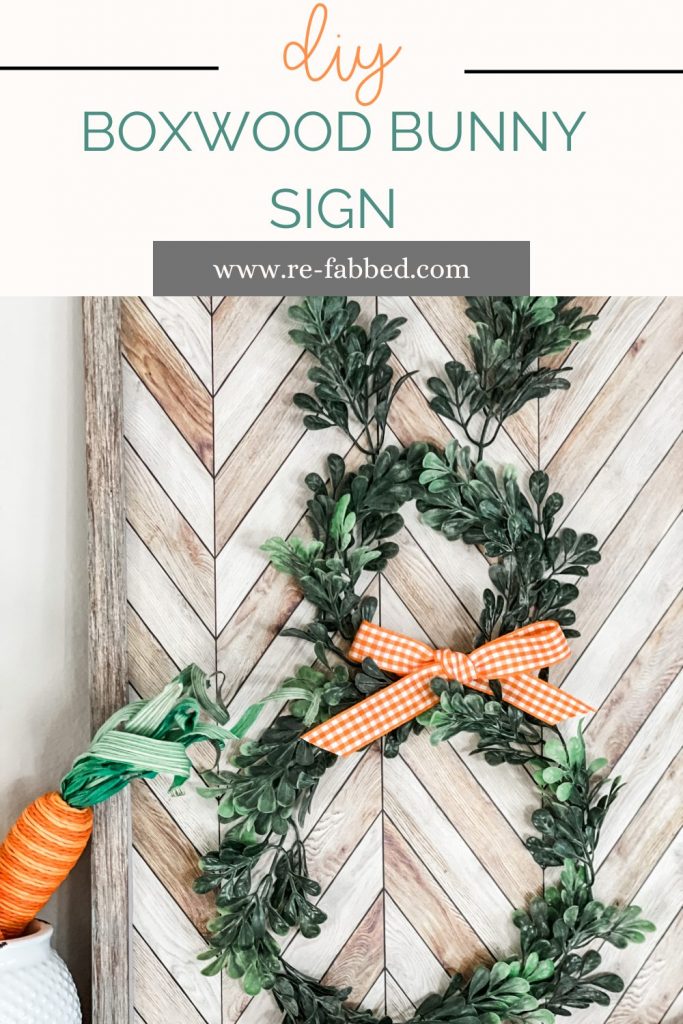
Pin for Later!
Last Updated on January 23, 2023

That is so stinkin cute!! I think I just might have everything to make that!! Terrific idea, Brooke!! Happy Birthday to you….Happy Birthday to you…Happy Birthday dear Brooke….Happy Birthday to you!!!????
Too cute and super affordable! Not to mention it’s really easy to make. Thank you as always for inspiring us to make the cutest things!